How to Build a Retro Gaming Console with Raspberry Pi 5 and RetroPie

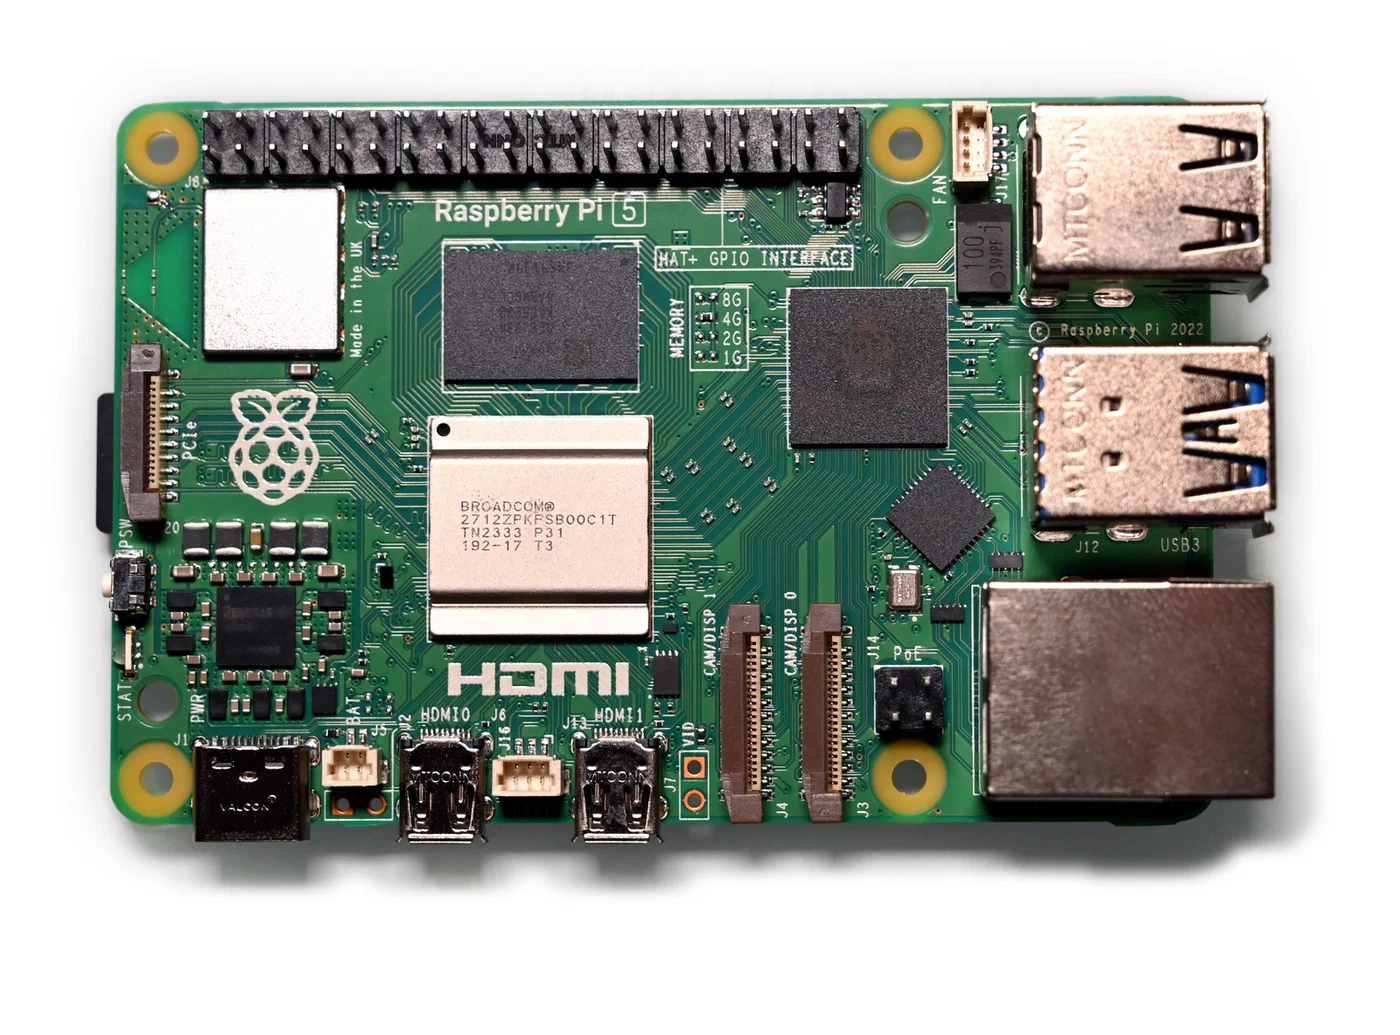
A Raspberry Pi 5 running RetroPie or Batocera turns a $80 single-board computer into a retro gaming console that handles everything from NES and SNES through PlayStation 1, N64, Dreamcast, and even some PSP titles. The Pi 5’s quad-core 2.4 GHz Cortex-A76 CPU and VideoCore VII GPU deliver roughly 3x the single-core performance and 2.8x the GPU throughput compared to the Pi 4, making previously choppy N64 and Dreamcast games run at full speed for the first time on Pi hardware. With Bluetooth controller support, CRT shaders, and a polished menu system, the result rivals commercial retro consoles like the Analogue Pocket or Retroid Pocket at a fraction of the cost.
This guide covers exactly what hardware to buy, how to install and configure the software, which emulator settings to use for each system, and how to add visual polish with shaders and themes.
Hardware Selection and Initial Setup
Getting the right Pi 5 model, power supply, cooling, and storage makes the difference between a smooth retro gaming experience and one plagued by thermal throttling and slow load times.
Raspberry Pi 5 (8 GB model, ~$80) - The 8 GB model is recommended over the 4 GB ($60) for Dreamcast, PSP, and N64 emulation. These systems benefit from extra RAM for texture caching and shader compilation. The 4 GB model works fine for everything up through PlayStation 1.
Power supply - Use the official Raspberry Pi 27W USB-C power supply ($12). Underpowered supplies cause undervoltage warnings that throttle the CPU during demanding emulation. Any third-party USB-C PD supply rated at 5V/5A also works.
Active cooling is mandatory - Without cooling, the Pi 5 throttles from 2.4 GHz down to 1.5 GHz within minutes of running N64 games. The Raspberry Pi 5 Active Cooler ($5) keeps temperatures under 65C during sustained emulation. The Argon NEO 5 case ($25) combines cooling with a clean enclosure. Testing shows that even at a 3.0 GHz overclock with active cooling, the CPU stabilizes around 53C after an hour of stress testing.
Storage - A 128 GB Samsung EVO Select microSD ($12) is sufficient for most ROM libraries. MicroSD cards top out around 90-100 MB/s sequential reads on the Pi 5. For faster load times, use an NVMe SSD via the official Raspberry Pi M.2 HAT+ ($12) paired with a 256 GB WD SN350 ($20). NVMe on the Pi 5 achieves 450+ MB/s reads in Gen 2 mode, cutting game load times noticeably - especially for disc-based systems like PS1 and Dreamcast where ISOs can be several hundred megabytes.
Case options - Your choice of case depends on budget and aesthetics:
| Case | Price | Features |
|---|---|---|
| GeeekPi Acrylic | $10 | Budget, open-air design |
| Argon NEO 5 | $25 | Passive + fan cooling, aluminum |
| Retroflag NESPi 5 | $30 | NES-shaped, functional power/reset buttons |
| Argon ONE V3 | $35 | Full aluminum, IR receiver, M.2 slot |
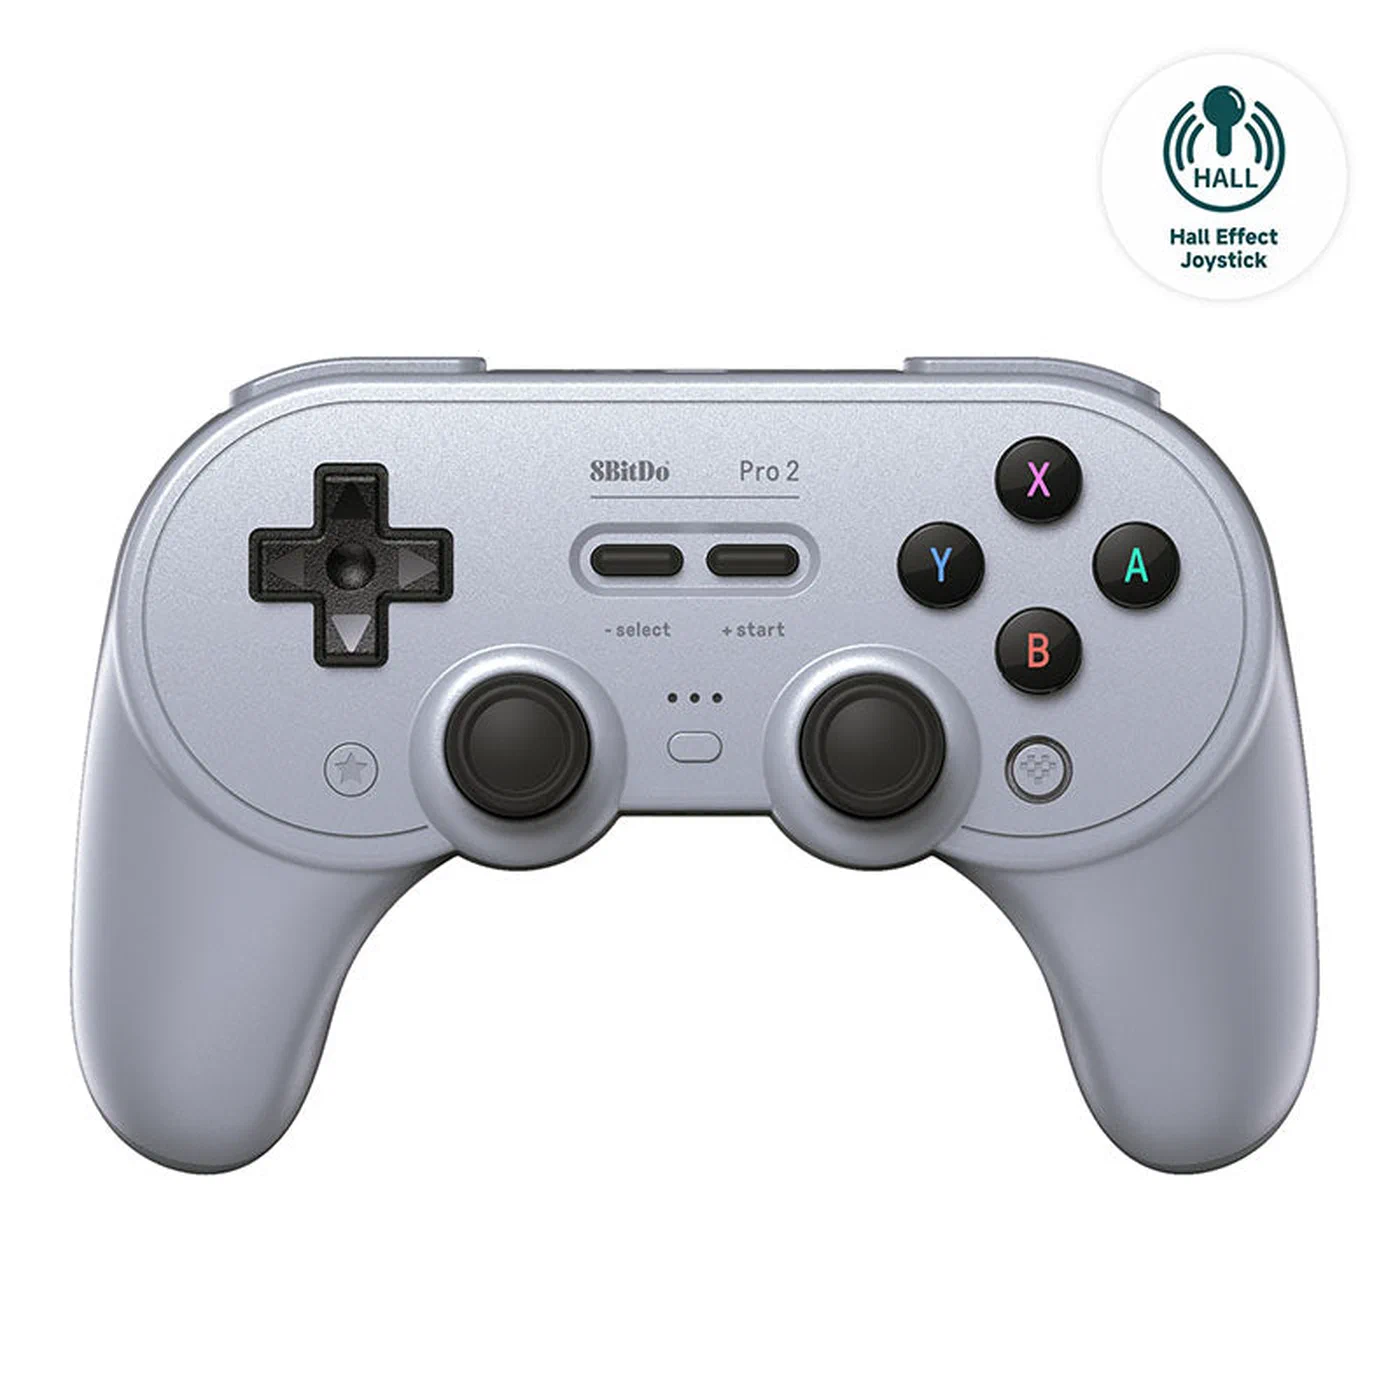
Controllers - The 8BitDo Pro 2 ($50) and 8BitDo SN30 Pro ($45) are the best controllers for retro gaming on the Pi. Both support Bluetooth 5.0, have excellent d-pads, and pair through RetroPie’s built-in Bluetooth manager. The Pro 2 adds hall-effect joysticks, back paddles, and a 20-hour battery life. For a budget option, the 8BitDo SN30 2.4G ($25) connects via a USB dongle with lower latency than Bluetooth.
Installing and Configuring RetroPie or Batocera
Two dominant retro gaming distributions target the Pi 5. Both are free. Choosing between them comes down to whether you value customizability or convenience.
RetroPie
RetroPie is built on Raspberry Pi OS and uses EmulationStation as its frontend with RetroArch handling most emulation. As of early 2026, there is no official pre-built Pi 5 image. Instead, you install RetroPie on top of Raspberry Pi OS Bookworm (64-bit Lite):
- Flash Raspberry Pi OS Lite (64-bit) to your microSD or NVMe using Raspberry Pi Imager .
- Boot, connect to WiFi or Ethernet, and update the system:
sudo apt update && sudo apt upgrade -y - Clone the RetroPie setup script:
git clone --depth=1 https://github.com/RetroPie/RetroPie-Setup.git - Run the installer:
cd RetroPie-Setup && sudo ./retropie_setup.sh - Select “Basic Install” and wait 20-40 minutes for compilation.
- Configure autostart so EmulationStation launches on boot.
RetroPie offers the deepest customization, the largest community, and the most documentation. You pay for that flexibility with a longer setup process.
Batocera
Batocera is a standalone Linux distribution that boots directly into a gaming UI with no OS configuration needed. Flash the Raspberry Pi 5 image (available from the Batocera download page) to your storage media and boot. First boot lands you in the EmulationStation frontend within about two minutes.
Batocera ships more emulators pre-configured out of the box, includes Kodi for media playback, and has a slicker default UI. It supports the Pi 5 with hardware video acceleration and case integrations (like the Pironman 5). You give up some customization depth compared to RetroPie.
Quick Comparison: Retro Gaming Distributions
| Feature | RetroPie | Batocera | Lakka | Recalbox |
|---|---|---|---|---|
| Pi 5 support | Manual install | Official image | Limited | Official image |
| Base system | Raspberry Pi OS | Custom Linux | LibreELEC | Custom Linux |
| Frontend | EmulationStation | EmulationStation | RetroArch XMB | EmulationStation |
| Setup difficulty | Moderate | Easy | Easy | Easy |
| Customization | Extensive | Moderate | Minimal | Moderate |
| Pre-configured emulators | ~50 | ~70+ | ~50 | ~60 |
| Kodi integration | Manual | Built-in | No | Built-in |
| Community size | Largest | Growing fast | Moderate | Moderate |
| Steam Deck support | No | Yes | No | No |
Initial Configuration (Both Systems)
Controller setup - On first boot, EmulationStation prompts you to map buttons. Hold any button to start, then map the D-pad, A/B/X/Y, shoulders, triggers, and the hotkey (typically Select). The hotkey combo enables in-game save states (Hotkey+R1), load states (Hotkey+L1), and exit (Hotkey+Start).
ROM transfer - Place ROM files in the appropriate system folder. In RetroPie, that is /home/pi/RetroPie/roms/<system>/ (e.g., /home/pi/RetroPie/roms/snes/). Transfer methods include:
- SFTP using FileZilla or WinSCP
- Samba share at
\\retropie\roms(accessible from Windows Explorer) - USB drive auto-copy (plug in a FAT32 USB drive with a
retropiefolder structure)
BIOS files - Some systems require BIOS dumps placed in the BIOS directory. The most common ones:
| System | Required BIOS | Filename |
|---|---|---|
| PlayStation 1 | SCPH5501 | scph5501.bin |
| Dreamcast | Boot ROM + Flash | dc_boot.bin, dc_flash.bin |
| Game Boy Advance | GBA BIOS | gba_bios.bin |
| Sega Saturn | Saturn BIOS | saturn_bios.bin |
RetroPie includes a BIOS checker script that verifies MD5 hashes against known good dumps.
Emulator Configuration and Performance Tuning per System
Each retro system needs different emulator settings to run optimally on the Pi 5. Here are the recommended emulator cores and configurations for each major system.
NES, SNES, and Genesis
These run perfectly with zero configuration on the Pi 5. Use the default RetroArch cores:
- NES: FCEUmm
- SNES: Snes9x 2010
- Genesis/Mega Drive: Genesis Plus GX
All three support save states, rewind, and fast-forward out of the box. You can comfortably enable CRT shaders on these systems without any framerate impact.
PlayStation 1
For 2D and lighter 3D PS1 games, the PCSX-ReARMed RetroArch core works well. For 3D-heavy titles, install the Duckstation standalone emulator through RetroPie’s optional packages. Duckstation offers enhanced resolution rendering (2x native at 640x480), PGXP geometry correction that eliminates the PS1’s trademark polygon wobble, and texture filtering. Both options run at full speed on the Pi 5.
Nintendo 64
N64 emulation has traditionally been the weak point of Pi-based retro builds. The Pi 5 changes that significantly. Use Mupen64Plus standalone with the GLideN64 video plugin:
- Set resolution to 640x480
- Enable framebuffer emulation
- Use the GlideN64-HLE audio plugin
Most N64 games hit full speed on the Pi 5. Super Mario 64 runs at a locked 30 FPS (the game’s native cap) with room to spare. GoldenEye 007 - historically a nightmare for Pi emulation - now runs at 25-30 FPS at stock clocks and a steady 30 FPS when overclocked to 3.0 GHz. Conker’s Bad Fur Day and Perfect Dark, two of the most demanding N64 titles, are playable but may still dip in heavy scenes.
Dreamcast
Install Flycast through RetroPie’s optional packages. Enable GPU threading, set internal resolution to 640x480, and turn off “synchronous rendering” for demanding titles. Soulcalibur hits 60 FPS at 1080p via lr-flycast. Sonic Adventure 2 and Shenmue are playable but benefit from the overclock settings discussed later.
PSP
Use PPSSPP standalone. The Pi 5’s VideoCore VII GPU supports Vulkan, which PPSSPP takes advantage of for better framerates:
- Set rendering backend to Vulkan
- Resolution to 2x native (960x544)
- Frameskip to 1
2D PSP titles and lighter 3D games hit 60 FPS. Heavier titles like God of War: Chains of Olympus and Gran Turismo run at 25-30 FPS, which is playable but not perfectly fluid.
GameCube (Experimental)
Dolphin Emulator has an unofficial ARM64 build that runs on the Pi 5. Lightweight titles like Wind Waker and Mario Sunshine are technically playable at 20-30 FPS with aggressive optimization, but this is not a reliable or enjoyable experience for most games. GameCube emulation on the Pi 5 remains a “proof of concept” rather than a practical feature.
Visual Polish: Shaders, Themes, and Bezels
A retro gaming setup should look retro. CRT shaders, custom themes, and system-appropriate bezels go a long way toward making the setup feel less like an emulator window and more like an actual old console.
CRT Shaders
In RetroArch, navigate to Settings > Shaders > Load Shader Preset and select shaders_glsl/crt/crt-pi.glslp. This shader was designed specifically for Pi hardware and adds convincing scanlines and slight bloom without tanking performance. For an even lighter alternative, zfast-crt maintains 60 FPS on all systems while still adding scanline character.
Set the scanline_weight parameter between 0.3 and 0.5 for a subtle effect on modern displays. Values above 0.6 make the image too dark on LCD and OLED TVs.
Force RetroArch to output in 4:3 aspect ratio (Settings > Video > Aspect Ratio > Core Provided) to avoid stretched graphics. On a 16:9 TV, bezels fill the black bars naturally.
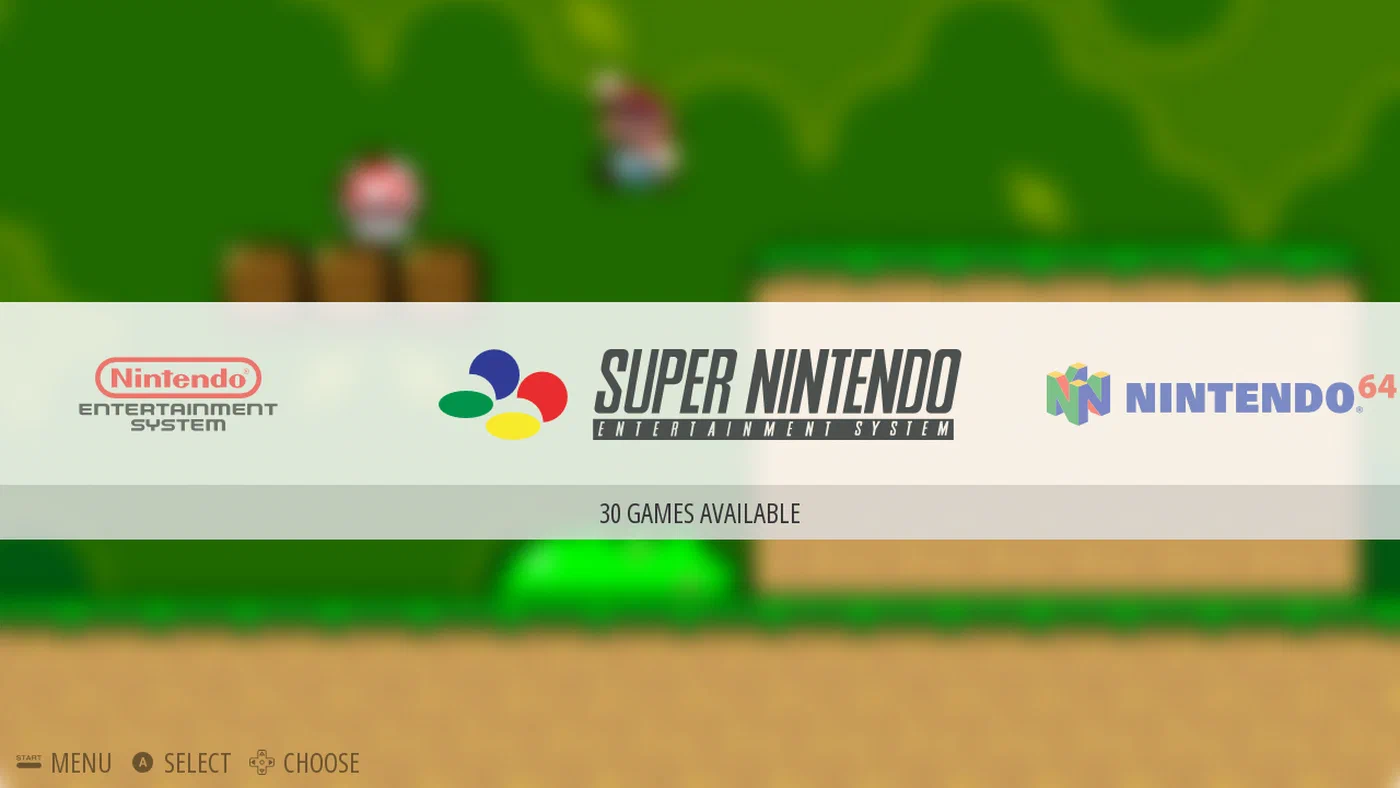
Themes and Scraping
Install the “Art Book Next” or “Carbon” theme via RetroPie-Setup > Configuration > EmulationStation Themes. These themes display box art, system logos, and animated backgrounds for each console.
Use the built-in scraper or ScreenScraper.fr (free account, 20,000 daily API calls) to auto-download box art, screenshots, descriptions, and metadata for every ROM in your collection. A well-scraped library with box art makes browsing your collection feel like flipping through a shelf of games.
System Bezels
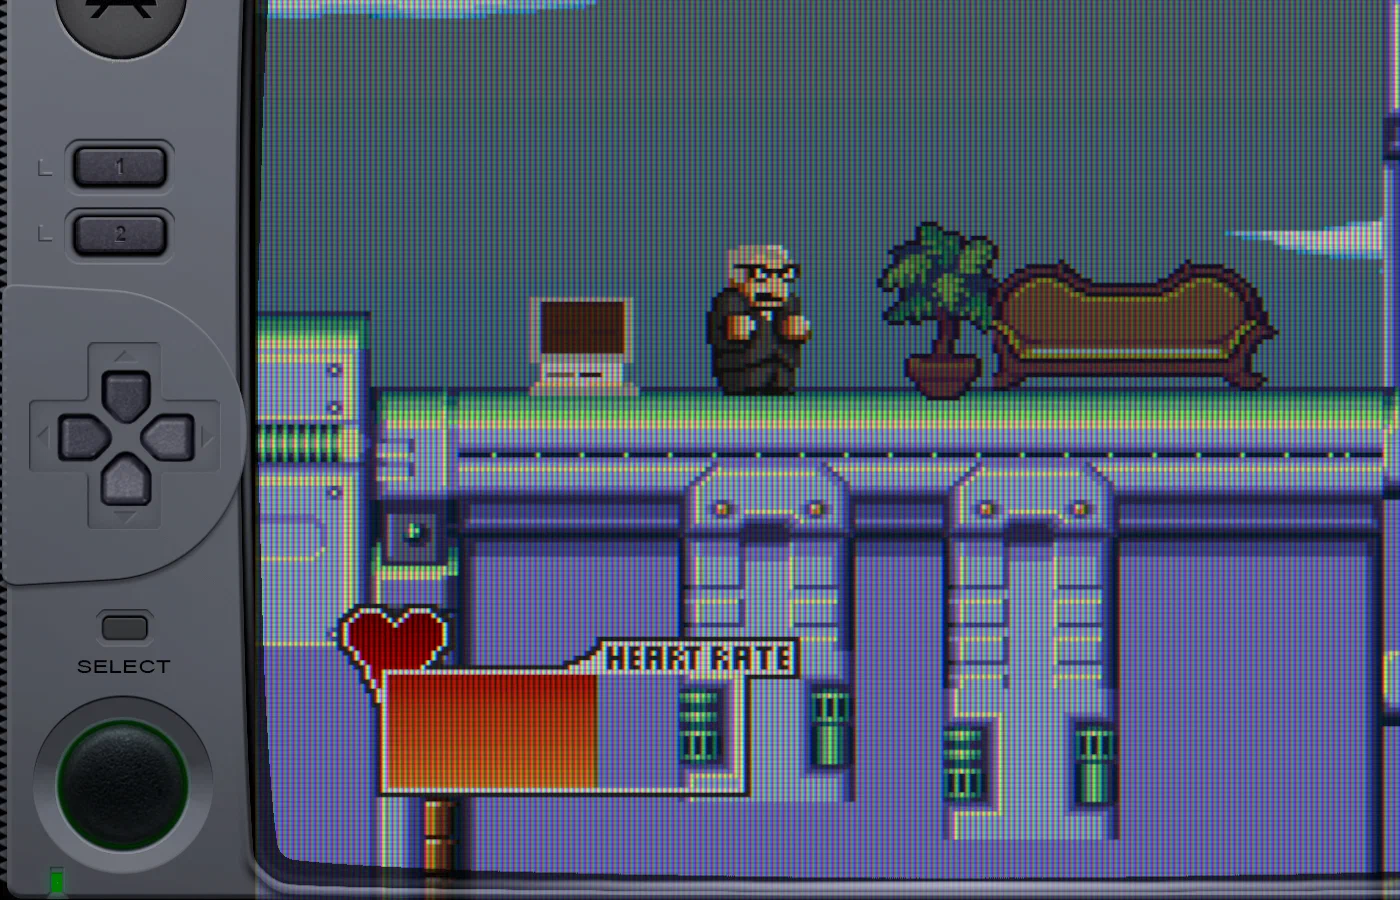
The “Bezel Project” provides console-specific bezels that frame the game image in a border matching the original hardware. A Game Boy game gets framed in a Game Boy shell. An SNES game gets the SNES controller border. Install bezels through RetroPie’s optional packages. They fill the black bars on a 16:9 display and add a surprisingly convincing retro feel.
Advanced Features: Netplay, Achievements, and Overclocking
Once the basics are running, the Pi 5 has a few extra tricks worth setting up.
RetroAchievements
RetroAchievements.org adds a modern achievement system to classic games across 40+ retro platforms. Create a free account, enter your credentials in RetroArch > Settings > Achievements, and you will start earning achievement pop-ups as you play. You might be surprised how much motivation a simple achievement pop-up gives you to replay something you beat twenty years ago.
RetroArch Netplay
Connect two RetroPie setups (or a Pi and a PC running RetroArch) over the network for online multiplayer in supported games. The host starts a netplay session and the client connects via IP address. Set latency frames to 2-4 for LAN play and 5-8 for internet play to keep things smooth.
Overclocking the Pi 5
Add the following lines to /boot/firmware/config.txt:
arm_freq=3000
gpu_freq=1000
This bumps the CPU from 2.4 GHz to 3.0 GHz and the GPU from 800 MHz to 1 GHz. Active cooling and a quality power supply are required.
A few important caveats:
- Not every Pi 5 will hit 3.0 GHz stable. The silicon lottery means some units cap out at 2.8 GHz. If you get instability (random freezes, corrupted display), drop
arm_freqto 2800 and test again. - At 3.0 GHz, N64 games that dip to 50 FPS at stock speeds (GoldenEye, Conker’s Bad Fur Day) hold a steady 60 FPS. Dreamcast games gain roughly 10-15% framerate improvement.
- Power consumption at full load increases from about 7W at stock to around 9-10W overclocked. The Pi 5 idles at approximately 2.7W regardless.
Power Consumption Reference
| State | Power Draw |
|---|---|
| Standby | ~1.3W |
| Idle (desktop) | ~2.7W |
| Light emulation (NES/SNES) | ~4-5W |
| Heavy emulation (N64/DC) | ~6-7W |
| Overclocked + heavy load | ~9-10W |
ROM Management and Backup
Use RomVault or Skraper to organize, verify, and deduplicate ROM collections. Stick to No-Intro verified sets for maximum compatibility with emulators and RetroAchievements.
Before making system changes, create a full image backup of your configured storage using dd on Linux/macOS or Win32DiskImager on Windows. A complete RetroPie setup with all your ROMs, saves, configurations, and scraped metadata takes hours to recreate from scratch.
Wrapping Up
The Raspberry Pi 5 is the first Pi that actually works as a multi-generation retro gaming console. Systems that were marginal or broken on the Pi 4 - N64, Dreamcast, PSP - now work well enough for daily use. The total cost of a complete build sits between $100 and $150 depending on your case and controller choices, which undercuts dedicated retro handhelds while offering far more flexibility.
Start with RetroPie if you want full control over every emulator setting, or grab Batocera if you want something that works out of the box in under five minutes. Either way, pair it with an 8BitDo controller, enable CRT shaders, and you have a retro gaming setup that handles 30+ years of console history in a box smaller than a deck of cards.