Veepeak vs OBDLink: BLE OBD-II for Home Assistant
You can stream live vehicle diagnostics and GPS location to Home Assistant by pairing a Bluetooth Low Energy OBD-II adapter with an ESPHome -based BLE proxy or a dedicated Android device running Torque Pro . This setup feeds real-time fuel economy, engine codes, coolant temperature, and GPS coordinates into Home Assistant entities, enabling geo-fenced automations like opening your garage door on arrival or logging trip fuel costs - all without any cloud dependency.
Most modern vehicles (1996+ in the US, 2001+ in Europe) expose a standard OBD-II diagnostic port, usually located under the dashboard near the steering column. That port speaks well-documented protocols and can report dozens of parameters from the engine control unit (ECU). The hard part is getting that data off the wire, through Bluetooth, and into Home Assistant in a way that is reliable enough to actually automate around. Below I cover hardware selection, the ESPHome BLE bridge, GPS tracking, dashboards, and the troubleshooting you will inevitably need.
Choosing the Right OBD-II Adapter
Not all OBD-II dongles work well with Home Assistant. The chipset inside the adapter matters far more than the brand printed on the case. There are two chipset families worth considering: the ELM327 lineage and the STN series from ScanTool.net .
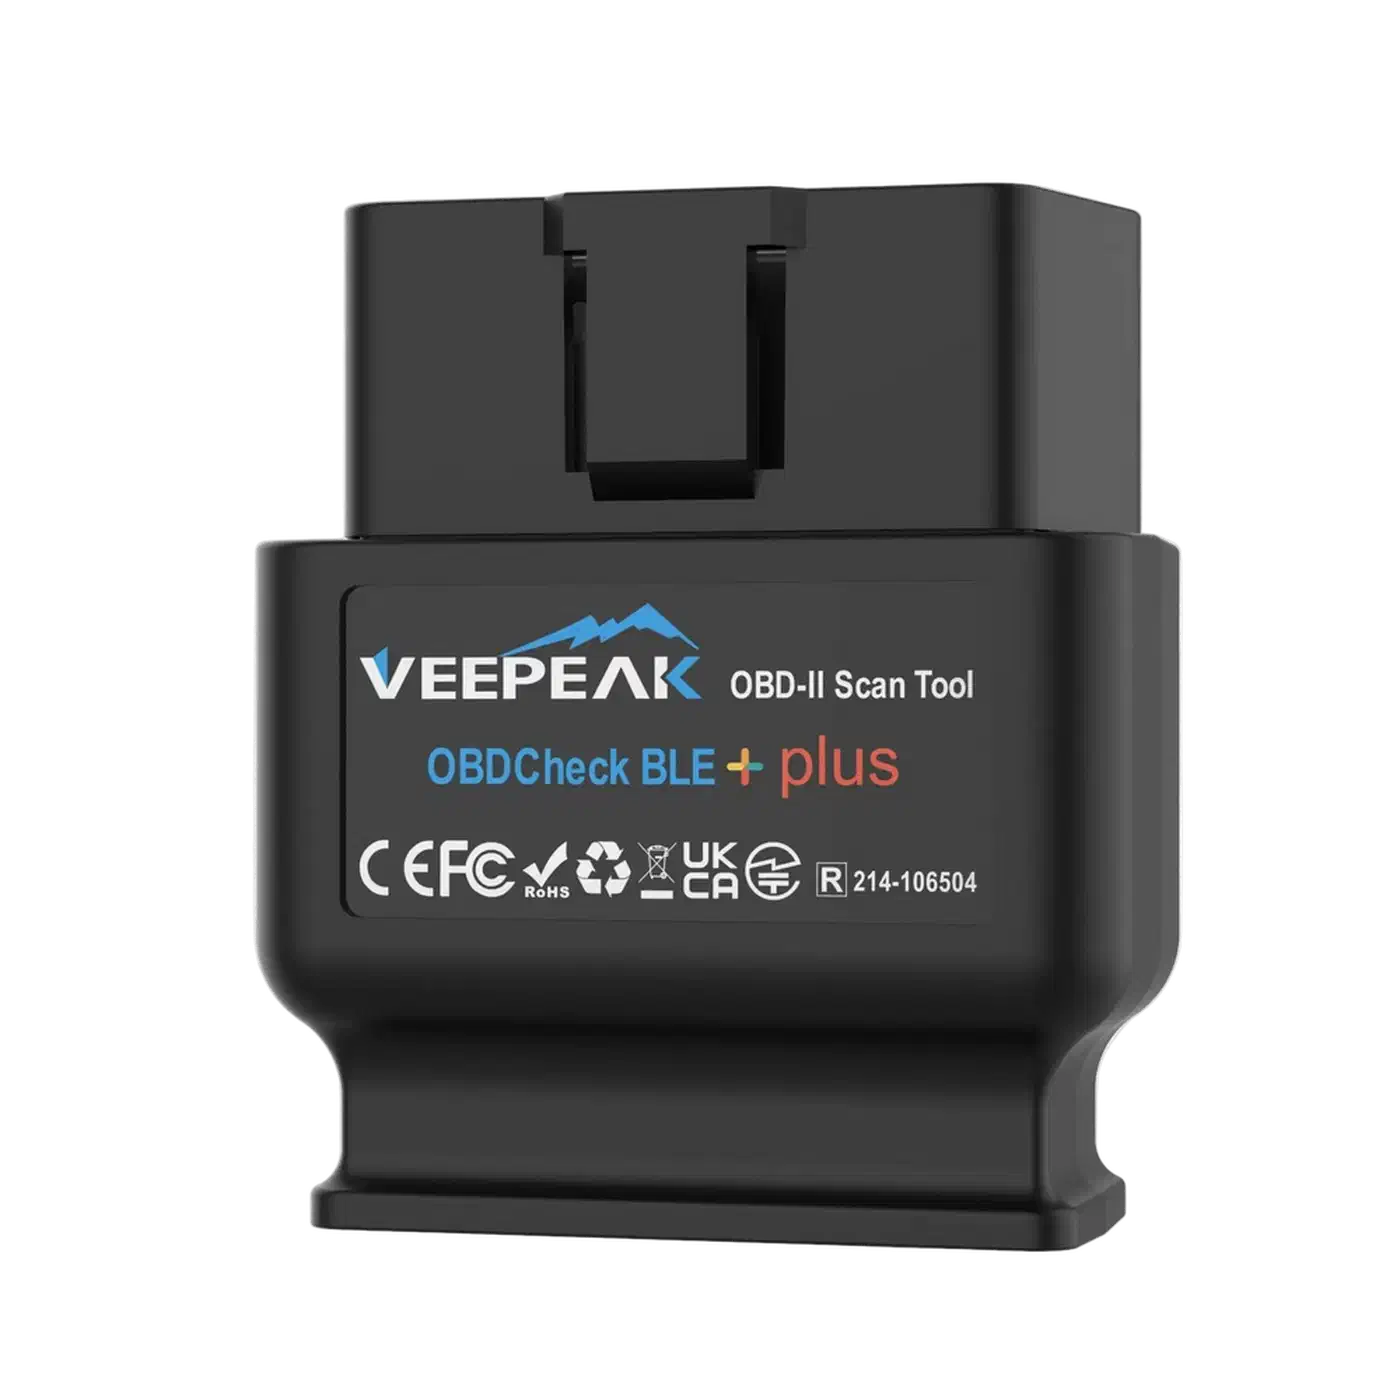
The Veepeak OBDCheck BLE+ (2026 revision, roughly $30) uses the STN2120 chipset and supports BLE 5.3. It works with ESPHome BLE proxies and both iOS and Android companion apps. For most people with a 2008 or newer car, this is the adapter to buy. It handles CAN bus protocols cleanly, draws very little power in standby, and pairs quickly.
The OBDLink MX+ ($80) remains the best option for multi-protocol support. It covers CAN, J1850, and ISO 9141, which means it works with older vehicles going back to the late 1990s. It offers both BLE and classic Bluetooth, so you have flexibility in how you connect. The price is steep for what looks like a small plastic dongle, but the firmware quality justifies it.
Avoid cheap ELM327 v1.5 clones. They are everywhere on Amazon, usually under $15, and they almost universally fake their version strings. Many of them cannot handle CAN-FD buses found in 2024 and newer vehicles from Toyota, BMW, and others. If you plug one in and get nothing but “NO DATA” responses, the clone chipset is likely the problem.
Here are the key OBD-II PIDs (Parameter IDs) you will want to poll:
| PID | Description | Bytes | Formula |
|---|---|---|---|
| 0x010C | Engine RPM | 2 | ((A * 256) + B) / 4 |
| 0x0105 | Coolant Temperature | 1 | A - 40 (Celsius) |
| 0x012F | Fuel Level | 1 | (A * 100) / 255 (percent) |
| 0x010D | Vehicle Speed | 1 | A (km/h) |
| 0x0104 | Calculated Engine Load | 1 | (A * 100) / 255 (percent) |
BLE adapters broadcast as GATT services. The characteristic UUIDs for ELM327-compatible communication are typically FFF1 (write) and FFF2 (notify). You send AT commands and PID requests on the write characteristic, and the adapter sends responses back on the notify characteristic.
One thing people overlook is battery drain. BLE dongles draw 5 to 15mA in standby. That is not much, but if your car sits for more than a week, it adds up. Either pick an adapter with auto-sleep functionality, or wire it through a switched ignition circuit so it only has power when the car is on.
Building the BLE-to-Home-Assistant Bridge with ESPHome
A better approach than relying on a phone is to put an ESP32 in the car running ESPHome. It connects to the OBD-II dongle over BLE, reads the data, and pushes it to Home Assistant over WiFi. You do not need a phone in the car, you do not need Torque Pro, and there is no app to keep alive in the foreground. If you prefer full firmware control without ESPHome’s abstraction layer, you can also push OBD-II data using raw MQTT from a custom DIY device .
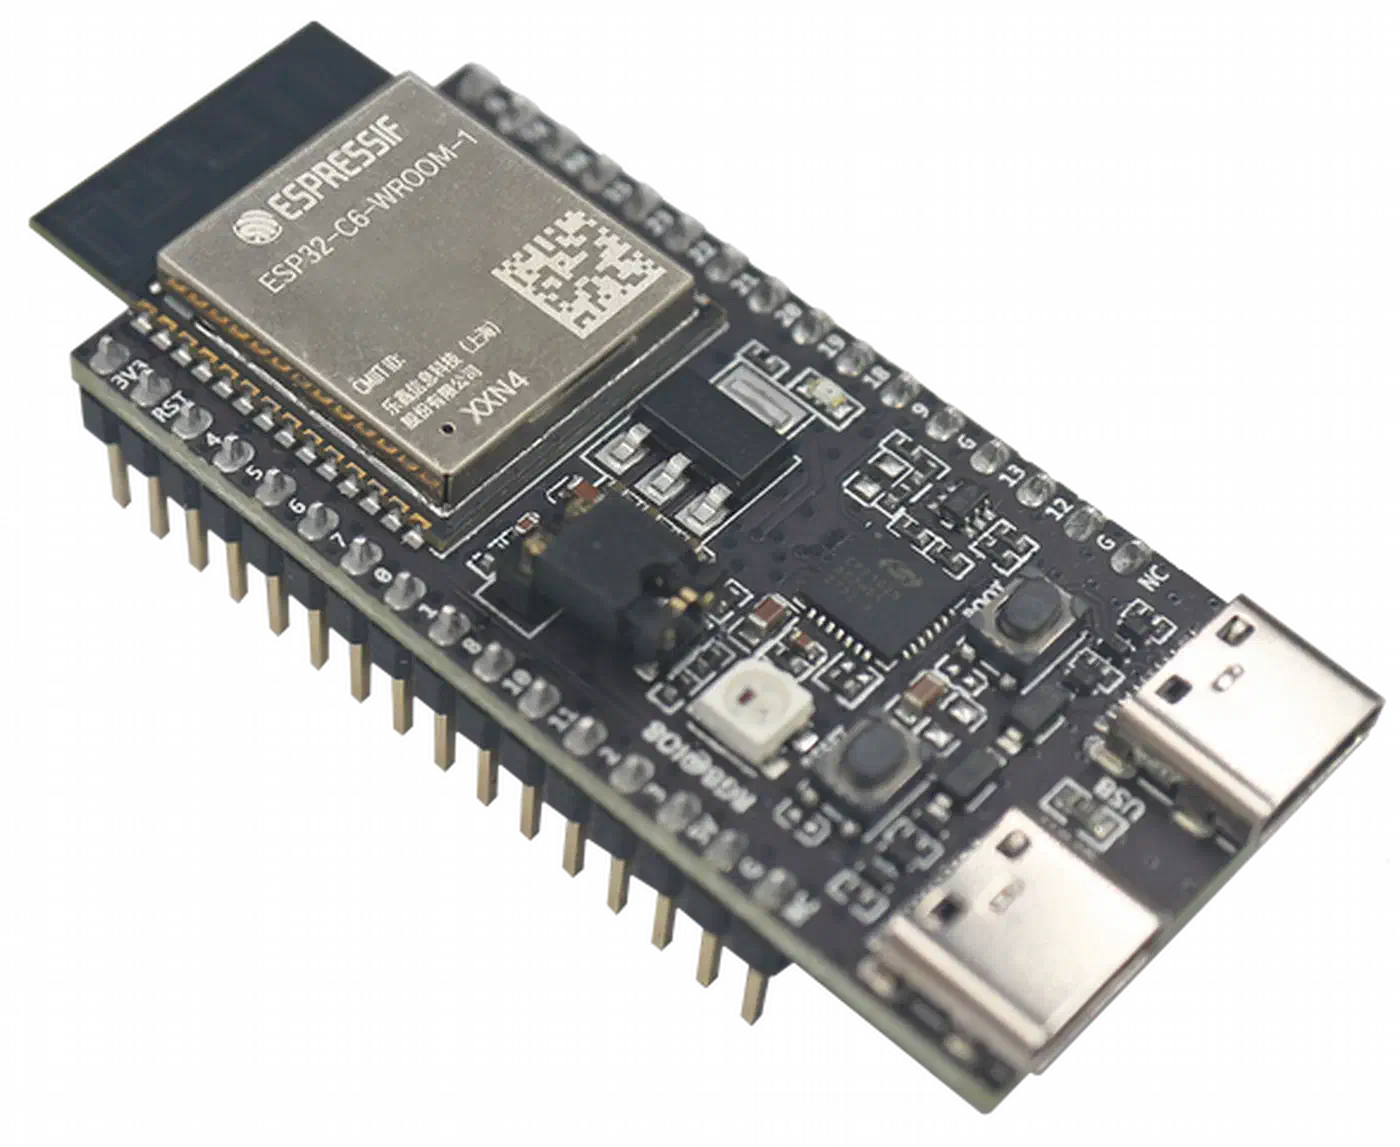
Start with an ESP32-C6 dev board. The C6 variant supports BLE 5.x and has better coexistence between BLE and WiFi than the older ESP32-WROOM.
ble_client and ble_sensor components required for GATT communication.
Here is a simplified ESPHome YAML configuration for connecting to the OBD-II adapter:
esphome:
  name: car-obd2-bridge
  platform: ESP32
  board: esp32-c6-devkitm-1

wifi:
  ssid: !secret wifi_ssid
  password: !secret wifi_password

ble_client:
  - mac_address: "AA:BB:CC:DD:EE:FF"
    id: obd_dongle
    auto_connect: true

sensor:
  - platform: ble_client
    type: characteristic
    ble_client_id: obd_dongle
    service_uuid: "FFF0"
    characteristic_uuid: "FFF2"
    id: obd_raw_response
    notify: true
Most of the logic lives in ESPHome lambda functions. You send AT commands to initialize the adapter (ATZ for reset, ATSP0 for auto-protocol detection), then issue PID requests like 010C for RPM on a polling interval. A 2-second interval is a good balance between data freshness and not overwhelming the adapter.
Parsing the hex responses requires a bit of C++ in ESPHome lambdas. For RPM from PID 010C, the adapter returns two bytes A B. The formula is ((A * 256) + B) / 4. For coolant temperature from PID 0105, it returns one byte A, and you calculate A - 40 to get Celsius.
// Example lambda for parsing RPM
float a = response[0];
float b = response[1];
float rpm = ((a * 256.0) + b) / 4.0;
return rpm;
Expose each parsed value as an ESPHome sensor entity
with the right unit_of_measurement, device_class, and state_class attributes. Setting state_class: measurement is critical - without it, Home Assistant will not record long-term statistics and your history graphs will be empty.
For power, the simplest option is a USB-C cigarette lighter adapter. If you want always-on tracking (for GPS location even when parked), you can tap into a constant 12V source behind the dash and use a small buck converter to step down to 5V. Make sure the power supply can deliver at least 1A, because the ESP32-C6 draws significant current when both WiFi and BLE radios are active simultaneously.
GPS Tracking and Geo-Fenced Automations
OBD-II data covers what the car is doing mechanically, but it says nothing about location. Adding GPS is what turns this from a diagnostic tool into something you can build daily automations around.
The easiest GPS source is the Home Assistant Companion App
on a phone mounted in the car. It reports device_tracker entities with latitude and longitude updated every 10 to 30 seconds. The accuracy is good enough for zone-based automations, and you do not need any extra hardware.
If you want a phone-free setup, add a BN-880Q GPS module (about $12) to the ESP32-C6 build. Wire it to a UART port and use the ESPHome gps component to parse NMEA sentences. This gets you latitude, longitude, altitude, and speed directly on the ESP32, which then reports everything to Home Assistant. The BN-880Q also includes a compass, which is a nice bonus for heading data.
With location data flowing in, create zones in Home Assistant for your home, workplace, and any other frequently visited locations. The zone.home entity is built in. When device_tracker.car transitions between home and not_home, automations can fire.
Here is a practical geo-fence automation example:
automation:
  - alias: "Open garage on arrival"
    trigger:
      - platform: zone
        entity_id: device_tracker.car
        zone: zone.home
        event: enter
    condition:
      - condition: state
        entity_id: cover.garage_door
        state: "closed"
    action:
      - delay: "00:00:30"
      - service: cover.open_cover
        target:
          entity_id: cover.garage_door
The 30-second delay accounts for the time between entering the zone boundary and actually pulling into the driveway. Adjust this based on how large your home zone radius is.
A departure automation is equally useful. When device_tracker.car leaves the home zone, you can arm the alarm panel, lock all doors, and turn off any lights that should not be on while nobody is home:
automation:
  - alias: "Arm security on departure"
    trigger:
      - platform: zone
        entity_id: device_tracker.car
        zone: zone.home
        event: leave
    action:
      - service: alarm_control_panel.alarm_arm_away
        target:
          entity_id: alarm_control_panel.home_alarm
      - service: lock.lock
        target:
          entity_id: all
For mileage tracking, set up a utility_meter helper on the vehicle speed sensor. Configure it to reset monthly. Then create a template sensor that converts the accumulated speed readings into distance traveled. You can trigger maintenance reminders - oil change at 5,000 miles, tire rotation at 7,500 - using persistent notifications.
Fuel Efficiency Dashboard and Long-Term Data
With OBD-II data streaming into Home Assistant, you can build a real-time fuel economy dashboard that replaces expensive fleet management tools.
Calculating instantaneous fuel economy requires two PIDs: Mass Air Flow (MAF, PID 0110) and vehicle speed (PID 010D). The formula for gasoline engines is:
MPG = (speed * 7.718) / (MAF * 0.0805)This gives you a live MPG reading that updates every few seconds. It is not perfectly accurate compared to actually measuring fuel at the pump, but it is close enough for monitoring driving habits and spotting efficiency changes over time.
For the dashboard itself, install the apexcharts-card from HACS. It lets you build gauges and time-series charts that look far better than the default Home Assistant history graph. Set up cards for real-time MPG, coolant temperature, RPM, and engine load. A gauge card for MPG with color zones (red below 15, yellow 15-25, green above 25) gives you immediate visual feedback on driving efficiency.
For long-term data analysis, configure the InfluxDB integration to export OBD-II sensor data. With 10-second resolution data flowing into InfluxDB , you can build Grafana dashboards that show fuel efficiency trends over weeks and months. This is especially useful for catching gradual problems - a slowly clogging air filter will show up as a steady MPG decline long before you notice it at the pump.
Create a template sensor for trip cost calculation. Multiply gallons consumed (derived from fuel flow rate) by an input_number.fuel_price_per_gallon helper that you update manually or pull from a gas price API:
template:
  - sensor:
      - name: "Trip Fuel Cost"
        unit_of_measurement: "$"
        state: >
          {{ (states('sensor.fuel_consumed_gallons') | float *
              states('input_number.fuel_price_per_gallon') | float)
              | round(2) }}
Use the statistics integration to compute daily, weekly, and monthly fuel averages. Surface these in a Lovelace statistics-graph card so you can see at a glance how this week compares to last week.
Set up alerts for anomalies. An automation that sends a mobile notification if coolant temperature exceeds 230F can save you from an overheating engine. Similarly, poll PID 03 periodically to check for diagnostic trouble codes (DTCs). If a DTC appears, send a notification with the code so you can look it up before the check engine light even comes on.
Troubleshooting Common Issues
OBD-II integration is not plug-and-play. Here are the problems you will most likely run into and how to fix them.
The most common issue is BLE connection drops every few minutes. Increase the ble_client scan_interval to 10 seconds and add an on_disconnect trigger that automatically reconnects with a 5-second delay. The ESP32’s BLE stack can be unstable when WiFi is also active, and the C6 variant handles this better than the older WROOM, but it still needs some babysitting.
If you are getting “NO DATA” responses from PIDs, remember that not all vehicles support all PIDs. Before configuring a bunch of sensors, send PID 0100 to the adapter. This returns a bitmap of which PIDs (01-20) your ECU actually supports. Do the same with 0120 for PIDs 21-40 and 0140 for PIDs 41-60. Only configure sensors for PIDs your car actually reports. A Honda Civic will support different PIDs than a Ford F-150.
CAN-FD compatibility is another pain point. Vehicles from 2024 onward increasingly use CAN-FD (Flexible Data-rate) instead of classic CAN. The older ELM327 protocol does not support CAN-FD framing. If you have a newer car, you may need an adapter with the STN2255 chipset, which handles CAN-FD natively. The OBDLink CX is one option, though it is pricier than most BLE adapters.
If your ESP32 keeps rebooting, especially when both BLE and WiFi are active, the power supply is not keeping up. Use a stable 5V/1A source, not a flaky USB port or a cheap cigarette lighter adapter. The ESP32-C6 specifically needs clean power because it draws current spikes during radio transmission that can dip the voltage below the brownout threshold.
When Home Assistant history shows flat lines instead of graphs, it almost always means state_class: measurement is missing from the sensor configuration. Without that attribute, Home Assistant does not record the data in its long-term statistics database. Add it to every OBD-II sensor in your ESPHome configuration and restart. Historical data will start populating from that point forward, but you will not recover past data.
If your sensors update sluggishly, check that you are not polling too many PIDs per cycle. Each PID request-response takes roughly 100 to 200 milliseconds. If you are polling 10 PIDs on a 2-second interval, you are already at the limit. Prioritize the PIDs you actually use in automations and dashboards, and drop the rest.
Cost and What You Get for It
The total hardware cost for a basic setup is under $50: a Veepeak BLE+ dongle ($30), an ESP32-C6 dev board ($8), and a USB-C power adapter ($10). Add a BN-880Q GPS module for another $12 if you want phone-free location tracking. Commercial fleet trackers charge $20 to $40 per month for similar functionality, so this setup pays for itself in about two months.
Once it is running, your car is just another device in Home Assistant - one that can trigger automations, log data, and send alerts the same way your thermostats and door sensors do. Arrival and departure automations alone justify the effort, and the fuel efficiency tracking is a bonus that keeps producing useful data month after month.