Writing Custom Python Integrations for Home Assistant (HACS)

Creating a custom Home Assistant integration involves writing a Python wrapper for your hardware’s API and packaging it as a HACS component. This approach lets you bring unsupported or legacy devices into your smart home ecosystem with full entity control and automation support - without forking the core HA codebase or waiting for an official integration to land.
That said, custom integrations carry real maintenance overhead. Before diving into Python, it is worth checking whether a simpler path already exists.
When to Write a Custom Integration
Home Assistant ships with over 3,000 built-in integrations. Before writing a single line of Python, visit home-assistant.io/integrations and search the HACS default store - there is a meaningful chance your device is already supported or that a community integration already exists.
For simple one-off API calls, HA’s built-in rest sensor and command_line sensor handle a surprising amount of ground without any custom code. A rest sensor polling a JSON endpoint every 30 seconds and extracting a value with a value_template expression covers a large class of integrations that would otherwise be over-engineered as full Python packages. The same applies to sending commands: a rest command or a shell_command calling curl can control many devices through simple HTTP APIs.
A custom integration becomes genuinely necessary when the device has a complex stateful API that requires session management or a persistent connection. It also makes sense when you need multiple entity types - for example, a single device that should appear in HA as both a sensor (reporting temperature) and a switch (controlling power) - because the simpler approaches produce entities that do not share state or a common device entry. Devices that push data via WebSocket or MQTT rather than responding to polls are another strong case, since the rest sensor model fundamentally does not fit push architectures. Finally, if you need to deploy the same logic across multiple HA instances, a packaged integration is far more maintainable than duplicating YAML across installations.
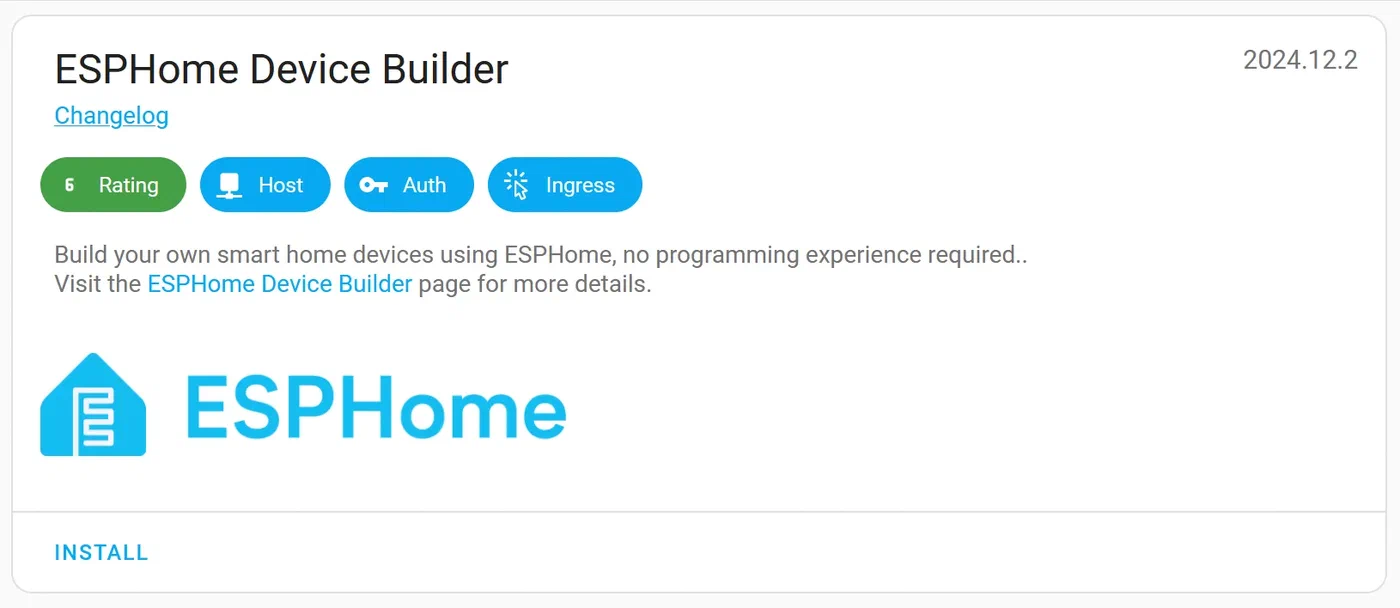
One more important signpost: ESPHome covers roughly 90% of DIY hardware scenarios. If you control the firmware, ESPHome is almost certainly the right answer - it generates a native HA integration automatically and requires no Python. Custom Python integrations are typically the right tool for commercial devices with documented but unsupported APIs.
Understanding the Home Assistant Integration Architecture
Every HA integration, whether built-in or custom, follows the same directory structure and implements the same set of Python modules. Understanding this structure before writing any functional code saves significant confusion later.
The integration lives inside a directory named after its domain - a lowercase string with no spaces that uniquely identifies the integration. For a custom integration, this directory sits under custom_components/ in the HA config folder:
custom_components/
  my_integration/
    __init__.py
    manifest.json
    config_flow.py
    sensor.py
    switch.py
    strings.json
    translations/
      en.json
The manifest.json file is the integration’s declaration to HA. It specifies the domain, a human-readable name, the version, any PyPI packages the integration requires, and metadata like whether the integration supports config entries. A minimal manifest looks like this:
{
  "domain": "my_integration",
  "name": "My Integration",
  "version": "1.0.0",
  "config_flow": true,
  "documentation": "https://github.com/yourname/hacs-my-integration",
  "requirements": ["my-device-sdk==2.1.0"],
  "iot_class": "local_polling"
}
The iot_class field tells HA how the integration communicates: local_polling for devices you poll on a timer, local_push for push-based connections, cloud_polling or cloud_push for cloud-dependent devices, and so on. This field affects how HA presents the integration to users.
__init__.py is the integration’s entry point. It must implement two async functions: async_setup_entry(), called when HA loads a config entry (i.e., when the integration is set up), and async_unload_entry(), called during a clean shutdown or when the user removes the integration. async_setup_entry() is responsible for initializing the data coordinator, forwarding platforms, and storing shared state on hass.data. async_unload_entry() must cleanly cancel background tasks and unload the registered platforms.
config_flow.py provides the interactive setup wizard that users see when they click “Add Integration” in HA’s settings. Entity platform files like sensor.py and switch.py each register HA entities of a specific type and link them to your device data.
Setting Up the Development Environment
The recommended development environment for HA integrations is the official home-assistant/core repository opened in VS Code with its devcontainer configuration. When you open the repo in VS Code with Docker running, the Remote - Containers extension builds a complete HA development environment with all dependencies installed, auto-reload on file changes, and a pre-configured HA instance you can test against immediately. This is the fastest feedback loop available.
If you already have a running HA OS installation and want to develop against it directly, the alternative is to mount the custom_components/ directory over SSH or Samba, place your integration directory inside it, and restart HA to pick up changes. This approach is slower (full HA restarts rather than module reloads), but it lets you test against real hardware on your network.
In either case, install homeassistant-stubs in your Python environment:
pip install homeassistant-stubsThis package provides type stub files for HA’s internal APIs, which gives your IDE meaningful autocompletion and catches many type errors before you run any code. Pair it with a type checker like mypy or Pylance in VS Code for the best experience.
For logging, use Python’s standard logging module with the __name__ convention:
import logging
_LOGGER = logging.getLogger(__name__)
Log messages from your integration appear in HA’s Settings → System → Logs UI. To enable debug-level logging for your integration during development, add this to configuration.yaml:
logger:
  default: warning
  logs:
    custom_components.my_integration: debug
This isolates your debug output from the rest of HA’s log stream.
Writing the Config Flow (UI Setup)
The config flow is what users interact with when they first add your integration. Getting it right is important - a confusing setup flow is the most common friction point in community integrations.
Config flows are implemented by subclassing homeassistant.config_entries.ConfigFlow in config_flow.py. The DOMAIN class variable must exactly match the directory name of your integration:
import voluptuous as vol
from homeassistant import config_entries
from homeassistant.const import CONF_HOST, CONF_API_KEY

from .const import DOMAIN

class MyIntegrationConfigFlow(config_entries.ConfigFlow, domain=DOMAIN):
    VERSION = 1

    async def async_step_user(self, user_input=None):
        errors = {}
        if user_input is not None:
            try:
                # Validate credentials before creating the entry
                client = MyDeviceClient(
                    host=user_input[CONF_HOST],
                    api_key=user_input[CONF_API_KEY],
                )
                await client.async_verify_connection()
            except CannotConnect:
                errors["base"] = "cannot_connect"
            except InvalidAuth:
                errors["base"] = "invalid_auth"
            else:
                return self.async_create_entry(
                    title=user_input[CONF_HOST],
                    data=user_input,
                )

        schema = vol.Schema({
            vol.Required(CONF_HOST): str,
            vol.Required(CONF_API_KEY): str,
        })

        return self.async_show_form(
            step_id="user",
            data_schema=schema,
            errors=errors,
        )
The critical pattern here is validating the device connection inside async_step_user() before calling async_create_entry(). If you create the entry first and validate later, users end up with a broken integration entry they have to manually delete. Reject bad credentials before the entry is ever written to HA’s config_entries storage.
For human-readable labels in the form, create a translations/en.json file:
{
"config": {
"step": {
"user": {
"title": "Connect to My Device",
"data": {
"host": "IP Address or Hostname",
"api_key": "API Key"
}
}
},
"error": {
"cannot_connect": "Failed to connect. Check the IP address.",
"invalid_auth": "Invalid API key."
}
}
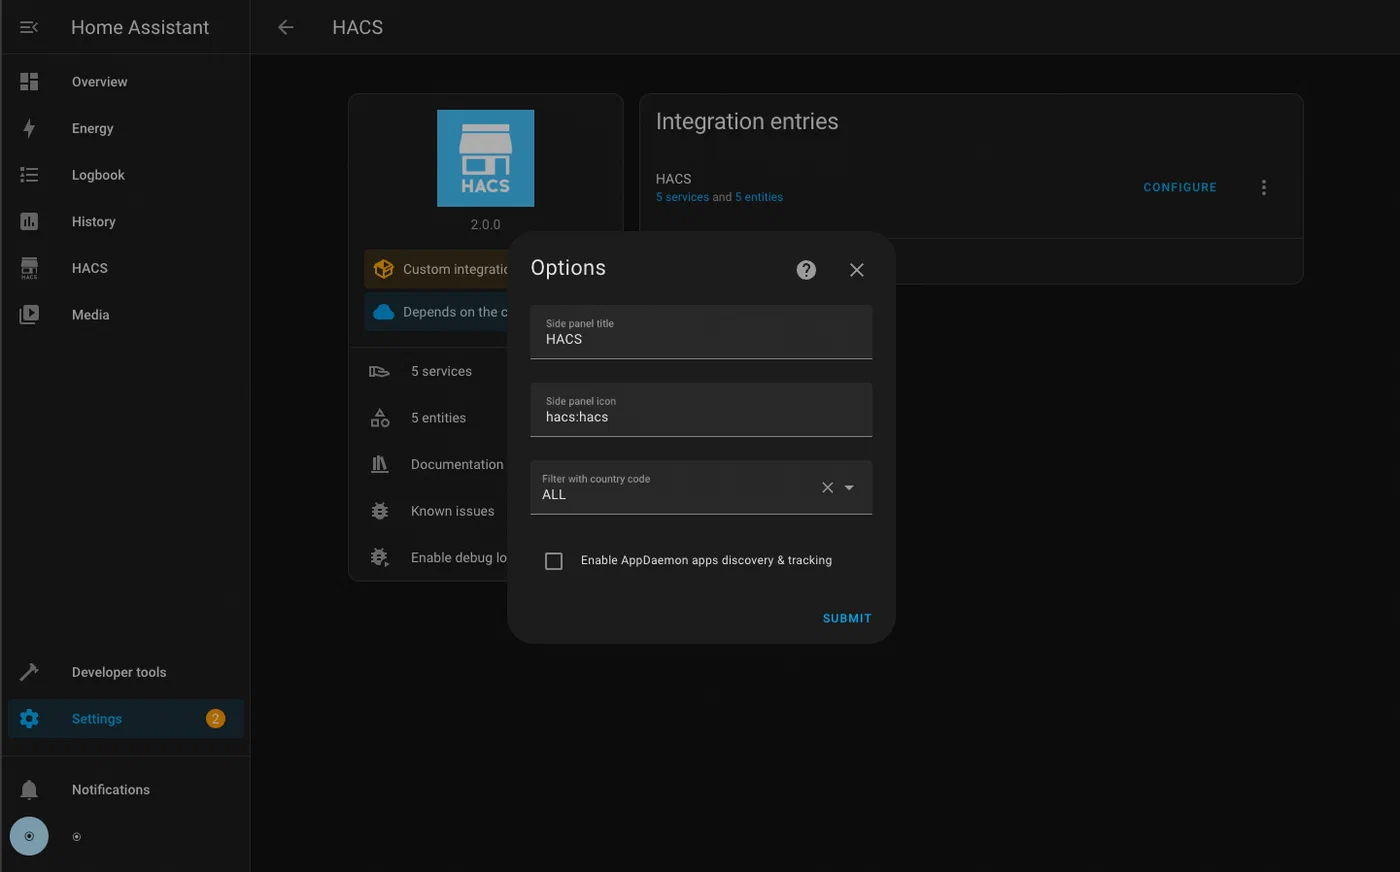
}Without this file, HA shows the raw key names (host, api_key) as form labels, which is a poor experience for end users. If your integration supports post-setup options - like changing the polling interval without removing and re-adding the integration - implement async_get_options_flow() to return an OptionsFlow subclass that follows the same async_step_user() pattern.
For integrations requiring OAuth2 (common for cloud-connected devices), HA provides homeassistant.helpers.config_entry_oauth2_flow.AbstractOAuth2FlowHandler as a base class. It handles the full OAuth2 authorization code flow, including opening the browser to the authorization URL, receiving the callback, exchanging the code for tokens, and persisting the token data. You supply the OAuth2 client ID, secret, and authorize/token URLs; HA handles the rest. Token refresh is also managed automatically through homeassistant.helpers.config_entry_oauth2_flow.OAuth2Session, which wraps your API calls and transparently refreshes the access token when it expires.
Implementing Sensor and Switch Entities
Sensor and switch entities are the two most common entity types in custom integrations - sensors for read-only data and switches for on/off control. Both follow the same pattern: subclass the appropriate HA entity base class, implement the required properties, and link to a shared data coordinator.
The DataUpdateCoordinator Pattern
Before writing individual entity classes, set up a DataUpdateCoordinator. This is the correct way to share a single polling connection across multiple entities. Without it, each entity would independently poll the device on its own schedule, producing N network requests where one would do.
from datetime import timedelta
from homeassistant.helpers.update_coordinator import DataUpdateCoordinator, UpdateFailed

_LOGGER = logging.getLogger(__name__)

class MyDeviceCoordinator(DataUpdateCoordinator):
    def __init__(self, hass, client):
        super().__init__(
            hass,
            _LOGGER,
            name="My Device",
            update_interval=timedelta(seconds=30),
        )
        self.client = client

    async def _async_update_data(self):
        """Fetch data from the device. Called by the coordinator on each interval."""
        try:
            return await self.client.async_get_state()
        except DeviceConnectionError as err:
            raise UpdateFailed(f"Error communicating with device: {err}") from err
The coordinator calls _async_update_data() on the configured interval. If the fetch fails, raising UpdateFailed causes HA to mark all entities linked to this coordinator as unavailable - which is exactly the right behavior when the device is offline. All entities that need the device data subscribe to the coordinator, and HA notifies them when fresh data arrives.
Sensor Entity
from homeassistant.components.sensor import SensorEntity, SensorDeviceClass, SensorStateClass
from homeassistant.const import UnitOfTemperature
from homeassistant.helpers.update_coordinator import CoordinatorEntity
from homeassistant.helpers.entity import DeviceInfo

from .const import DOMAIN

class MyTemperatureSensor(CoordinatorEntity, SensorEntity):
    _attr_device_class = SensorDeviceClass.TEMPERATURE
    _attr_native_unit_of_measurement = UnitOfTemperature.CELSIUS
    _attr_state_class = SensorStateClass.MEASUREMENT
    _attr_has_entity_name = True
    _attr_name = "Temperature"

    def __init__(self, coordinator, device_id):
        super().__init__(coordinator)
        self._device_id = device_id
        self._attr_unique_id = f"{device_id}_temperature"
        self._attr_device_info = DeviceInfo(
            identifiers={(DOMAIN, device_id)},
            name="My Device",
            manufacturer="Acme Corp",
            model="Widget Pro",
        )

    @property
    def native_value(self):
        return self.coordinator.data.get("temperature")
The DeviceInfo object is what groups related entities under a single “device” in HA’s Settings → Devices UI. All entities that share the same identifiers tuple appear together, which makes the integration feel polished and easy to manage.
Switch Entity
from homeassistant.components.switch import SwitchEntity
from homeassistant.helpers.update_coordinator import CoordinatorEntity

class MyPowerSwitch(CoordinatorEntity, SwitchEntity):
    _attr_has_entity_name = True
    _attr_name = "Power"

    def __init__(self, coordinator, client, device_id):
        super().__init__(coordinator)
        self.client = client
        self._attr_unique_id = f"{device_id}_power"
        self._attr_device_info = DeviceInfo(
            identifiers={(DOMAIN, device_id)},
            name="My Device",
        )

    @property
    def is_on(self):
        return self.coordinator.data.get("power_state") == "on"

    async def async_turn_on(self, **kwargs):
        await self.client.async_set_power(True)
        await self.coordinator.async_request_refresh()

    async def async_turn_off(self, **kwargs):
        await self.client.async_set_power(False)
        await self.coordinator.async_request_refresh()
After sending a command in async_turn_on() or async_turn_off(), call coordinator.async_request_refresh() to immediately fetch updated state rather than waiting for the next polling interval. This makes the switch feel responsive in the HA UI.
Why Everything Must Be Async
Home Assistant runs on a single-threaded asyncio event loop. All I/O - network requests, file reads, anything that blocks - must be awaited. If you call a blocking function directly (without await), it freezes the entire event loop and prevents HA from processing any other events, including other automations and UI interactions. Your device SDK must expose async methods, or you must wrap blocking calls using hass.async_add_executor_job(blocking_function, args) to run them in a thread pool executor without blocking the loop.
Packaging for HACS Distribution
Once the integration works locally, packaging it for HACS distribution requires a few additional files and a public GitHub repository.
The repository must have the custom_components/DOMAIN/ directory at its root, where DOMAIN matches your integration’s domain string. HACS also requires a hacs.json file at the repository root:
{
  "name": "My Integration",
  "render_readme": true
}
That is the minimum. HACS uses GitHub releases to version integrations. Create a release tagged v1.0.0 (semantic versioning, matching the version field in manifest.json). Users installing through HACS will always get the latest release tag, not the raw main branch - so you must create a GitHub release for each version you want users to receive.
To be listed in the HACS default store (the integration list users see out-of-the-box without adding a custom repository URL), open a pull request to the hacs/default repository. This triggers automated validation that checks code quality, manifest completeness, presence of translations, and repository structure. The validation is strict but well-documented - the HACS validation tool can be run locally as a GitHub Action before submitting.
A useful README.md is required for HACS default store acceptance. At minimum it must cover: how to install the integration (both via HACS and manually), what configuration options the setup flow asks for, and a table of entities created by the integration with their entity IDs, units, and what they represent.
Before submitting to the HACS default store, run through a brief security checklist: ensure API keys and credentials are never logged (even at debug level), verify that the integration does not make any outbound network requests to unexpected hosts, confirm that all user-supplied input is validated before being used in API calls, and check that the integration does not write files outside of HA’s expected data directories.
Testing and Debugging
Production-quality HA integrations include automated tests. The official testing library for custom integrations is pytest-homeassistant-custom-component , which provides pytest fixtures that replicate HA’s internal infrastructure without requiring a running HA instance.
A basic integration test mocks the device client, calls async_setup_entry(), and then inspects HA’s state machine to verify that expected entities appeared with correct values:
import pytest
from unittest.mock import AsyncMock, patch
from homeassistant.core import HomeAssistant
from pytest_homeassistant_custom_component.common import MockConfigEntry

from custom_components.my_integration.const import DOMAIN

@pytest.fixture
def mock_client():
    with patch(
        "custom_components.my_integration.MyDeviceClient",
        autospec=True,
    ) as mock:
        mock.return_value.async_get_state = AsyncMock(return_value={
            "temperature": 22.5,
            "power_state": "on",
        })
        mock.return_value.async_verify_connection = AsyncMock(return_value=True)
        yield mock

async def test_sensor_setup(hass: HomeAssistant, mock_client):
    entry = MockConfigEntry(
        domain=DOMAIN,
        data={"host": "192.168.1.100", "api_key": "test-key"},
    )
    entry.add_to_hass(hass)
    await hass.config_entries.async_setup(entry.entry_id)
    await hass.async_block_till_done()

    state = hass.states.get("sensor.my_device_temperature")
    assert state is not None
    assert state.state == "22.5"
The hass.states.get() call is your primary assertion mechanism - it retrieves the current state of any entity by its full entity ID, letting you verify both the state value and any state attributes.
For config entry schema migrations (when you release a new version that changes the structure of stored config data), implement async_migrate_entry() in __init__.py. HA calls this function automatically when it detects a stored config entry with a lower VERSION than the current integration declares. Inside it, you transform the old data format into the new one and return True on success:
async def async_migrate_entry(hass, config_entry):
    if config_entry.version == 1:
        new_data = {**config_entry.data, "polling_interval": 30}
        hass.config_entries.async_update_entry(
            config_entry, data=new_data, version=2
        )
    return True
Without async_migrate_entry(), upgrading the integration version can leave existing users with a broken config entry that HA cannot load.
Common runtime errors to know:
IntegrationNotFound: The directory name does not match thedomainfield inmanifest.json, or the directory is in the wrong location.ConfigEntryNotReady: Raised inasync_setup_entry()when the device is unreachable at startup. HA catches this exception and schedules automatic retries with exponential backoff - use it instead of silently failing.HomeAssistantError: The general-purpose exception for user-visible failures in entity methods. Raise it fromasync_turn_on()or similar methods when the device returns an error, and HA will surface it as a notification to the user.
To validate your configuration file syntax without starting the full HA server, use the built-in config check script:
python -m homeassistant --config /path/to/config --script check_configThis catches YAML syntax errors and missing required fields in configuration.yaml without the overhead of a full startup.
A Template to Fork
Rather than starting from scratch, the most practical path for a new integration is to fork an existing well-structured example. The integration_blueprint repository provides a complete, minimal integration skeleton with all the required files, a working config flow, a coordinator, a sensor platform, and a full test suite. It is the canonical starting point recommended by the HA developer documentation and passes HACS default store validation out of the box. Clone it, rename the domain throughout all files, replace the mock API client with your real device SDK, and you have a deployable HACS integration with less than an hour of setup work.
The integration blueprint also demonstrates how to wire up the async_migrate_entry() function, configure GitHub Actions to run the test suite on every push, and structure the strings.json/translations/en.json files for localization - details that are easy to overlook when building from scratch but critical for acceptance into the HACS default store.
Writing a custom integration is a meaningful investment of time, but the payoff is a device that behaves exactly like any other first-class HA integration - appearing in the devices registry, supporting entity-level enables and disables, participating in areas, and available for every automation and dashboard that HA supports. For devices that fall outside HA’s built-in coverage, it is the most complete solution available.