Build a DIY Smart Mirror with Home Assistant Integration

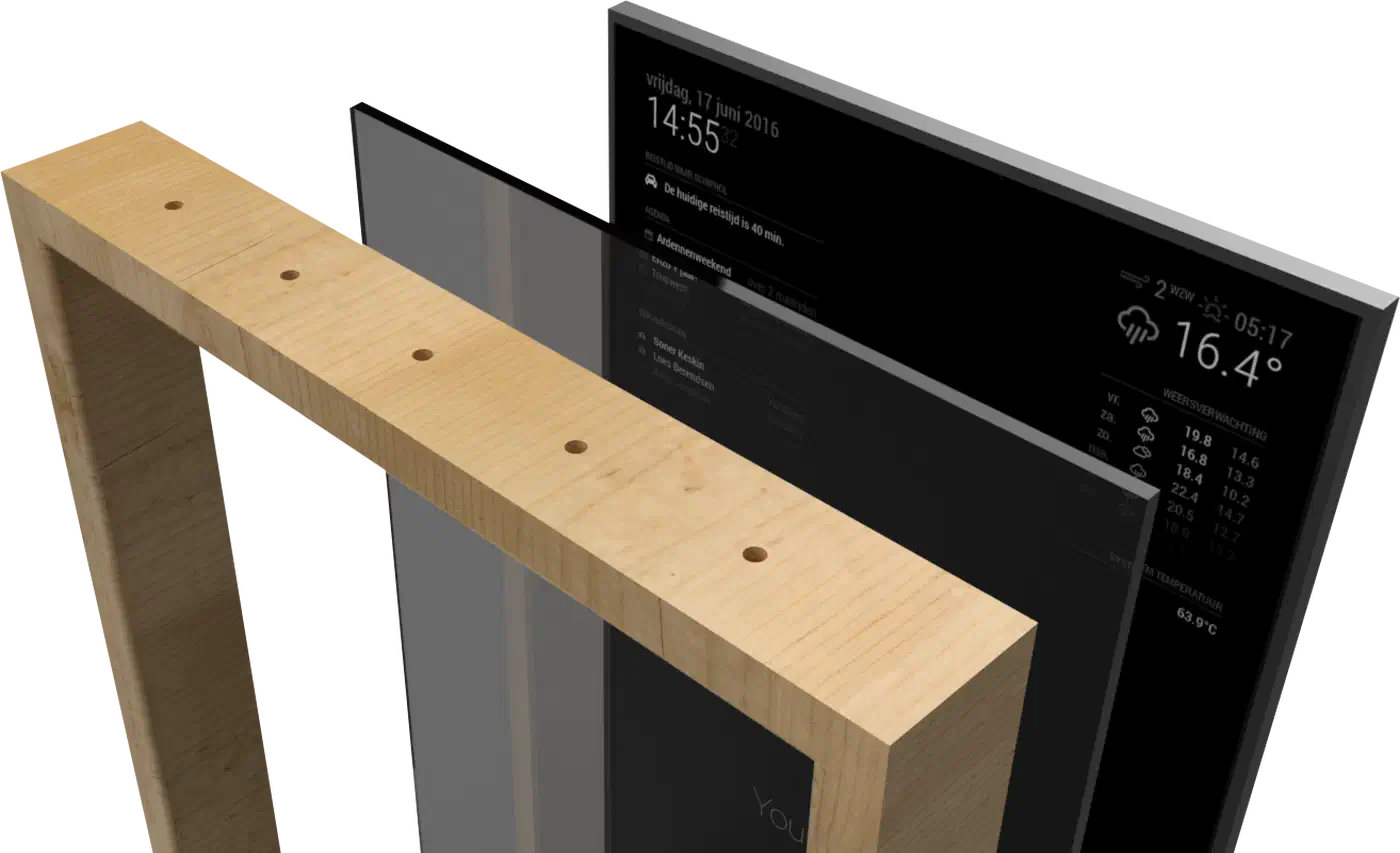
A DIY smart mirror uses a two-way mirror panel, a monitor, and a Raspberry Pi running MagicMirror² . Behind the glass, the monitor shows widgets that seem to float in the reflection. Link it to Home Assistant and it turns from a novelty into a useful home panel. You see which lights are on, if the front door is locked, and your next calendar event.
Materials and Hardware Shopping List
Getting the parts right before you cut or mount saves a lot of pain. Two pieces shape the final build: the mirror and the monitor.
Two-Way Mirror
Acrylic spy mirror sheets (sometimes called “two-way mirror acrylic”) cost about $20 to $45 for a 12"x16" sheet. You can cut acrylic with a circular saw or a scoring knife. The lower price is forgiving for first-time builders. The optical quality is fine: text and widgets show clearly in dim light. The downside is that acrylic scratches more than glass, and large sheets can flex and warp the image.
Glass two-way mirror starts at $100 to $150 for a custom-cut panel. The optical quality is better: less distortion, less scratching, and a more polished look. Glass needs pro cutting (most glass shops will cut it for $20 to $30 extra) and far more care when you handle it. For a permanent living room or bedroom build, glass is worth the price. For a first build or workshop test, start with acrylic.
The key spec for either material: a reflective to clear ratio near 50/50 or 70/30 (reflective/clear). More reflectivity gives a better mirror look but dims the widgets, so you’ll need a brighter monitor. Less reflectivity makes widgets pop but weakens the mirror effect in bright rooms. A 70% panel works well in rooms with light control. A 50% panel works better in bright rooms.
Monitor
Any IPS or VA 1080p monitor with slim bezels works. The key points are:
- Slim bezels: the frame should hide the monitor edges. Wide bezels show a dark border.
- High brightness: two-way glass dims the screen. 300+ nits helps; 400+ nits is better.
- VESA holes: needed for clean rear mounting inside the frame.
- Matte panel: glossy panels add reflections behind the glass.
A 24-inch 1080p IPS monitor at 300+ nits runs $100 to $160. Used office monitors with slim bezels (Dell P-series, LG 24" UltraSlim) are great value on eBay at $40 to $60.
Compute
The Raspberry Pi 5 (4GB) is the pick for a 2026 build. MagicMirror² is a Node.js Electron app: it runs in a Chromium window and gains from the Pi 5’s faster CPU and GPU over the Pi 4. The Pi 4 still runs MagicMirror² fine; the Pi 5 makes it smoother.
A Pi 4 (4GB) works fine and costs less if you have one. Skip the Pi Zero 2W: low RAM makes Chromium choke on complex layouts.
Frame Construction
Three practical approaches:
Wood frame: cheapest and most familiar. 3/4" MDF, routed with a channel so the monitor sits flush behind the glass, makes a clean, paintable frame. Needs basic woodworking tools and patient measuring.
Aluminum extrusion: 20x20mm T-slot extrusion gives a modern, industrial look and is exact without any wood tools. Parts from MakerBeam or Misumi, with corner brackets and T-nuts, bolt together without welding. The clean metal look suits a minimal space.
Repurposed picture frame: a large, deep frame from a thrift store or IKEA (RIBBA, HOVSTA) can work with light changes if it fits your monitor. This is the fastest path from parts to a finished mirror.
Building the Physical Frame and Mirror Assembly
Careful measuring stops the two most common build problems: light bleed and monitor misalignment. Before you build anything, measure your monitor’s active display area. Skip the full monitor size; you want just the bezel-to-bezel screen size. Cut the mirror panel to match this exactly.
Light bleed is the enemy of a clean smart mirror. Any gap between the back of the mirror and the front of the monitor lets light leak around the edges. The result is a glowing border in the reflection that looks cheap. The fix is to seat the mirror flush against or just over the monitor bezel on all four sides, with no gaps. Black foam weatherstripping tape (3mm thick, 15mm wide) on the monitor bezel makes a light seal and cushions the mirror panel.
Routing the frame: the wood or aluminum frame needs a channel or lip on the front to hold the glass, plus a mount surface on the back for the monitor. The monitor should sit recessed just enough that its screen is flush with or just behind the mirror’s back face. A 3 to 5mm recess is typical, plus the thickness of the foam seal.
Wiring: power cables (monitor, Pi) and the HDMI cable need to exit the frame out of sight. Route them through a channel in the bottom or back of the frame, exiting at the wall mount point. Cable channels ($5 at hardware stores) keep this clean if you’re wall-mounting.
Mounting the Pi: mount the Pi to the back of the monitor with a VESA adapter or double-sided tape on the rear panel. Keep the Pi reachable so you can pull the SD card if you need to reflash.
Mounting options: a wall mount in portrait works well for bedroom mirrors. Landscape works better for hallway or kitchen builds, where the calendar and clock need more width than height. A freestanding mirror stand lets you move it, but looks less clean for a fixed install.
Installing and Configuring MagicMirror²
MagicMirror² is a Node.js Electron app. It renders modules in a full-screen browser window. To install on Raspberry Pi OS:
# Install Node.js (LTS version)
curl -fsSL https://deb.nodesource.com/setup_20.x | sudo -E bash -
sudo apt install -y nodejs

# Install MagicMirror²
git clone https://github.com/MichMich/MagicMirror
cd MagicMirror
npm install

# Copy and edit the config
cp config/config.js.sample config/config.js
nano config/config.jsCore config: the config.js file defines regions (top_bar, top_left, top_center, top_right, upper_third, middle_center, lower_third, bottom_left, bottom_center, bottom_right) and assigns modules to each. Example layout:
modules: [
  {
    module: "clock",
    position: "top_center",
    config: { displaySeconds: false, showPeriod: false }
  },
  {
    module: "weather",
    position: "top_right",
    config: {
      weatherProvider: "openmeteo",
      lat: 40.7128,
      lon: -74.0060,
      units: "metric"
    }
  },
  {
    module: "calendar",
    position: "upper_third",
    config: {
      calendars: [{
        url: "https://calendar.google.com/calendar/ical/YOUR_CALENDAR_ID/basic.ics"
      }]
    }
  }
]
Autostart with pm2: PM2 is a Node.js process manager. It starts MagicMirror² on boot:
sudo npm install -g pm2
pm2 start ~/MagicMirror/installers/mm.sh --name MagicMirror
pm2 startup
pm2 save
If the Pi takes too long to reach the display after power on, analyzing boot time with systemd-analyze can surface blocking services that add extra seconds before MagicMirror² loads.
PIR motion sensor for auto-blanking: a cheap PIR sensor ($3 on AliExpress) wired to a GPIO pin, plus the MMM-PIR-Sensor module, blanks the display after 60 seconds of no motion and wakes it when someone walks up. It extends the panel’s life and cuts power use:
npm install --save MMM-PIR-SensorHome Assistant Integration
Linking to Home Assistant gives the mirror live state from your home. There are two main ways to do it.
MMM-HomeAssistant-Items
The MMM-HomeAssistant-Items module shows HA entity states in a MagicMirror² panel. It talks to the HA REST API with a Long-Lived Access Token:
Create the token in Home Assistant: Profile > Long-Lived Access Tokens > Create Token. Copy it right away. It is shown only once.
cd ~/MagicMirror/modules
git clone https://github.com/jeffreyhu3/MMM-HomeAssistant-Items
cd MMM-HomeAssistant-Items && npm install
// In config.js
{
module: "MMM-HomeAssistant-Items",
position: "bottom_left",
config: {
host: "homeassistant.local",
port: 8123,
token: "YOUR_LONG_LIVED_ACCESS_TOKEN",
entities: [
{ entity: "light.living_room", icon: "💡", name: "Living Room" },
{ entity: "lock.front_door", icon: "🔒", name: "Front Door" },
{ entity: "sensor.outdoor_temperature", icon: "🌡", name: "Outside" }
]
}
}Security note: make a dedicated HA user with read-only rights for the mirror token. Don’t use an admin token. If the Pi is ever owned, the attacker gets a read-only view of entity states, not full HA admin access.
HA Lovelace Dashboard as Kiosk (Alternative)
A stronger option than MagicMirror² modules is to point Chromium straight at a Home Assistant Lovelace dashboard built for the mirror:
# Start Chromium in kiosk mode pointing at HA
chromium-browser --kiosk --noerrdialogs --disable-infobars \
  --app=http://homeassistant.local:8123/dashboard-mirror
You get every HACS card, live WebSocket entity updates, and the full HA dashboard tools. The trade-off: the MagicMirror² look (white widgets on dark, floating in the mirror) is swapped for HA’s own dashboard look. If you’re deep into Home Assistant, the kiosk path is stronger and needs less custom setup.
Automation ideas:
- Show a reminder when the front door is still unlocked after sunset.
- Show live energy use from a smart meter entity.
- Show a “Good Morning” greeting with today’s events and weather when motion is first seen after 6AM.
- Show an alert when a leak sensor or smoke detector fires.
Finishing Touches and Practical Tips
Light bleed troubleshooting: if you see glowing edges around the display area in the final mirror, add more black foam tape around the monitor bezel. Then check that the mirror panel is pressed firm against all four edges. A thin strip of black electrical tape on the monitor frame, hidden inside the build, catches any remaining light.
Touchscreen option: thin IR touch frames (sometimes called “IR touch overlays”) sit between the front of the monitor and the back of the glass. They sense finger position by breaking infrared beams. They plug in by USB and show up as a standard HID touchscreen on Linux. A 24-inch IR frame costs about $50 on AliExpress. With touch, MagicMirror² modules or the HA kiosk dashboard get interactive. That’s handy for flipping lights right from the mirror.
Voice control: a USB microphone on the Pi, plus Home Assistant’s Assist pipeline (with Whisper locally or cloud STT), adds voice commands. “Hey Jarvis, turn off the living room lights” from in front of the mirror is genuinely useful. It’s also fast when HA Assist runs on a local Whisper instance.
Safety and weight: a 24-inch monitor with a glass panel in a wood frame can weigh 8 to 12 kg. Use the right wall anchors for your wall (drywall needs hollow-wall anchors rated for 15 kg or more, not basic drywall screws). A full mirror falling off the wall is a real safety hazard, so mount it well.
Electrical safety: the monitor, Pi power supply, and any powered USB hubs should plug into a properly rated surge protector, not into each other in a daisy chain. Keep all mains wiring at the rear of the frame, away from the front, with no bare conductors inside the wood cavity. If you route mains power through the frame, use properly insulated conduit.
A well-built smart mirror looks oddly elegant. Useful info seems to float in your own reflection and blends into the room in a way that a mounted iPad or screen just doesn’t.