 Botmonster Tech
Build powerful TUI apps in Python with Textual and Rich

Terminal apps used to mean raw curses calls and a lot of pain. Today, Python’s Textual and Rich libraries have flipped that. In under 50 lines of Python you get a full-screen app with styled layouts, widgets, keyboard control, and live data. No web browser. No Electron. No JavaScript. This post walks through both libraries, shows how they fit together, and builds up to a full working example you can extend right away.
Why TUIs Are Worth Your Attention Again
Terminal user interfaces fell out of fashion when web apps took over in the 2000s. For a long time, anything that needed a real UI went to a browser. The terminal was left to quick CLI scripts and the odd top instance.
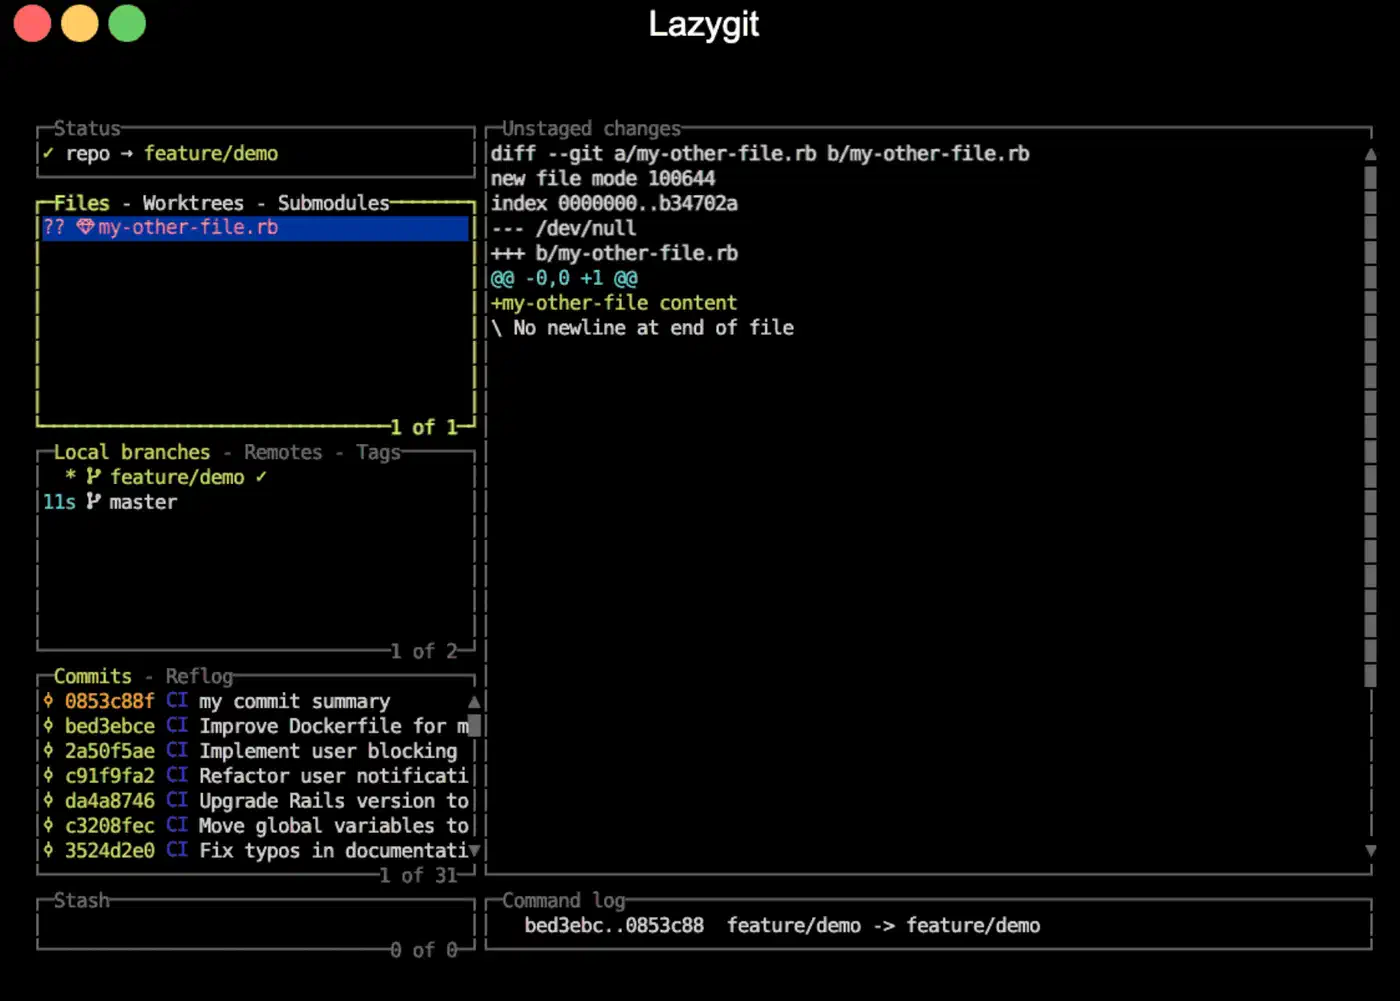
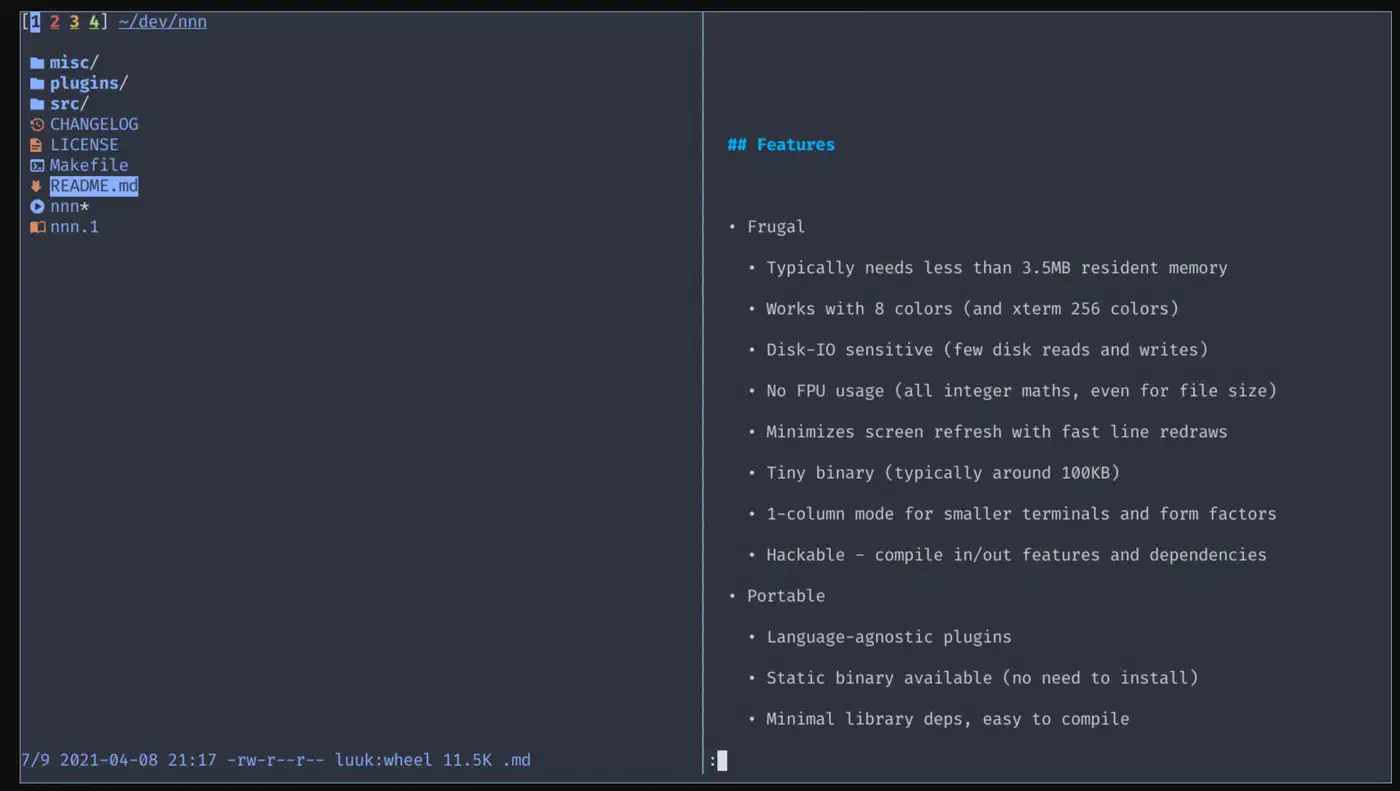
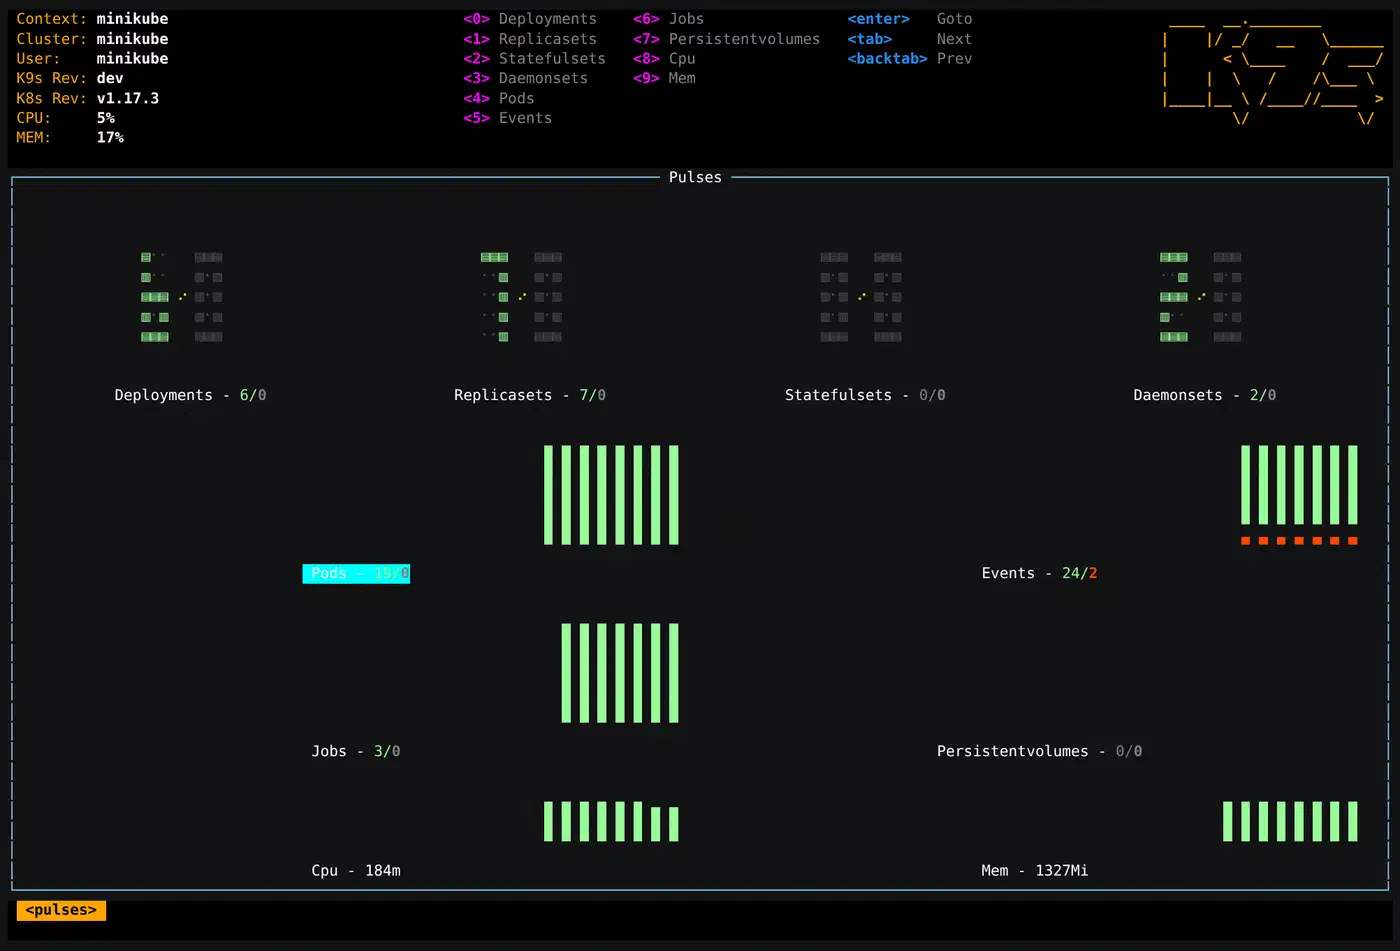
That has shifted. A lot of serious dev work now happens in SSH sessions, inside containers, or on headless servers. On those, spinning up a browser is not an option. Fast tools like lazygit, k9s, and nnn show that TUIs can beat their GUI rivals for speed and feel in keyboard-driven work. And on the Python side, the Rich and Textual libraries from Will McGugan have killed the old excuse that TUIs are too hard to build. If you prefer Go, the same ideas apply with Cobra and Bubble Tea. The trend reaches AI tooling too: AI coding CLIs like Google’s Antigravity now run their whole agent loop inside the terminal, while editor-based rivals such as Cursor’s Composer keep theirs in a GUI pane.
The split between the two libraries is worth getting clear upfront:
- Rich renders good-looking output in the terminal. Tables, progress bars, syntax-highlighted code, styled text, trees, log panels: Rich makes all of these easy in any Python script. You are still writing a script. Rich just makes the output look great.
- Textual is a full app framework built on Rich. It gives you a component model (App plus Widgets), CSS-like stylesheets, reactive state, an async event loop, mouse support, and a dev console. You reach for Textual when you need an interactive, full-screen app rather than one-shot output.
Most projects start with Rich and move to Textual once they need interactivity. Both install from PyPI and have no system needs beyond a fairly modern terminal. iTerm2, Alacritty, Kitty, Windows Terminal, and any VTE-based terminal on Linux all work fine.
Textual vs the Other Python TUI Libraries
Rich and Textual are not the only options. Here is how the main Python TUI libraries compare so you can pick the right one before you start:
| Library | Type | Interactive | Styling | Best for |
|---|---|---|---|---|
| Textual | Full app framework | Yes, full event loop | CSS-like .tcss | Interactive full-screen apps |
| Rich | Rendering library | No | Markup and styles | Pretty output inside scripts |
| prompt-toolkit | Input and REPL toolkit | Yes | Manual styling | Line editors, REPLs, rich prompts |
| urwid | Widget toolkit | Yes, callback-based | Palette attributes | Mature apps, multiple event loops |
| blessed | Terminal capability wrapper | You build it | Raw color and positioning | Low-level control, custom rendering |
For a new interactive project, Textual is the default pick. It gives you the most for the least code. prompt-toolkit shines when the app is mostly line editing, which is why it powers IPython and pgcli. urwid is the veteran choice with a long track record. blessed hands you terminal primitives like color and cursor control and nothing else, so you build the widget layer yourself.
Getting Beautiful Terminal Output with Rich
Even if you never build a full TUI, Rich is worth adding to every Python project. The jump in output quality over plain print() is huge, and it takes very little extra code.
pip install richBasic Usage
Swap print for Rich’s Console object, and your strings support markup:
from rich.console import Console
from rich.markup import escape

console = Console()
console.print("[bold cyan]Deployment started[/bold cyan]")
console.print(f"Server: [green]{escape(hostname)}[/green]")
console.print("[red]Error:[/red] connection refused", style="on dark_red")
The markup syntax uses [style]text[/style] tags. The escape() function counts when you print user-supplied data: it blocks markup injection. That is a real concern for tools that show outside content like log files or API responses.
Tables, Panels, and Trees
from rich.table import Table
from rich.panel import Panel
from rich import print as rprint

table = Table(title="Benchmark Results")
table.add_column("Model", style="cyan")
table.add_column("Tokens/s", justify="right", style="green")
table.add_column("VRAM (GB)", justify="right")

table.add_row("Qwen 2.5 7B", "82", "5.1")
table.add_row("Llama 3.2 3B", "134", "2.8")
table.add_row("Mistral 7B v0.3", "78", "5.3")

rprint(Panel(table, title="RTX 5070 - ollama 0.5.1"))
Rich sets column widths, borders, and alignment for you. The Panel widget draws a titled box around any content you can render.
Progress Bars
Rich gives you a Progress context manager. It draws live progress bars to stderr and leaves stdout alone:
from rich.progress import Progress, SpinnerColumn, TimeElapsedColumn
import time

with Progress(SpinnerColumn(), *Progress.get_default_columns(), TimeElapsedColumn()) as progress:
    task = progress.add_task("Processing files...", total=1000)
    for i in range(1000):
        time.sleep(0.001)
        progress.advance(task)
Syntax Highlighting
from rich.syntax import Syntax

code = '''
def fibonacci(n: int) -> int:
    if n <= 1:
        return n
    return fibonacci(n - 1) + fibonacci(n - 2)
'''

syntax = Syntax(code, "python", theme="monokai", line_numbers=True)
console.print(syntax)
Rich uses Pygments under the hood. It supports every language and theme that Pygments knows.
Building Your First Textual App
Once you need interactivity (buttons, inputs, selectables, live panels, keyboard shortcuts), Textual is the right tool.
pip install textualA Textual app has three core concepts:
- App: the root class that sets the overall structure and runs the event loop
- Widgets: reusable UI parts (buttons, inputs, tables, custom parts)
- Screens: named “pages” that the App can push and pop, much like nav stacks in mobile apps
Here is a minimal but complete Textual app:
from textual.app import App, ComposeResult
from textual.widgets import Header, Footer, Button, Label
from textual.containers import Vertical

class CounterApp(App):
    CSS = """
    Vertical {
        align: center middle;
    }
    Label {
        padding: 1 2;
        border: round $primary;
        width: auto;
    }
    Button {
        margin: 1;
    }
    """

    count = 0

    def compose(self) -> ComposeResult:
        yield Header()
        with Vertical():
            yield Label(str(self.count), id="counter")
            yield Button("Increment", id="increment", variant="primary")
            yield Button("Reset", id="reset", variant="warning")
        yield Footer()

    def on_button_pressed(self, event: Button.Pressed) -> None:
        if event.button.id == "increment":
            self.count += 1
        elif event.button.id == "reset":
            self.count = 0
        self.query_one("#counter", Label).update(str(self.count))

if __name__ == "__main__":
    CounterApp().run()
The compose() method uses yield to build the widget tree. The CSS class variable holds inline Textual CSS. Event handlers are methods named on_{widget_type}_{event}, and Textual routes them for you based on that name.
Reactive State and the Event System
Manual UI updates like the query_one().update() call above work fine for simple cases. For anything trickier, Textual’s reactive descriptors fire UI updates on their own when data changes. The model is much like useState in React.
from textual.app import App, ComposeResult
from textual.reactive import reactive
from textual.widgets import Header, Footer, Label, Input
from textual.containers import Vertical

class LivePreviewApp(App):
    CSS = """
    Label#preview {
        border: round $accent;
        padding: 1 2;
        margin: 1;
        height: 3;
    }
    """

    user_text: reactive[str] = reactive("")

    def compose(self) -> ComposeResult:
        yield Header()
        with Vertical():
            yield Input(placeholder="Type something...", id="text_input")
            yield Label("", id="preview")
        yield Footer()

    def on_input_changed(self, event: Input.Changed) -> None:
        self.user_text = event.value

    def watch_user_text(self, value: str) -> None:
        preview = self.query_one("#preview", Label)
        preview.update(f"Preview: [bold]{value}[/bold]" if value else "Start typing above...")
The watch_user_text method fires on its own whenever self.user_text changes. You need no explicit update() calls in the event handler. The reactive system handles the link. Splitting “state changed” from “update the UI” keeps logic clean as apps grow.
Background Workers
Textual has a Worker API for running async or threaded tasks without freezing the UI. It is the right pattern for API calls, file I/O, or long jobs:
from textual.app import App, ComposeResult
from textual.widgets import Button, Log
from textual.worker import Worker
import asyncio

class FetchApp(App):
    def compose(self) -> ComposeResult:
        yield Button("Start task", id="start")
        yield Log(id="output")

    def on_button_pressed(self, event: Button.Pressed) -> None:
        self.run_worker(self.fetch_data(), exclusive=True)

    async def fetch_data(self) -> None:
        log = self.query_one(Log)
        for i in range(10):
            await asyncio.sleep(0.5)
            log.write_line(f"Step {i + 1} complete")
run_worker spawns the coroutine without blocking the event loop. The UI stays snappy, and the Log widget updates in real time as the worker spits out output.
CSS Styling and Layouts
Textual’s styling system is one of its best features. It is not quite CSS, but it borrows the same mental model: selectors, properties, inheritance. If you have any web experience, it clicks fast.
Styles live either in the CSS class variable (good for small apps) or in a separate .tcss file loaded with CSS_PATH:
/* app.tcss */
Screen {
    background: $surface;
}

#sidebar {
    width: 30;
    border-right: solid $primary;
    padding: 1;
}

#main {
    width: 1fr;
    padding: 1 2;
}

Button.danger {
    background: $error;
    color: $text;
}

Button.danger:hover {
    background: $error-darken-1;
}
Selectors work on widget IDs (#sidebar), widget types (Button), CSS classes added with add_class(), and pseudo-classes like :hover, :focus, and :disabled. Sizes use either fixed values (30 means 30 terminal cells) or fractional units (1fr means “take all remaining space”).
The DevTools give you a live inspector much like browser dev tools. You start them by running textual devtools in a second terminal while your app runs. You can click any widget to see its computed styles, change CSS properties live, and view the widget tree. This cuts the style edit loop down sharply versus restart-and-check workflows.
Dark and light modes are built in. Textual ships with a $primary, $secondary, $error, $success color system that adapts on its own. Toggle with:
def on_key(self, event: events.Key) -> None:
    if event.key == "d":
        self.dark = not self.dark
Building a Practical Tool: File Size Viewer
Here is a complete, working TUI tool. It scans a directory and shows file sizes in a sortable table, the kind of tool you might actually keep around. The same searchable-table shape powers other shell utilities, like the one for picking and cloning a Gitea repo without leaving the terminal:
from pathlib import Path
from textual.app import App, ComposeResult
from textual.widgets import Header, Footer, DataTable, Input, Label
from textual.containers import Vertical

class FileSizeApp(App):
    TITLE = "File Size Viewer"
    CSS = """
    Input { margin-bottom: 1; }
    DataTable { height: 1fr; }
    """

    def compose(self) -> ComposeResult:
        yield Header()
        with Vertical():
            yield Input(value=str(Path.cwd()), placeholder="Directory path", id="path_input")
            yield Label("", id="status")
            yield DataTable(id="file_table")
        yield Footer()

    def on_mount(self) -> None:
        table = self.query_one(DataTable)
        table.add_columns("Name", "Size", "Type")
        table.cursor_type = "row"
        self.scan_directory(Path.cwd())

    def on_input_submitted(self, event: Input.Submitted) -> None:
        target = Path(event.value)
        if target.is_dir():
            self.scan_directory(target)
        else:
            self.query_one("#status", Label).update("[red]Not a valid directory[/red]")

    def scan_directory(self, path: Path) -> None:
        table = self.query_one(DataTable)
        table.clear()
        entries = []
        try:
            for item in sorted(path.iterdir()):
                size = item.stat().st_size if item.is_file() else 0
                kind = "dir" if item.is_dir() else item.suffix or "file"
                entries.append((item.name, size, kind))
        except PermissionError:
            self.query_one("#status", Label).update("[red]Permission denied[/red]")
            return

        entries.sort(key=lambda x: x[1], reverse=True)
        for name, size, kind in entries:
            size_str = f"{size:,}" if size else "-"
            table.add_row(name, size_str, kind)
        self.query_one("#status", Label).update(f"[green]{len(entries)} entries in {path}[/green]")

if __name__ == "__main__":
    FileSizeApp().run()
Save it as file_viewer.py and run with python file_viewer.py. You get a sortable file size breakdown with keyboard nav built in. No curses, no ncurses bindings, no C extension wrestling.
Structuring a Larger Textual App
The single-file apps above are fine for small tools. Once an app passes a few hundred lines, a flat file turns into a maze. Split it into a package instead:
myapp/
├── __main__.py      # entry point: MyApp().run()
├── app.py           # the App subclass, SCREENS and CSS_PATH
├── screens/         # one Screen subclass per file
│   ├── dashboard.py
│   └── settings.py
├── widgets/         # custom reusable widgets
│   └── stats_panel.py
└── styles/
    └── app.tcss     # external stylesheet
Give each Screen its own module. A Screen is a full-window view, and most real apps have several: a dashboard, a settings page, a detail view. Register them in the App’s SCREENS class variable, then move between them with push_screen("settings") and pop_screen().
Pull styles out of Python. Instead of a long inline CSS string, set the CSS_PATH class variable to a .tcss file. CSS_PATH also takes a list, so each screen can own its stylesheet. Custom widgets can carry a DEFAULT_CSS string so they style themselves wherever you use them.
For data flow, keep state in reactive attributes and let watch_ methods update the display. When one widget needs to tell another that something happened, post a custom message rather than reaching across the tree with query_one. That keeps each widget self-contained and easy to test.
Here is the App class that ties the package together:
from textual.app import App
from screens.dashboard import DashboardScreen
from screens.settings import SettingsScreen

class MyApp(App):
    CSS_PATH = "styles/app.tcss"
    SCREENS = {"dashboard": DashboardScreen, "settings": SettingsScreen}

    def on_mount(self) -> None:
        self.push_screen("dashboard")
Real-World Use Cases
Rich for formatting and Textual for interaction cover a wide range of internal tooling:
Database and API tooling: Query browsers that show results in Rich tables, REST API testers, Redis key explorers. The DataTable widget handles thousands of rows with virtual scrolling.
Log viewers: Textual’s Log widget streams text and scrolls on its own. Pair it with a Worker that tails a file, and you have a filterable, searchable log watcher in under 100 lines.
AI and LLM interfaces: A terminal chat for local models via Ollama fits the Textual model well. Use Input for the prompt, the Markdown widget to render replies (Textual ships with a Markdown renderer), and a Worker to stream tokens as they arrive.
Deployment and ops dashboards: Health check panels, job queue monitors, container status views. If you already ship Python infra code, a Textual dashboard is easy to add and far faster to iterate on than setting up Grafana.
Git workflow tools: Commit selectors, interactive rebasing UIs, diff viewers. The Textual project itself ships Posting, a full HTTP client, and Toolong, a log file viewer, as showcase apps worth a look.
To get started, the Textual documentation is thorough and ships with runnable examples for every widget. Run textual demo after installing to see a gallery of all built-in widgets. The community Discord linked from the docs is active, and the maintainers reply fast to issues.
Terminal apps built with Textual ship as standard Python packages. Your users install with pip install your-tool and run from any terminal. No web browser, no Electron runtime. For developer tooling, that deployment story is hard to beat.
Testing Textual Apps
TUI code does not have to be the untested part of your project. Textual ships first-class testing support built around the Pilot object.
App.run_test() is an async context manager. It runs your app headless, with no real terminal, and hands you a Pilot that fakes user input. Because run_test() is async, your tests are async functions, so you need the pytest-asyncio plugin. Set asyncio_mode = auto in your pytest config and you can skip decorating every test.
import pytest
from counter_app import CounterApp

async def test_increment_button():
    app = CounterApp()
    async with app.run_test() as pilot:
        await pilot.click("#increment")
        await pilot.pause()
        assert app.count == 1
pilot.click() and pilot.press() simulate mouse and keyboard input, and pilot.pause() waits for Textual to process pending messages before you assert. For deeper testing, Hypothesis pairs well with Pilot to stress-test widget logic with generated inputs.
Frequently Asked Questions
Can you use Rich renderables inside a Textual app?
Yes. Textual is built on Rich, so any Rich renderable works inside it. A Table, Syntax, Panel, or styled text passes straight into a Static or Label widget, or comes back from a widget’s own render() method. You write the output once with Rich and drop it into the interactive layout.
Can a Textual app read from a WebSocket or other live source?
Yes. Open the connection inside a Worker so it does not block the event loop, then push incoming data to your widgets as messages or reactive updates. The same pattern covers tailing a file, polling an API, or streaming tokens from a local LLM.
Can I combine Textual with a Typer or Click CLI?
Yes, and it is a common setup. Keep your Typer or Click app as the entry point that handles flags and subcommands. Have one subcommand launch the interface by calling MyApp().run(). The CLI parses arguments, and Textual takes over for the interactive screen.