 Botmonster Tech
Dagger CI pipelines: write your CI in Go or Python instead of YAML

Dagger lets you write CI/CD pipelines in Go, Python, or TypeScript instead of YAML. Your pipelines run inside containers, execute identically on your laptop and in CI, and get type-checked by your compiler or linter before they ever touch a remote runner. If you’ve spent hours pushing commits just to debug a GitHub Actions workflow, Dagger is the fix.
The core idea: pipeline steps are function calls in a real programming language. Each function call builds a directed acyclic graph (DAG) of container operations. The Dagger Engine (built on BuildKit
) executes this graph with automatic parallelization and layer caching. You run dagger call ci --source . locally, get the same result in GitHub Actions, GitLab CI, or CircleCI, and never write vendor-specific YAML again.
Why YAML CI Pipelines Break Down
YAML CI configurations start simple and rot fast. A 20-line GitHub Actions workflow for go test feels clean. Six months later, it’s 400 lines across three files, and nobody remembers why the matrix key has four entries.
The specific pain points that push teams away from YAML:
- A typo in a YAML key silently does nothing. You find out 10 minutes later when the pipeline fails on a remote runner. There is no type checker to catch it before you push.
- You cannot run a GitHub Actions workflow on your laptop. Every change requires a commit, push, wait, read logs, repeat.
- Shared steps become duplicated YAML blocks across repositories. They drift over time, and nobody tracks which copy is current.
- CI logs are your only visibility. No breakpoints, no stepping through, no local reproduction of the failure environment.
- A GitHub Actions workflow does not run in GitLab CI. Switching providers means rewriting everything from scratch.
- Teams end up with one person who understands the CI config. That person goes on vacation, and the pipeline breaks.
These problems compound. A team with 15 microservices maintaining separate YAML workflows per repo spends more time on CI plumbing than on the product. Dagger collapses all of this into testable, type-safe functions in a language developers already know. It is the same trade Gleam makes on the BEAM : keep the runtime, put a real type checker in front of it.
What Dagger Is and How It Works
Dagger is a programmable CI/CD engine. The architecture has three layers:
- The Dagger Engine - a BuildKit-based container runtime that runs on your machine or in CI. It handles container execution, caching, and parallelization.
- The Dagger SDK - available for Go, Python, TypeScript, PHP, and Java. You write pipeline functions using the SDK, and each function call produces a node in the execution graph.
- The Dagger CLI - the command-line interface (
dagger call,dagger functions,dagger check) that triggers execution of your pipeline functions.

When you run dagger call build --source ., the CLI connects to the engine, sends it your function graph, and the engine executes each step in a container. Independent steps run in parallel automatically. Intermediate results are cached by content hash, so unchanged steps are skipped on subsequent runs.
Local/CI parity matters more than any other feature. The same dagger call command works on your laptop, in a GitHub Actions runner, in a GitLab CI job, or in any environment with a container runtime. Your CI workflow file shrinks to “install Dagger, run dagger call.” You can even run it against a checked-out branch in its own directory
to test a feature’s pipeline while your main checkout keeps building.
Writing Your First Pipeline in Go
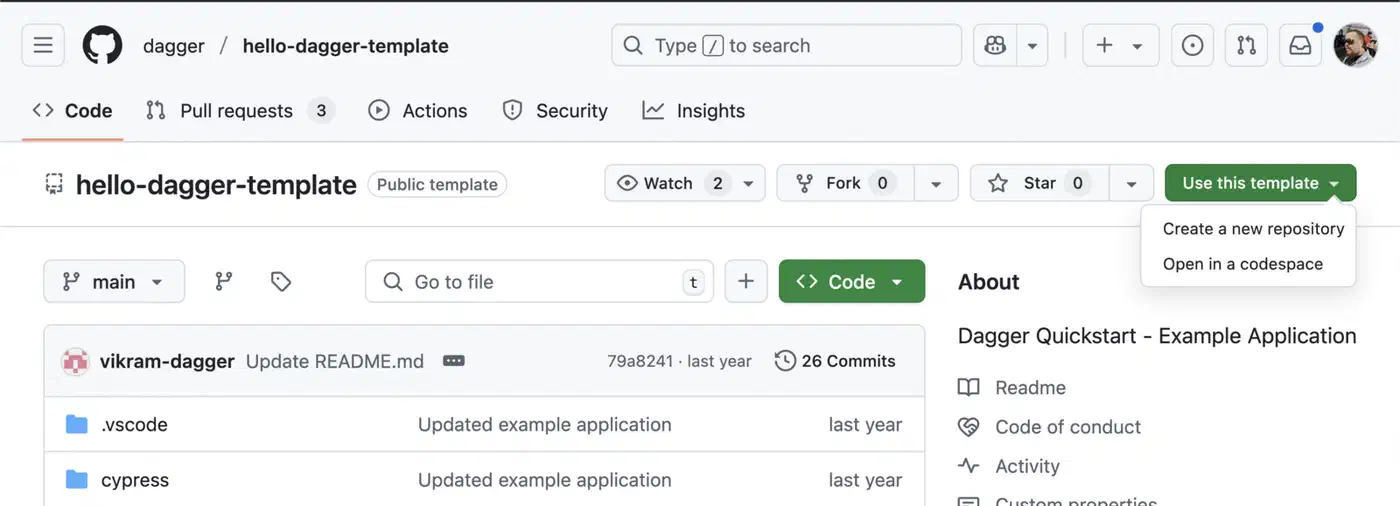
Start by initializing a Dagger module in your project:
dagger init --sdk=go --name=my-projectThis creates a dagger/ directory with main.go and dagger.json. The main.go file is where you define your pipeline functions.
A complete build-test-lint pipeline for a Go project:
package main

import (
    "dagger/my-project/internal/dagger"
)

type MyProject struct{}

func (m *MyProject) Build(source *dagger.Directory) *dagger.File {
    return dag.Container().
        From("golang:1.23").
        WithDirectory("/src", source).
        WithWorkdir("/src").
        WithExec([]string{"go", "build", "-o", "app", "."}).
        File("/src/app")
}

func (m *MyProject) Test(source *dagger.Directory) (string, error) {
    return dag.Container().
        From("golang:1.23").
        WithDirectory("/src", source).
        WithWorkdir("/src").
        WithExec([]string{"go", "test", "./..."}).
        Stdout(ctx)
}

func (m *MyProject) Lint(source *dagger.Directory) (string, error) {
    return dag.Container().
        From("golangci/golangci-lint:latest").
        WithDirectory("/src", source).
        WithWorkdir("/src").
        WithExec([]string{"golangci-lint", "run"}).
        Stdout(ctx)
}
Each function is a self-contained pipeline step. Build returns a *dagger.File (the compiled binary) that you can export to your host. Test and Lint return stdout as a string.
Run it locally:
dagger call build --source .
dagger call test --source .
dagger call lint --source .
Dagger parallelizes independent steps automatically. If you create a CI function that calls Build, Test, and Lint, the engine figures out which ones can run concurrently and does so without any explicit configuration. A deploy pipeline usually adds one more step that must run in order: applying schema migrations before the new code goes live
, so the database matches the version you are about to ship.
Writing the Same Pipeline in Python
For Python projects, initialize with:
dagger init --sdk=python --name=my-projectThis creates dagger/src/main.py. A pipeline for a FastAPI
project using uv
as the package manager:
import dagger
from dagger import dag, function, object_type

@object_type
class MyProject:
    @function
    async def test(self, source: dagger.Directory) -> str:
        return await (
            dag.container()
            .from_("python:3.13-slim")
            .with_directory("/src", source)
            .with_workdir("/src")
            .with_exec(["pip", "install", "uv"])
            .with_exec(["uv", "sync"])
            .with_exec(["uv", "run", "pytest"])
            .stdout()
        )

    @function
    async def build(self, source: dagger.Directory) -> dagger.Container:
        return (
            dag.container()
            .from_("python:3.13-slim")
            .with_directory("/app", source)
            .with_workdir("/app")
            .with_exec(["pip", "install", "uv"])
            .with_exec(["uv", "sync", "--no-dev"])
            .with_entrypoint(["uv", "run", "uvicorn", "main:app"])
        )
Secrets are handled through dagger.Secret objects, so database passwords and API keys are never hardcoded or logged. You can also spin up a PostgreSQL
container as a Dagger service for integration tests, linked by name to your test container. The same pytest step happily runs 1000-example property suites
inside the container, so that CI profile catches edge cases without leaving the Dagger graph.
The commands are identical:
dagger call test --source .
dagger call build --source .
Same pipeline, same caching, same local/CI parity.
Running Dagger in GitHub Actions
The GitHub Actions integration shows why this approach pays off. Your entire workflow file shrinks to roughly 15 lines:
name: CI
on: [push, pull_request]

jobs:
  ci:
    runs-on: ubuntu-latest
    steps:
      - uses: actions/checkout@v4
      - uses: dagger/dagger-for-github@v7
        with:
          version: "0.20.3"
          verb: call
          args: ci --source .
All the logic lives in your Dagger functions, not in YAML. The workflow file just installs Dagger and calls your pipeline.
For secrets, pass GitHub Secrets as environment variables:
      - uses: dagger/dagger-for-github@v7
        with:
          version: "0.20.3"
          verb: call
          args: deploy --token env:DEPLOY_TOKEN
        env:
          DEPLOY_TOKEN: ${{ secrets.DEPLOY_TOKEN }}
A practical migration strategy: keep your existing workflows running while incrementally moving individual steps to Dagger. You don’t need to rewrite everything at once. Move the build step first, then tests, then deployment. Dagger and YAML coexist without issues. If you run CI on your own infrastructure rather than GitHub-hosted runners, see how to build a self-hosted CI/CD pipeline with Gitea Actions and Docker.
Running Dagger in GitLab CI and CircleCI
Dagger is not GitHub-only. GitLab CI integration works with both the Docker executor and the Kubernetes executor. The Dagger Engine gets provisioned using Docker-in-Docker (dind) as a service:
.dagger:
  image: alpine:latest
  services:
    - docker:dind
  variables:
    DOCKER_HOST: tcp://docker:2376
  before_script:
    - apk add curl
    - curl -fsSL https://dl.dagger.io/dagger/install.sh | sh
    - export PATH=$PWD/bin:$PATH

test:
  extends: .dagger
  script:
    - dagger call test --source .
For CircleCI, the pattern is the same: install the Dagger CLI in your job, run dagger call. The pipeline logic stays in your Dagger module regardless of which CI provider triggers it. If you switch from GitLab to GitHub Actions next year, you change the 10-line wrapper, not the 200-line pipeline.
Debugging Dagger Pipelines
YAML pipelines give you logs and nothing else. Dagger lets you debug interactively.
The --interactive flag (or -i for short) drops you into a shell inside the container at the point of failure:
dagger call test --source . --interactiveWhen a step fails, you land in a /bin/sh session with the full filesystem state from the moment of failure. You can inspect files, run commands, check environment variables - everything you’d normally have to guess at from CI logs.
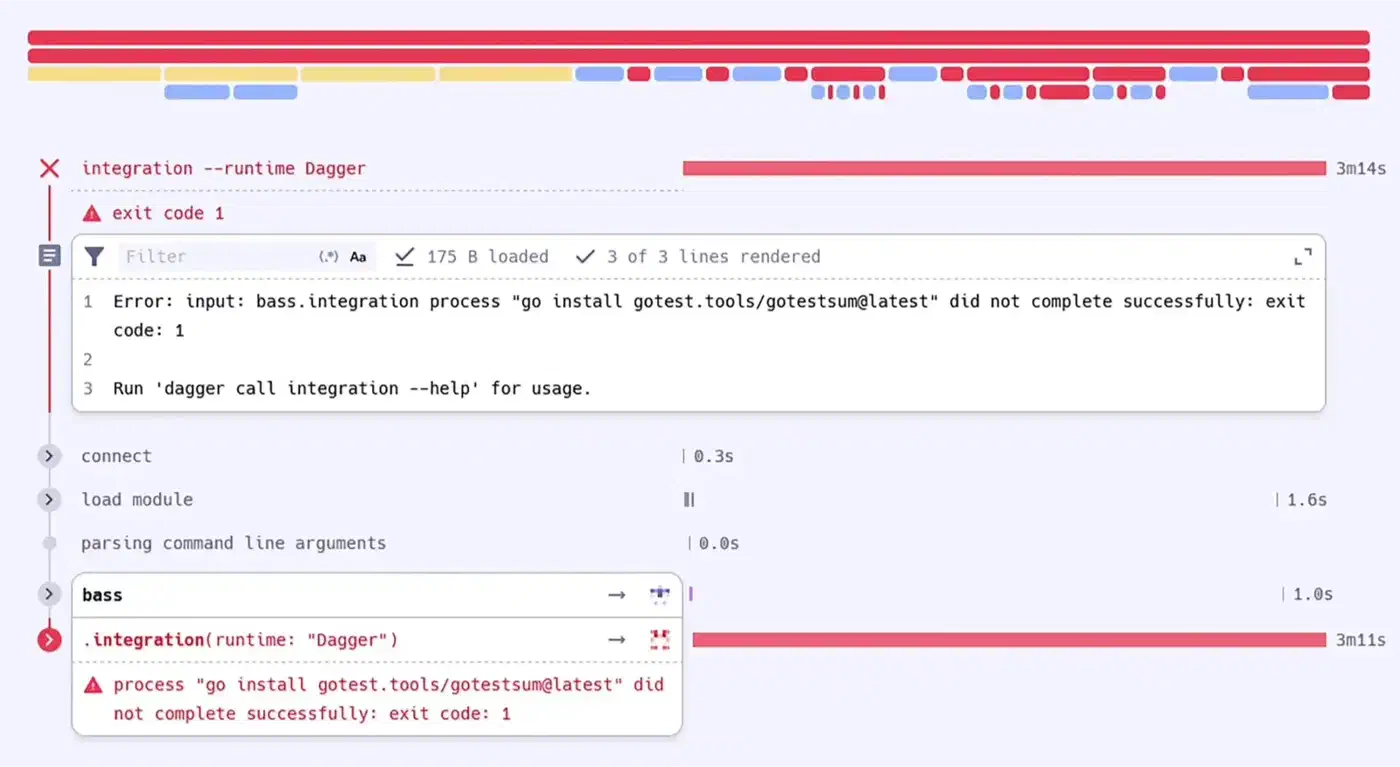
Beyond interactive debugging, Dagger Cloud provides trace visualization. Each pipeline run produces a trace showing the DAG execution, timing for each step, cache hit/miss status, and error context. This is free for individual users.
Dagger Modules and the Daggerverse
Dagger has a module system for sharing reusable pipeline components. The Daggerverse is a registry of community-built modules covering common tasks: Helm deploys, Docker image publishing, Slack notifications, Trivy security scanning, and more.
Using a module:
dagger install github.com/someone/helm-deploy@v1.0
dagger call -m github.com/someone/helm-deploy deploy --chart ./charts/myapp
Modules are versioned by Git tag, so you pin to specific versions. You can compose modules from different authors in a single pipeline - use one module for building, another for security scanning, a third for deployment. Because module code is plain Go or Python, the editors that automate refactors can scaffold and rework it the same way they handle the rest of your project, which they cannot do with opaque YAML.
To publish your own module, export public functions from your Dagger project and run dagger publish. Any function marked as public in your SDK code becomes available to consumers.
Dagger vs YAML vs Earthly: Where Things Stand
| Feature | Dagger | GitHub Actions YAML | Earthly |
|---|---|---|---|
| Pipeline language | Go, Python, TS, PHP, Java | YAML | Makefile + Dockerfile hybrid |
| Local execution | Yes, identical to CI | No | Yes |
| Type checking | Yes (compiler/linter) | No | No |
| Interactive debugging | Yes (--interactive) | No | Limited |
| Vendor lock-in | None (runs anywhere) | GitHub only | None |
| Caching | Automatic, content-addressed | Manual configuration | Automatic |
| Module ecosystem | Daggerverse | GitHub Marketplace | Earthly registry |
| Project status | Active (v0.20, well-funded) | Active | Shut down (July 2025) |
Earthly shut down in July 2025, citing inability to monetize compute as a commodity. If you were considering Earthly, Dagger is the closest alternative with active development and a growing community.
Taskfile is worth mentioning as a simpler option. It replaces Makefiles with cleaner YAML syntax but does not provide containerized execution or CI provider portability. It solves a different (smaller) problem. For a side-by-side look at how Taskfile stacks up against Make and Just across real automation scenarios, see our command runner comparison.
Pricing and Dagger Cloud
The Dagger Engine itself is open source and free. You can run pipelines locally and in CI without paying anything.
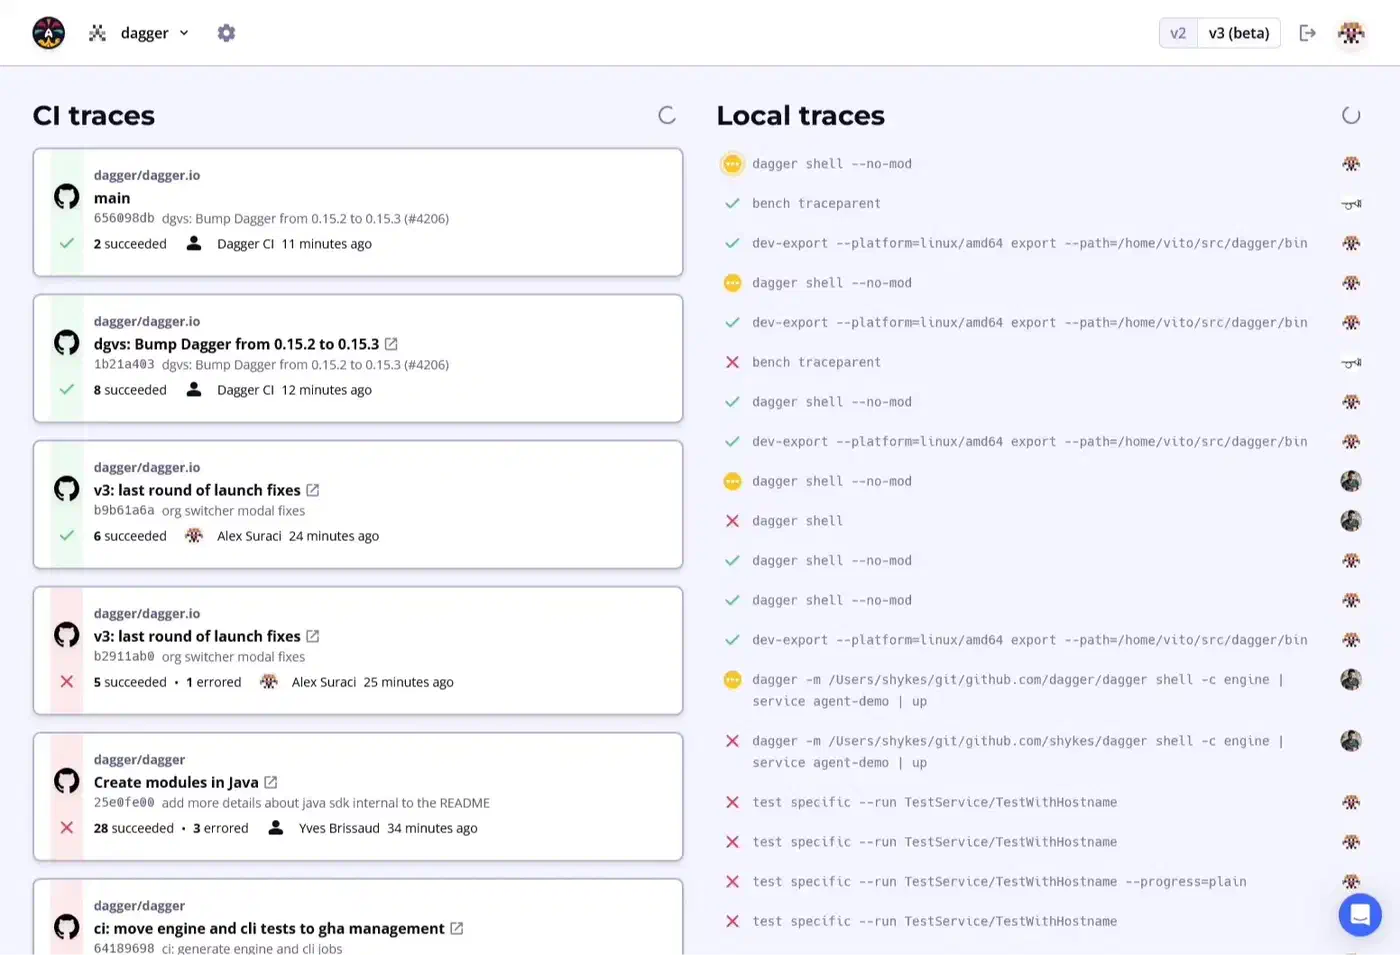
Dagger Cloud adds observability, distributed caching across 26 regions, and pipeline visualization.
| Plan | Price | Users |
|---|---|---|
| Free | $0 | 1 (individual) |
| Team | $50/month | Up to 10 |
| Enterprise | Custom | Unlimited |
The distributed caching makes a measurable difference in real-world pipelines. OpenMeter reported a 5x pipeline speedup (from 25 minutes to 5 minutes) using Dagger Cloud with Depot runners, while also cutting CI costs by 50%. Airbyte reduced build times from 25 to 10 minutes.
For most teams, the free Dagger Engine with local caching is enough to start. Dagger Cloud becomes valuable when your team grows and you need shared caching across runners and trace-based debugging for production pipelines.
Getting Started
The fastest path to a working Dagger pipeline:
- Install the CLI:
curl -fsSL https://dl.dagger.io/dagger/install.sh | sh - Initialize in your project:
dagger init --sdk=go(or--sdk=python,--sdk=typescript) - Write your first function in the generated
main.goormain.py - Run it:
dagger call your-function --source . - Add the 10-line CI wrapper to your GitHub Actions or GitLab CI config
The transition from YAML to code-based pipelines is incremental. You can move one step at a time, keeping your existing CI config running alongside Dagger. There is no big-bang migration required.
Whether the learning curve is worth it depends on your situation. A single-repo project with a 30-line GitHub Actions workflow probably does not need Dagger. A team managing CI across 10+ repositories, spending hours debugging YAML, and dreading CI provider migrations will see the benefit immediately.