How to Build a Portable Solar-Powered Raspberry Pi Server

Yes, you can build a self-sufficient, portable Raspberry Pi server powered entirely by the sun - no mains power, no generator, no ongoing fuel cost. With a 30W solar panel, a 12.8V LiFePO4 battery, a charge controller, and a handful of systemd scripts, you can run a weather station, a mesh network node, or a local web server indefinitely from a fence post, a rooftop, or a field station. This guide walks through the math, the parts, and the software that make it work reliably rather than just technically possible.
Solar Power Fundamentals for Raspberry Pi Projects
Before buying components, you need to know how much power your Pi actually draws versus how much your panel realistically produces. Getting this wrong is the most common reason these builds fail after the first cloudy week.
Raspberry Pi power consumption varies a lot by model. The Pi 5 (4GB, active cooler, NVMe attached) pulls 3-5W idle and 7-12W under load - it also drains 1.2-1.6W even when fully shut down, which matters for overnight calculations. The Pi 4 (2GB, no accessories) runs at 2.7W idle, 6.4W under load. The Pi Zero 2 W sits at 0.4W idle and 1.2W under load, making it by far the best solar citizen of the three. Choose the Pi model based on your power budget first, then figure out whether it has enough performance for your actual task. A Zero 2 W running a weather station consumes a fraction of what a Pi 5 would for the same job.

A panel rated at 30W produces 30W only under Standard Test Conditions (1000 W/m2 irradiance, 25 C cell temperature, perpendicular angle). In practice, panels run warmer and rarely sit at the perfect angle relative to the sun. You can expect 4-6 peak sun hours per day in most of the continental US, with the Southwest getting up to 6.4 hours (Las Vegas) and the Pacific Northwest dropping to 3.5 hours. A 30W panel therefore yields roughly 120-180 Wh on a summer day and 60-90 Wh on a winter day in temperate latitudes.
The battery must carry your Pi through the night and through overcast days. Calculate the minimum capacity with:
Required Ah = (Pi wattage) x (hours without sun) / (battery voltage x 0.8)For a Pi 5 at an average 5W over 14 dark hours at 12.8V: 5 x 14 / (12.8 x 0.8) = 6.8 Ah minimum. Round up to the next standard size - a 10 Ah battery gives comfortable margin for overcast days.
LiFePO4 (lithium iron phosphate) batteries are the right choice for outdoor solar use. They operate reliably across a wide temperature range - dischargeable to -20 C, chargeable from 0 C to 55 C - and survive 2,000 to 6,000 full charge cycles compared to 300-500 for standard Li-ion. They also have no thermal runaway risk, which matters when the battery sits inside a sealed outdoor enclosure that can reach 60 C in summer sun. A 12.8V LiFePO4 pack is four 3.2V cells in series, which aligns neatly with standard 12V solar charge controller inputs.
A charge controller sits between the panel and the battery, preventing overcharge. PWM controllers ($5-10) are adequate for builds under 50W. MPPT controllers ($20 and up) use a DC-DC converter to extract more power from the panel at any given moment, gaining 15-20% more energy - worthwhile on larger systems, overkill for a single Pi. The power path for all options is: solar panel to charge controller to battery to buck converter (12V to 5V/3A) to Pi USB-C input. Never connect a solar panel directly to a Pi or to a battery without a controller in between.
Component Selection and Wiring
Three build tiers cover different needs. The parts list below reflects current pricing as of 2026.
| Build | Panel | Controller | Battery | Pi | Est. Cost |
|---|---|---|---|---|---|
| Option A: Full-size | Renogy 30W mono ($35) | Waveshare Solar HAT ($30) | LiFePO4 12.8V 10Ah ($45) | Pi 5 | ~$185 |
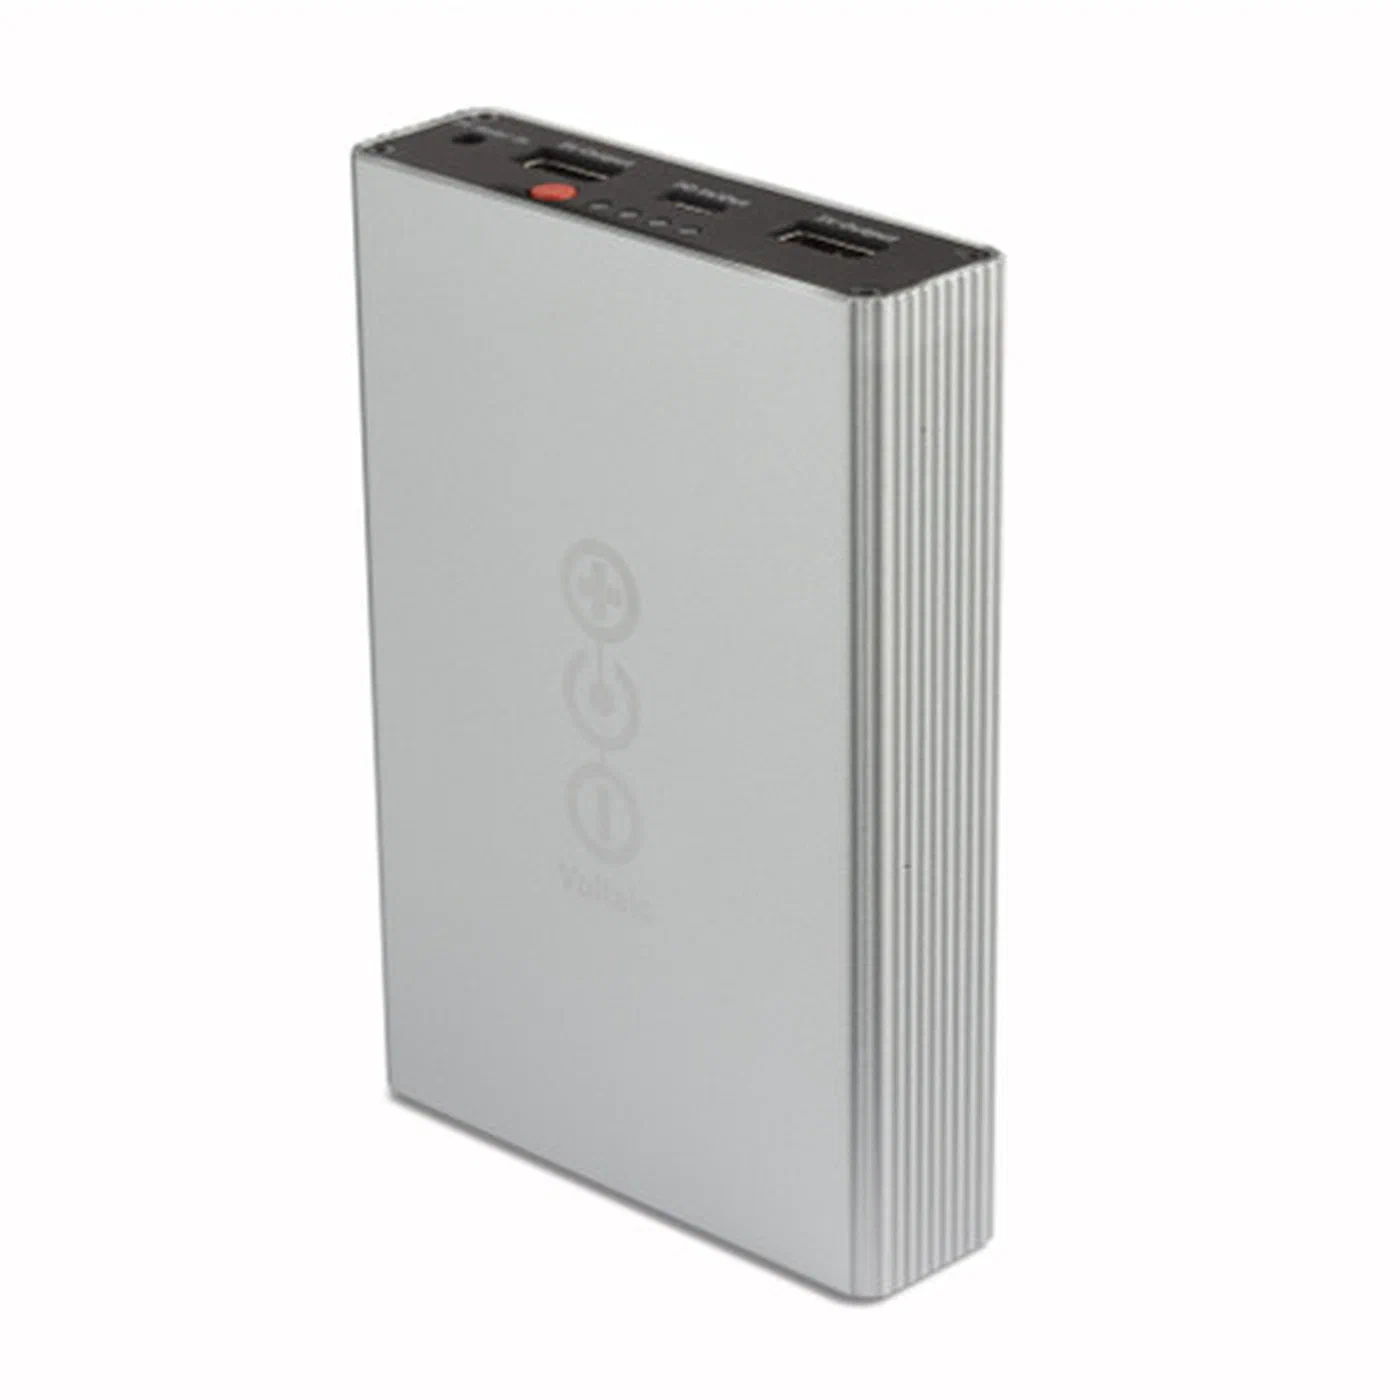
| Option B: Ultra-portable | Voltaic V50-AL pack ($50) | Built-in | 13,400 mAh internal | Pi Zero 2 W | ~$105 |
| Option C: Budget | Generic 20W panel ($20) | TP4056 + MT3608 ($3) | 18650 cell ($5) | Pi 4 2GB ($45) | ~$80 |
Option A targets a Pi 5 running indefinitely in locations with 4 or more peak sun hours per day. The Waveshare Solar Power Manager handles MPPT charging, provides a regulated 5V/3A USB-C output, and exposes battery voltage data over I2C via an INA219 chip at address 0x40. The Renogy 30W monocrystalline panel has an open-circuit voltage of 22.9V and an optimum operating voltage of 19.5V, making it compatible with 12V charge controllers. Panel dimensions are 570 x 340 x 25 mm at 2.8 kg - manageable for a single-person install.
Option B uses the Voltaic V50-AL battery pack with built-in solar charging circuitry and Always On USB-A outputs (5V/2A, 3A max) that never cut off due to low current draw. This is critical for a Pi Zero 2 W that draws under 1W at idle - many USB battery packs shut off at this load, assuming the device has finished charging. Pair it with Voltaic’s 3.5W mini panel for an entire setup that fits in a daypack. The V50-AL also adds USB-C PD output support over the older V50.
Option C uses a single 18650 Li-ion cell: cheapest at around $80 total, least resilient. The TP4056 module charges the cell at up to 1A, and the MT3608 boost converter steps the 3.7V cell voltage up to 5V. This gives 8-12 hours of Pi 4 runtime per day before the battery depletes. Fine for non-critical deployments where an occasional hard power loss is acceptable, but not suitable for anything that needs to run unattended outdoors.
To wire Option A: connect the panel’s MC4 connectors to the charge controller’s solar input terminals, then the battery’s JST connector to the charge controller’s battery input, and the charge controller’s load output (5V/3A USB-C) directly to the Pi’s USB-C power port. Add a 5A inline blade fuse between the battery and charge controller - if there is a short circuit, this blows before the battery can start a fire. Use 18AWG silicone wire throughout; it handles 10A and stays flexible down to -40 C, unlike standard PVC-insulated wire that turns brittle in cold weather.
For outdoor pole-mounted installations, bolt the panel frame to a copper grounding rod to protect against lightning-induced voltage surges. Sheltered builds in garages, sheds, or window-adjacent locations can skip grounding.
Power Management Software: Graceful Shutdown and Auto-Restart
A solar Pi will run out of power on cloudy days. Without software protection, the Pi hard-crashes, and repeated hard crashes corrupt SD cards. The goal is to detect low battery early enough to shut down cleanly, then restart automatically when charging resumes.
The Waveshare Solar Power Manager exposes battery voltage and current through an INA219 chip. You can query it directly:
python3 -c "import smbus2; bus = smbus2.SMBus(1); print(bus.read_word_data(0x40, 0x02))"Install python3-smbus2 with sudo apt install python3-smbus2. The raw value needs to be converted to voltage using the INA219 datasheet register map, but several ready-made Python libraries (including pi-ina219 on PyPI) wrap this into human-readable output.
Create /usr/local/bin/solar-monitor.py with a loop that reads battery voltage every 60 seconds. When voltage drops below 11.5V (approximately 20% state of charge for a LiFePO4 pack at 12.8V nominal), the script calls subprocess.run(["systemctl", "poweroff"]) to initiate a clean shutdown. Set the high-voltage restart threshold at 12.5V (approximately 50% SoC) in the auto-restart hardware configuration.
Install it as a systemd service at /etc/systemd/system/solar-monitor.service:
[Unit]
Description=Solar Battery Monitor
After=multi-user.target

[Service]
Type=simple
ExecStart=/usr/bin/python3 /usr/local/bin/solar-monitor.py
Restart=on-failure
RestartSec=30

[Install]
WantedBy=multi-user.target
Enable it with sudo systemctl enable --now solar-monitor.service.
The Waveshare Solar Power Manager has a hardware “auto-on” jumper that pulls the Pi’s RUN pin high when battery voltage recovers above a threshold. Solder this jumper to enable it. Alternatively, a Pololu mini pushbutton power switch ($5) provides the same function and works with any HAT - it cuts power at low voltage and restores it when the battery recovers.
To protect the SD card, mount the root filesystem read-only. The simplest path is raspi-config > Performance Options > Overlay File System, which enables OverlayFS. This mounts a RAM-based overlay on top of the read-only SD card, so all writes go to RAM and are discarded on reboot rather than touching the card. Changes to system configuration require temporarily disabling the overlay.
For deployments that need persistent data (sensor logs, for example), mount a separate writable ext4 partition for /var/data and use SQLite in WAL mode for your database. SQLite WAL
(Write-Ahead Logging) mode tolerates unexpected power loss far better than the default journal mode because it completes transactions before committing them.
Additional protection for /var/log, /tmp, and /var/spool comes from mounting them as tmpfs in /etc/fstab:
tmpfs /var/log tmpfs defaults,noatime,mode=0755,size=32m 0 0
tmpfs /tmp    tmpfs defaults,noatime,mode=1777,size=32m 0 0
Use Cases: Weather Station, Mesh Node, and Off-Grid Web Server
A solar-powered Pi is a platform, not a finished product. How you deploy it depends on what problem you are actually trying to solve.
A weather station is the classic solar Pi use case. Connect a BME280 sensor (temperature, humidity, and barometric pressure for around $4) to the I2C bus, and wire a rain gauge to a GPIO pin. A Python script reads sensor data every 5 minutes and writes it to InfluxDB running locally, with data forwarded to Home Assistant via MQTT. A Pi Zero 2 W handles this entire stack comfortably within a 3.5W panel’s daily output. Add a PMS5003 air quality particulate sensor ($15) and a VEML6075 UV index sensor ($5) for broader environmental coverage. A BN-880Q GPS module ($12) adds geolocation, which is useful for mobile deployments or multiple stations where you need to distinguish data by location.
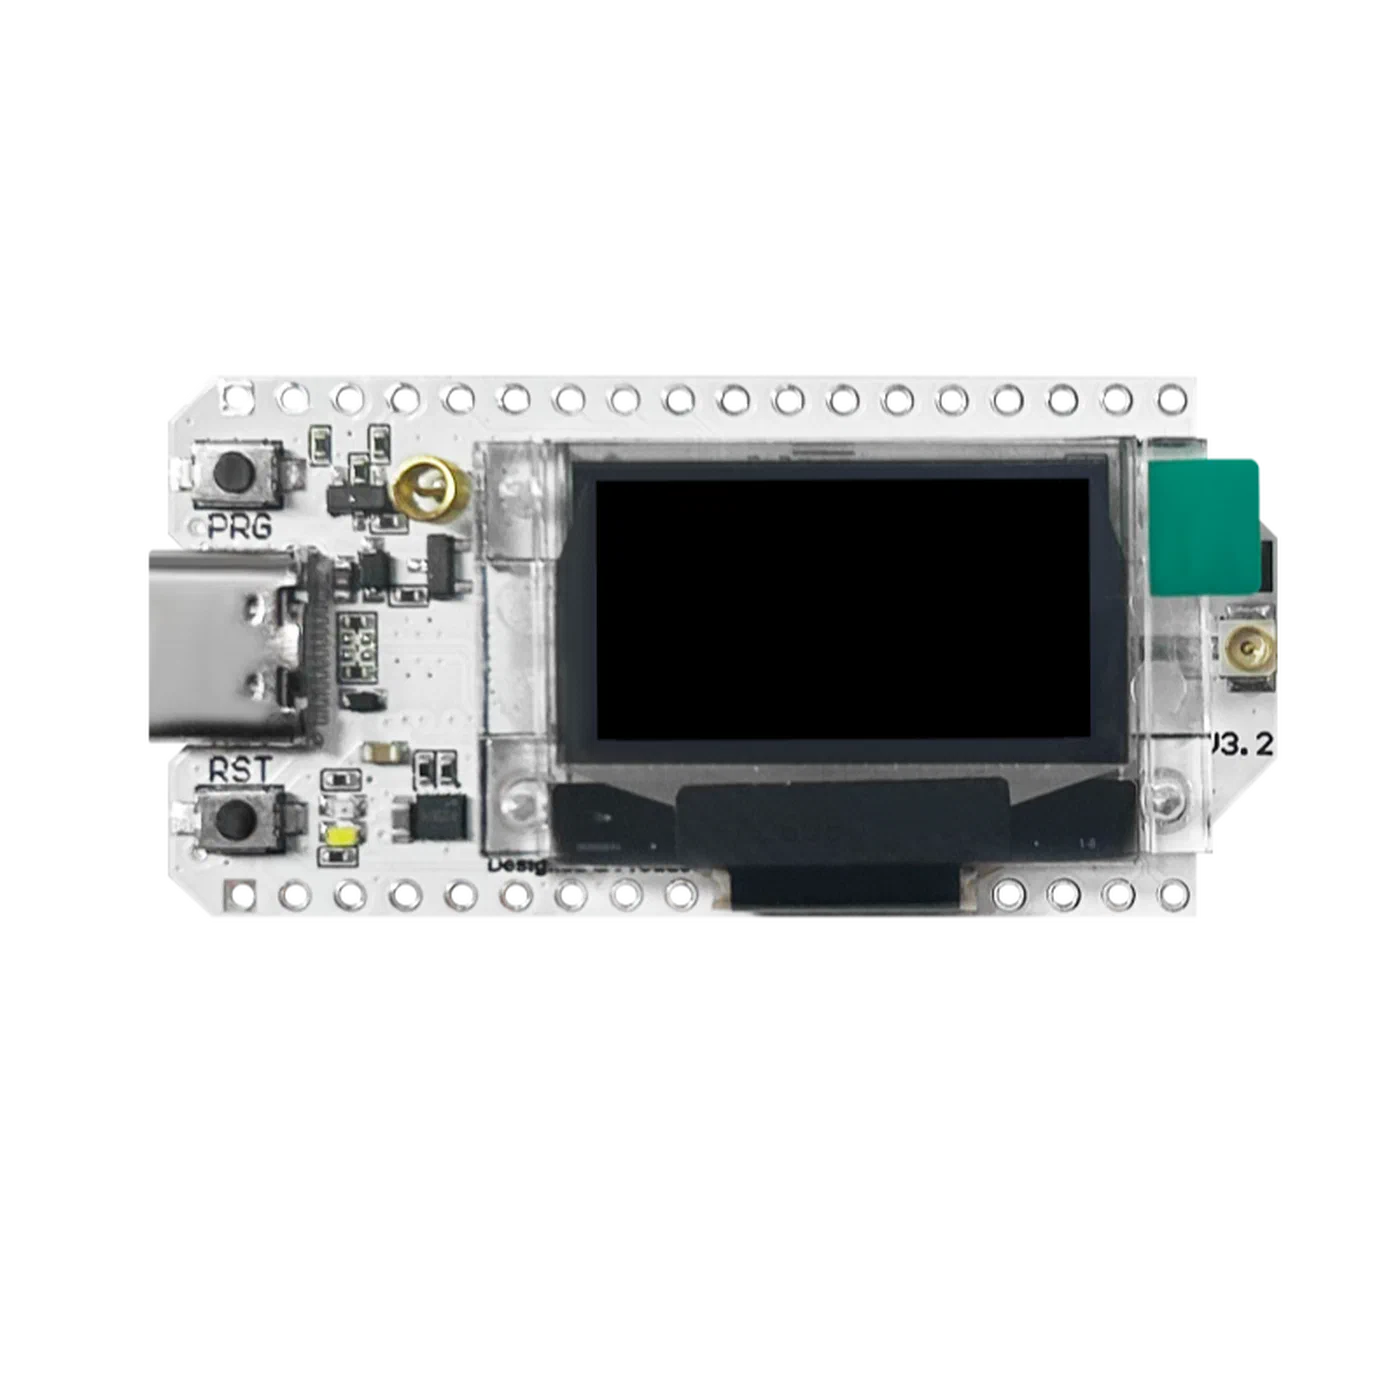
For a mesh network node, attach a Heltec WiFi LoRa 32 V3 radio (ESP32-S3 + SX1262 LoRa chip, around $20-25) via USB. The Heltec V3 integrates LoRa, BLE, and Wi-Fi and is natively supported by Meshtastic . The Pi runs the Meshtastic Python CLI as a gateway between the LoRa mesh and your home network via MQTT, bridging off-grid radio communication to internet-connected services. LoRa signals in the 915 MHz band (US) reach 5-10 km line-of-sight. A solar node mounted on a hilltop or rooftop extends the mesh dramatically compared to ground-level portable nodes.
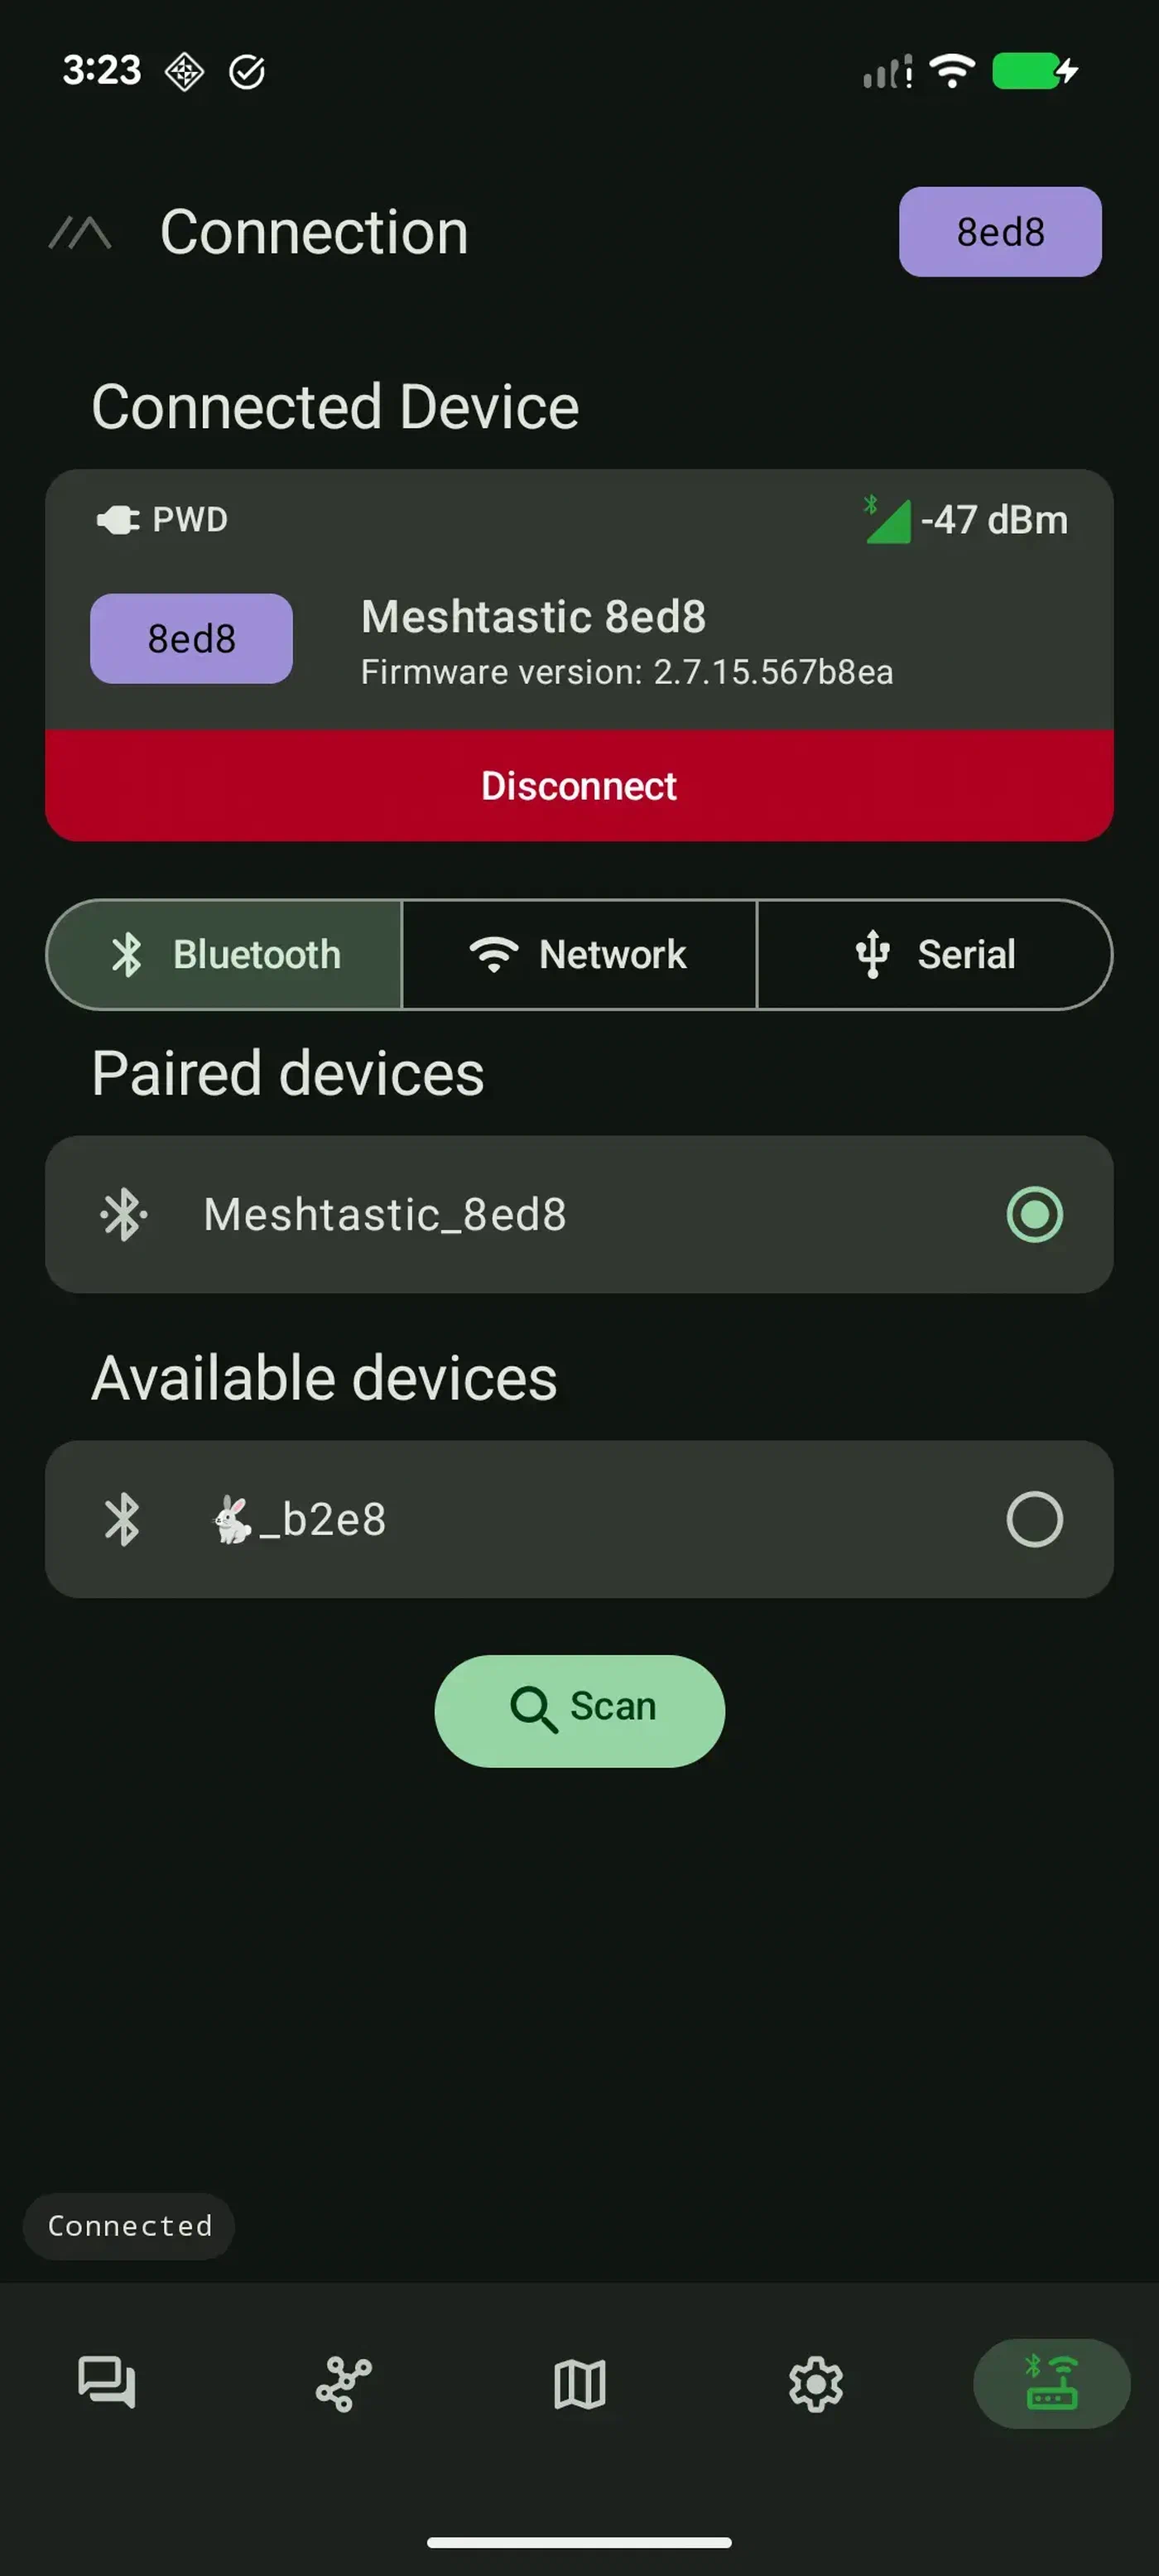
The Meshtastic Android app lets you monitor nodes on the mesh, send messages, and view signal telemetry from connected radios - all without internet access.
An off-grid web server is another practical option. Install Nginx
to serve a static site and configure the Pi as a Wi-Fi access point using hostapd and dnsmasq. Anyone within Wi-Fi range can connect to the Pi’s hotspot and access the site in their browser without any internet connection required. This works well for field research stations, outdoor educational events, and disaster response scenarios.
For any of these deployments, configure a WireGuard VPN tunnel that auto-connects to your home server on boot. This gives you SSH access to the solar Pi from anywhere without opening firewall ports or relying on dynamic DNS. WireGuard is included in the Linux kernel as of 5.6 and ships with Raspberry Pi OS out of the box.
Power consumption also benefits from a few tuning steps that apply across all use cases. Trim the Pi’s Wi-Fi transmit power when long range is not needed: sudo iw dev wlan0 set txpower fixed 1000 sets transmit power to 10 dBm versus the default 20 dBm, cutting Wi-Fi power consumption by roughly 40%. Disable HDMI output with sudo tvservice -o to save another 25-30 mW. Reduce the GPU memory split to 16 MB in raspi-config if you are running headless.
Weatherproofing and Physical Deployment
Electronics and outdoor weather do not coexist naturally without deliberate design.
Start with an IP67-rated ABS junction box in the 200 x 120 x 75 mm range ($8-15). Drill entry holes for panel wires and sensor cables, then fit each hole with a PG7 cable gland ($1 each). Route cables with a drip loop below each gland so water runs down the cable away from the box rather than into it. Gore-Tex vent plugs ($3 each) allow pressure equalization without admitting water, preventing condensation buildup from temperature cycling.
A sealed box in direct sun can reach 60 C internally. Apply reflective foil to the sun-facing side of the enclosure and use plastic standoffs to create a 1 cm air gap between the Pi board and the enclosure wall. LiFePO4 batteries tolerate up to 60 C but degrade measurably above 45 C. In hot climates, mount the battery separately in a shaded position if the enclosure cannot be kept below that threshold.
For condensation prevention, place 10g silica gel desiccant packets inside the enclosure and swap them every 3-6 months, or apply MG Chemicals 422B conformal coating spray to the Pi PCB to protect solder joints directly from moisture. For permanent installations, conformal coating is more reliable than desiccant because it requires no periodic maintenance.
A 30W monocrystalline panel measures roughly 570 x 340 mm. Mount it at your latitude angle facing true south (Northern Hemisphere) using adjustable solar panel brackets ($10) on a pole, fence post, or roof edge. At latitude 35 degrees N (typical southern US), tilt the panel at 35 degrees. Adjustable mounts let you optimize for summer (shallower angle) versus winter (steeper angle) if you want to fine-tune seasonal output.
Theft is a real concern for outdoor hardware. Mount the enclosure at least 3 m high on a pole using steel band clamps. Use security screws with a Torx T25 driver bit plus a center pin on the enclosure lid - regular Torx drivers cannot remove them. Spray paint to match the mounting surface. The 30W panel is the most attractive theft target; mounting it flush against a wall or roofline reduces its visibility compared to a prominent pole-top installation.
The most common failure modes after 6-12 months of outdoor deployment are connector corrosion (use weatherproof MC4 connectors and silicone-sealed terminal blocks), SD card wear (addressed by OverlayFS before deployment), and battery capacity fade from thermal cycling. Replacing the battery after 3-5 years is the expected maintenance cycle. Panel degradation is gradual - the Renogy 30W carries a 25-year power output warranty with at most 20% efficiency loss over that time.
Build Tier Comparison
| Criteria | Option A (Full-size) | Option B (Ultra-portable) | Option C (Budget) |
|---|---|---|---|
| Pi model | Pi 5 | Pi Zero 2 W | Pi 4 2GB |
| Daily runtime | Indefinite (4+ PSH) | Indefinite (3+ PSH) | 8-12 hours |
| Setup difficulty | Moderate | Easy | Easy |
| Weather resistance | High (IP67 case) | Moderate (carry bag) | Low |
| Total cost | ~$185 | ~$105 | ~$80 |
| Best for | Full server workloads | Sensors, mesh nodes | Prototyping, testing |
Option B with a Voltaic battery pack is the fastest path to a working system - an afternoon’s work gets you something fully functional. Option A gives the most headroom for resource-intensive workloads or multiple attached sensors. Option C is appropriate for testing your software stack indoors before committing to a full outdoor build.
Before ordering parts, measure your actual power draw. Run your Pi with all intended peripherals attached, connect a USB power meter between the charger and the Pi for 24 hours, and record average and peak wattage. That measured number is more reliable than any spec sheet for sizing your solar and battery components accurately. From there, the formula above gives you the minimum battery capacity, and doubling it gives you comfortable margin for consecutive cloudy days.