Home Assistant Smart Irrigation: Local Control, $25-89 Hardware

A smart garden irrigation system on Home Assistant joins three parts: a Wi-Fi sprinkler controller, a rain sensor, and automations. The automations cancel or adjust watering based on rainfall, soil moisture, and the forecast. With the WiseWater integration and the native scheduler in Home Assistant 2025.12, this setup now beats pricey cloud-bound irrigation systems. Here is how to build one from scratch.
Why DIY Smart Irrigation Beats the Commercial Options
Commercial smart sprinkler controllers like Rachio , Orbit B-hyve , and RainBird Wi-Fi run $100 to $200. Their “smart” features all need a cloud link and often a paid plan. That includes weather skip logic, seasonal tweaks, and soil type awareness. If the vendor shuts down its servers (remember Wink ?), those features revert to dumb timer-only watering. You’re left with an overpriced relay board.
The Home Assistant approach fixes this problem. A Sonoff 4CH Pro R3 ($25) or a custom ESP32 with an 8-relay board ($18) pairs with a rain sensor. The sensor costs $12 for a tipping-bucket, or nothing at all via the OpenWeatherMap API. The result has zero fees and zero cloud ties. Everything runs locally on your network.
Home Assistant’s weather integrations beat what most commercial controllers use inside. You can query OpenWeatherMap , Open-Meteo , or the National Weather Service API for local rain forecasts. Pair a rainfall forecast with real basin gauge data and you cut over-watering far better than a plain moisture sensor does. Commercial controllers tend to use one weather source and a basic rule. With Home Assistant, you stack many data sources and write the logic yourself.
The 2026 hardware picture has improved things further. Matter 1.4 added irrigation device types, both controller and valve, to the spec. Home Assistant 2025.12 has native Matter 1.4 irrigation cluster support. So gear like the Eve Aqua Water Controller Gen 2 and Aqara Cube T1 Pro joins your network with no add-ons or custom firmware. If you want something between full DIY and cloud-bound commercial, Matter devices now fill that middle ground.
On speed, an ESP32 controller running ESPHome reacts to automation commands in under 100 milliseconds. Compare that with a cloud round-trip of 1-3 seconds for controllers that relay each command through a vendor server. When your automation shuts off a zone because rain just started, you want that to happen right away.
This guide covers a 4-8 zone home garden system. Larger farm irrigation uses the same setup, but it needs heavy-duty solenoid valves (24VAC rather than 12VDC) and tougher relay boards.
Hardware Options: Commercial vs. DIY Controllers
The hardware choice depends on how comfortable you are with electronics and what your garden already has. Here is the full range, from drop-in swap to fully custom build.
Commercial Controllers with Home Assistant Integration
| Controller | Zones | Price | HA Integration | Local Control |
|---|---|---|---|---|
| Orbit B-hyve XD | 8 | $89 | bhyve HACS integration | MQTT supported |
| Rachio 3 | 8 | $229 | Official integration | Local polling + webhooks |
| Sonoff 4CH Pro R3 | 4 | $25 | Tasmota or eWeLink | Full local via Tasmota |
The Orbit B-hyve XD is the best value. At $89 for 8 zones, it works with the 24VAC solenoid valves already in your garden. The bhyve HACS integration then lets you wire the controller into Home Assistant over a local broker
. If you just want to add rain-skip logic to a sprinkler system you already own, this is the fastest path.
The Rachio 3 at $229 is the premium pick. It has the most reliable Home Assistant integration, official, with local polling and webhook pushes. It also has the best build quality among consumer controllers and the most complete local API. The price is steep. But if you want a unit that just works with HA right out of the box, this is it.
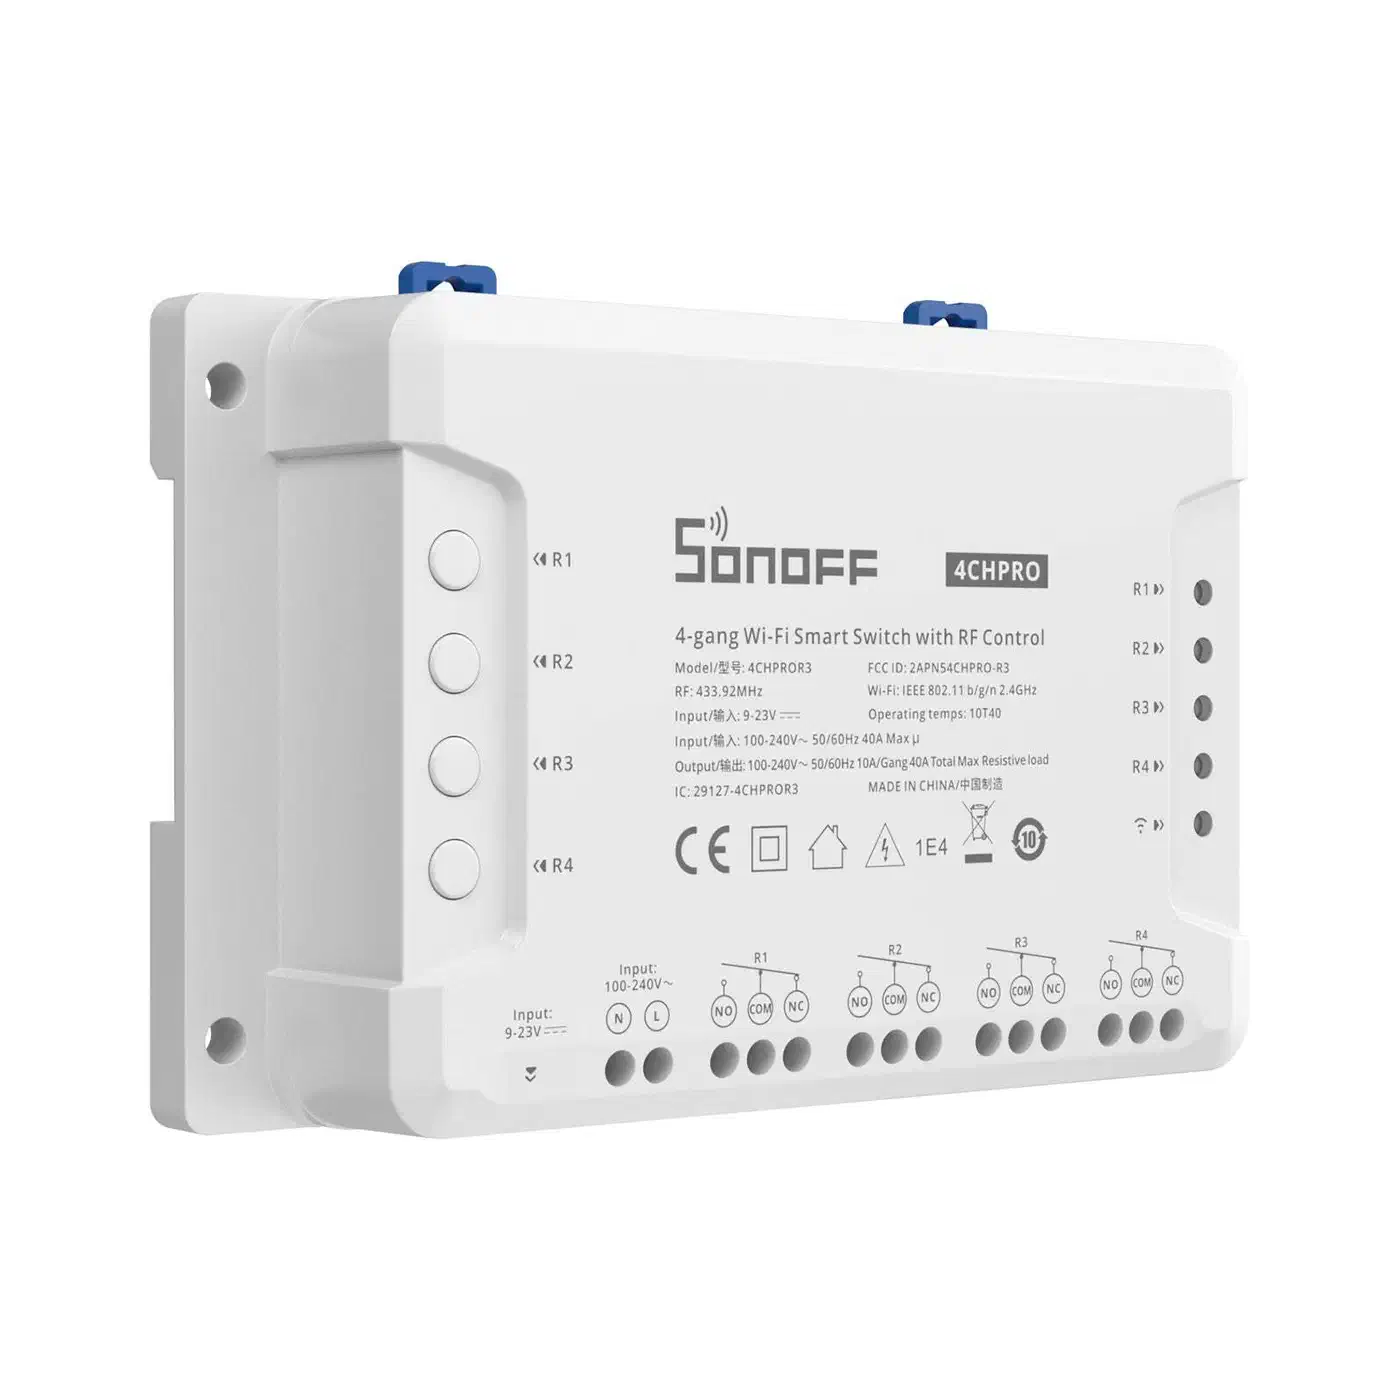
The Sonoff 4CH Pro R3 at $25 is the budget pick. Flash it with Tasmota firmware, which you can do over the air, to get full local control. The four relay channels drive four irrigation zones. The dry relay contacts work with standard 24VAC solenoid valves. For a small garden with four or fewer zones, this is hard to beat on price.
DIY ESP32 Controller
For the most freedom and the lowest cost, build your own controller with an ESP32 dev board and an 8-relay module. Total hardware cost is about $18. Flash the ESP32 with ESPHome and you get a fully local controller that joins Home Assistant natively.
The parts list for a complete DIY 8-zone controller:
- ESP32 DevKit V1 board - $6
- 8-channel relay module (5V, optocoupler isolated) - $8
- 24VAC power supply (if using standard sprinkler solenoids) - $12
- Project enclosure (weatherproof, IP65 rated) - $10
- Wiring, connectors, fuses - $5
You can add more parts to the same board: an SSD1306 OLED display for status, a DS18B20 soil temperature sensor, and several capacitive soil moisture sensors.
Rain and Soil Sensors
For rain detection, you have three tiers to pick from. At the top end, tipping-bucket sensors like the Davis Leaf & Soil Station ($45) report real rainfall totals in millimeters. These are the most accurate, and they work with no internet link at all.
A step down, simple resistive rain sensors ($8, wired to an ESP32 GPIO) give a yes-or-no “it’s raining right now” reading. They’re cheap and useful, but they log no totals.
If you want to skip hardware, the Open-Meteo integration gives free rainfall data with 1-hour resolution and no API key. You need no sensor at all. But you trust a forecast rather than measure real rain at your spot.
For soil moisture, capacitive sensors (SEN0193, about $4 each) dodge the rust problems that plague resistive sensors, and they work well in garden beds. You can wire up to 8 per ESP32 using the ADC pins. Average the readings over a 30-minute window to filter out noise from soil shifts and watering.
ESPHome Configuration for a DIY 8-Zone Controller
If you go the DIY route, ESPHome turns an ESP32 chip into an irrigation controller that plugs straight into Home Assistant. Here is the full config layout.
The ESPHome config uses three component types. The switch components drive relay outputs, one per zone. The sensor components read ADC values for soil moisture. The binary_sensor reads the rain sensor GPIO. All state goes to Home Assistant through the ESPHome API. No MQTT broker is needed.
Here is a minimal configuration for Zone 1 with a rain sensor:
esphome:
  name: garden-irrigation
  platform: ESP32
  board: esp32dev

wifi:
  ssid: !secret wifi_ssid
  password: !secret wifi_password

api:
  encryption:
    key: !secret api_key

ota:
  platform: esphome

web_server:
  port: 80

switch:
  - platform: gpio
    name: "Zone 1 Front Lawn"
    pin: GPIO32
    id: zone_1
    icon: "mdi:sprinkler"
    restore_mode: ALWAYS_OFF
  - platform: gpio
    name: "Zone 2 Back Garden"
    pin: GPIO33
    id: zone_2
    icon: "mdi:sprinkler"
    restore_mode: ALWAYS_OFF
  - platform: gpio
    name: "Zone 3 Side Beds"
    pin: GPIO25
    id: zone_3
    icon: "mdi:sprinkler"
    restore_mode: ALWAYS_OFF
  - platform: gpio
    name: "Zone 4 Vegetable Patch"
    pin: GPIO26
    id: zone_4
    icon: "mdi:sprinkler"
    restore_mode: ALWAYS_OFF

binary_sensor:
  - platform: gpio
    name: "Rain Detected"
    pin:
      number: GPIO27
      mode: INPUT_PULLUP
    filters:
      - delayed_on: 50ms
    device_class: moisture

sensor:
  - platform: adc
    pin: GPIO34
    name: "Zone 1 Soil Moisture"
    update_interval: 60s
    unit_of_measurement: "%"
    filters:
      - calibrate_linear:
          - 3.2 -> 0.0
          - 1.4 -> 100.0
      - sliding_window_moving_average:
          window_size: 10
          send_every: 5
A few config details are worth calling out.
Interlock groups stop two zones from running at once. That helps if your water pressure cannot support two zones together. Add an interlock key to the switch group, and list every zone switch ID in it.
Soil moisture calibration needs two reference points. Read the raw ADC value in dry air, often around 3.2V or 3200 raw, and in soaked water, often around 1.4V or 1400 raw. The calibrate_linear filter maps these to a 0-100% scale. The sliding window average smooths out short-term swings.
The OTA and web server blocks let you push firmware updates over the air and open a status web page at the device’s IP. So you never have to plug into the ESP32 again after the first install.
Home Assistant Automations for Smart Watering
The real brains of this system live in Home Assistant automations. Two patterns do most of the work: weather-based cancellation and soil-moisture-driven scheduling.
Weather-Based Cancellation
This automation runs each morning before the watering time. It cancels watering if rain is due or already falling:
automation:
  - alias: "Irrigation Weather Skip"
    trigger:
      - platform: time
        at: "06:00:00"
    condition:
      - condition: or
        conditions:
          - condition: numeric_state
            entity_id: sensor.openmeteo_precipitation_next_12h
            above: 5
          - condition: state
            entity_id: binary_sensor.rain_detected
            state: "on"
    action:
      - service: input_boolean.turn_on
        target:
          entity_id: input_boolean.irrigation_rain_delay
      - service: notify.mobile_app
        data:
          message: >
            Irrigation skipped -
            {{ states('sensor.openmeteo_precipitation_next_12h') }}mm
            rain expected in the next 12 hours.
The input_boolean.irrigation_rain_delay helper acts as a flag. Other automations check it before they turn on any zone. Use a second automation to clear it after 24 hours, so watering resumes the next day once conditions improve.
Soil Moisture Responsive Watering
This automation checks each zone’s soil moisture. It waters only the zones that need it, and it sets the run time from the moisture gap:
automation:
  - alias: "Irrigation Soil Responsive"
    trigger:
      - platform: time
        at: "06:30:00"
    condition:
      - condition: state
        entity_id: input_boolean.irrigation_rain_delay
        state: "off"
    action:
      - choose:
          - conditions:
              - condition: numeric_state
                entity_id: sensor.zone_1_soil_moisture
                below: 40
            sequence:
              - service: switch.turn_on
                target:
                  entity_id: switch.zone_1_front_lawn
              - delay:
                  minutes: >
                    {{ ((40 - states('sensor.zone_1_soil_moisture') | float)
                    * 0.5) | int }}
              - service: switch.turn_off
                target:
                  entity_id: switch.zone_1_front_lawn
The run-time template works out minutes from how far below the 40% mark the soil sits. A zone at 20% moisture gets 10 minutes of water. A zone at 35% gets only 2-3 minutes. This scaled approach avoids both under-watering and the waste of running every zone for a fixed time it does not need.
ET-Based Scheduling
For the deepest approach, work out daily evapotranspiration (ET) from the Open-Meteo sensor’s temperature, humidity, wind speed, and solar data. Compare ET to rainfall to find the net water gap, then scale zone run times to match. This is the very rule that commercial smart controllers charge a subscription for. Here you own the logic and can tune it to your own garden.
Multi-Zone Sequential Runs
Wrap the zone-by-zone logic in a Home Assistant script rather than an automation. Scripts are reusable. You can call the same irrigation script from the morning automation, a dashboard button, and a voice command. Put delay actions between zones so they run one at a time with no overlap, which keeps water pressure steady.
Water Usage Tracking
To measure real water use, add a pulse counter sensor to your water meter. A reed switch on the meter’s low-flow dial wires to an ESP32 GPIO and counts pulses. Each pulse stands for a known volume of water. Track sensor.garden_water_litres_today and feed it to the Home Assistant Energy Dashboard for season-long logs. This gives you hard data on whether your smart system really saves water against a dumb timer.
Building the Irrigation Dashboard
A good dashboard turns the irrigation system from a set of switches into a garden control panel you actually want to use.
Zone Control Cards
Use a grid card layout with Mushroom
template cards, one per zone. Each card shows the zone’s on or off state, the last run time, the current soil moisture, and a manual run button. Color the card green when the zone is on and grey when it is off. The big touch targets on Mushroom cards help when you stand in the garden and tap your phone to start a zone.
Home Assistant 2025.12 Irrigation Scheduler
The native scheduler added in Home Assistant 2025.12 gives you a dedicated irrigation view in the Energy Dashboard sidebar. You set zone run times, days of the week, and weather skip rules right in the UI, with no YAML. It works with both native Matter 1.4 devices and switch entities you set up by hand. The irrigation_unlimited HACS integration adds more scheduling options if the native one falls short.
Weather and History Widgets
Add a weather-forecast card showing the 5-day rain forecast next to the irrigation schedule. So you can tweak the schedule by hand before the morning run if you disagree with the automation.
For water history, use a statistics-graph card showing daily and weekly water use from the pulse counter sensor. Overlay rain bars from the weather integration to make a chart that shows the link between rainfall and watering at a glance. The pattern you want to see: when the rain bars go up, the irrigation bars go down.
Zone Map
For gardens with set bed layouts, the picture-elements card takes a garden diagram (SVG or photo) as the background. Place zone label overlays that change color with each zone’s state. This is purely cosmetic, but it makes the dashboard far easier to read for family members who do not want to learn entity IDs and YAML.
Practical Tips and Gotchas
A few things that are easy to overlook during setup.
Each solenoid valve pulls about 0.3A at 24VAC on inrush, so fuse your relay board. Put a 1A fuse on each zone’s relay output. A stuck relay with no fuse can overheat a solenoid coil and start a fire in your valve box.
On the enclosure, an IP65-rated project box is the floor. Mount it under an eave or in a shed if you can. ESP32 boards and relay modules are not built for outdoor damp, even inside a box. Drop a small packet of silica gel inside the box while you are at it.
The restore_mode: ALWAYS_OFF setting in ESPHome is worth a second look. It makes sure that if the ESP32 loses power and reboots, all zones start off. Without it, a zone could come back in its last state and flood your garden overnight.
Try to set up the full automation chain in winter, when an accidental over-water or under-water does no harm. By the time spring arrives, you will trust that the weather skip logic and soil moisture limits are tuned right for your garden.
Water pressure is the other thing people underrate. If your home’s water pressure cannot run two zones at once, the interlock group in ESPHome is not a nice-to-have. It is a must. Two zones on weak pressure leaves both zones short on coverage, which is worse than running them one after the other.
The total cost for a full 8-zone DIY smart system with soil moisture sensing and rain detection is about $60-80 in hardware, plus the Home Assistant instance you already run. Compare that with $229 for a Rachio 3 plus a cloud subscription for the weather smarts. The DIY system is cheaper, more capable, and fully under your control.