Build a Private Local AI Voice Assistant (2026 Guide)

A private voice assistant that runs entirely on your own hardware - no Amazon, no Google, no cloud - is not just achievable in 2026, it is genuinely practical. Using Whisper v3 for speech-to-text, a quantized Llama model for intent parsing, and Piper for natural text-to-speech synthesis, you can build a voice-controlled home automation system on a Raspberry Pi 5 that never sends a single audio sample outside your home network. This guide covers every layer of the stack, from wake word detection to Home Assistant integration, with a focus on minimizing latency so the experience actually feels like a real assistant rather than a science project.
Architecture Overview: The Five-Component Stack
Every functional voice assistant - commercial or DIY - is built on the same fundamental pipeline. Understanding the five components before writing any code is the single most important step, because the architecture determines your latency ceiling, your privacy guarantees, and your ability to upgrade individual pieces later without rebuilding the whole system.
The pipeline flows like this: a wake word detector listens continuously for your trigger phrase. When it fires, it hands off a short audio buffer to a speech-to-text (STT) engine - in our case, faster-whisper running Whisper v3. The transcribed text passes to an LLM processing layer (a quantized Llama 3.2 or Phi-4 model) that parses the user’s intent and decides what action to take. The action layer executes that decision - calling Home Assistant’s REST API, running a shell command, querying a local knowledge base. Finally, the result is converted to speech by a text-to-speech (TTS) engine, Piper, and played back through your speaker.
Each component is intentionally separate. This modularity means you can swap faster-whisper for a future Whisper v4 release without touching your TTS module. It means you can run the latency-sensitive wake word detector on the main Pi while offloading the heavier STT and LLM steps to a home server when one is available. The architecture is not over-engineered - it reflects how commercial voice assistants are actually built, and it gives you the flexibility to tune performance at each stage independently.
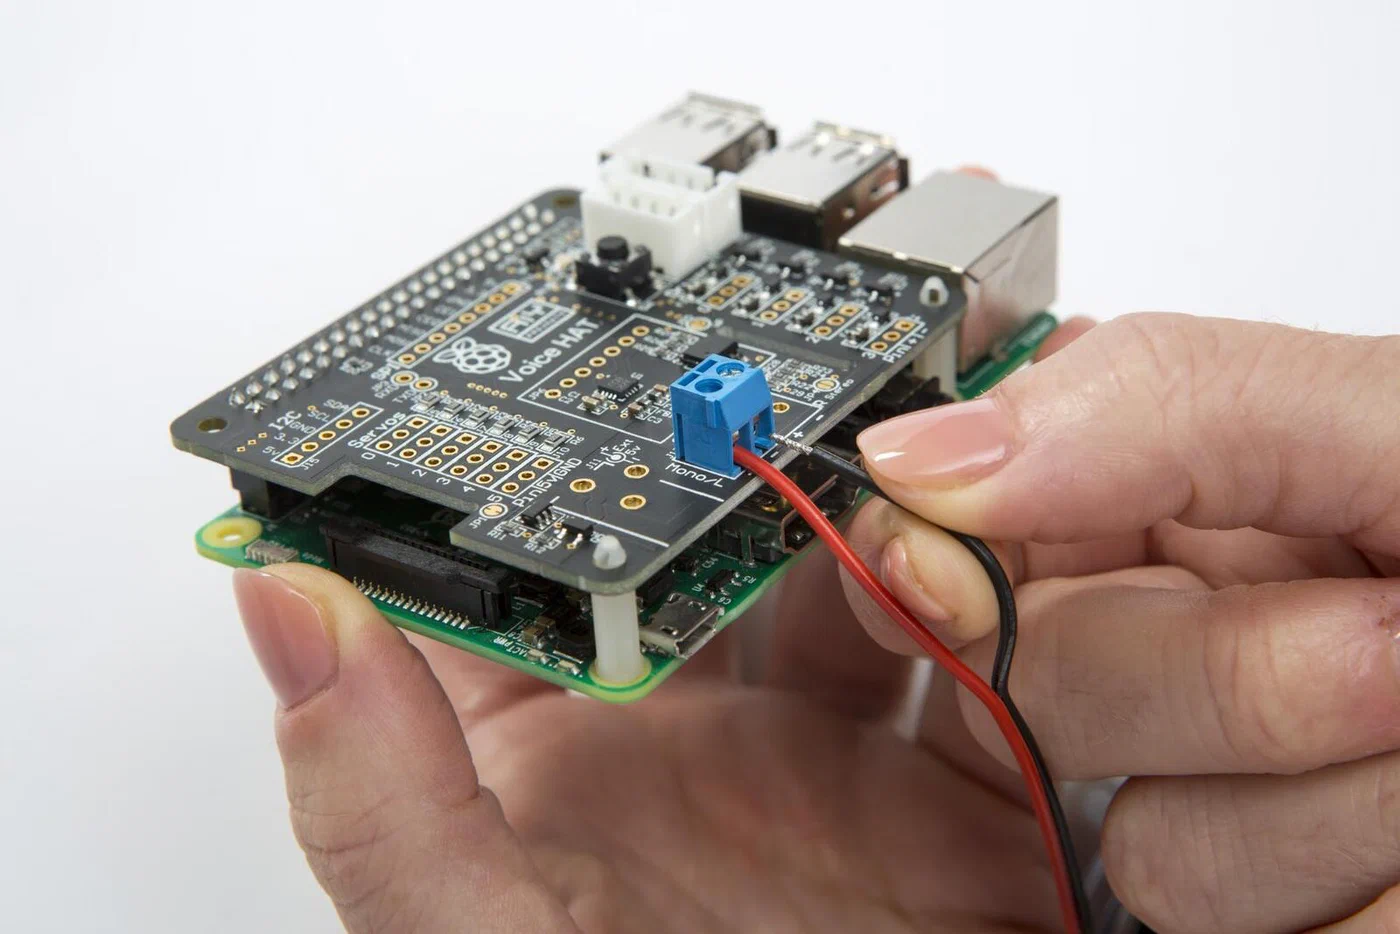
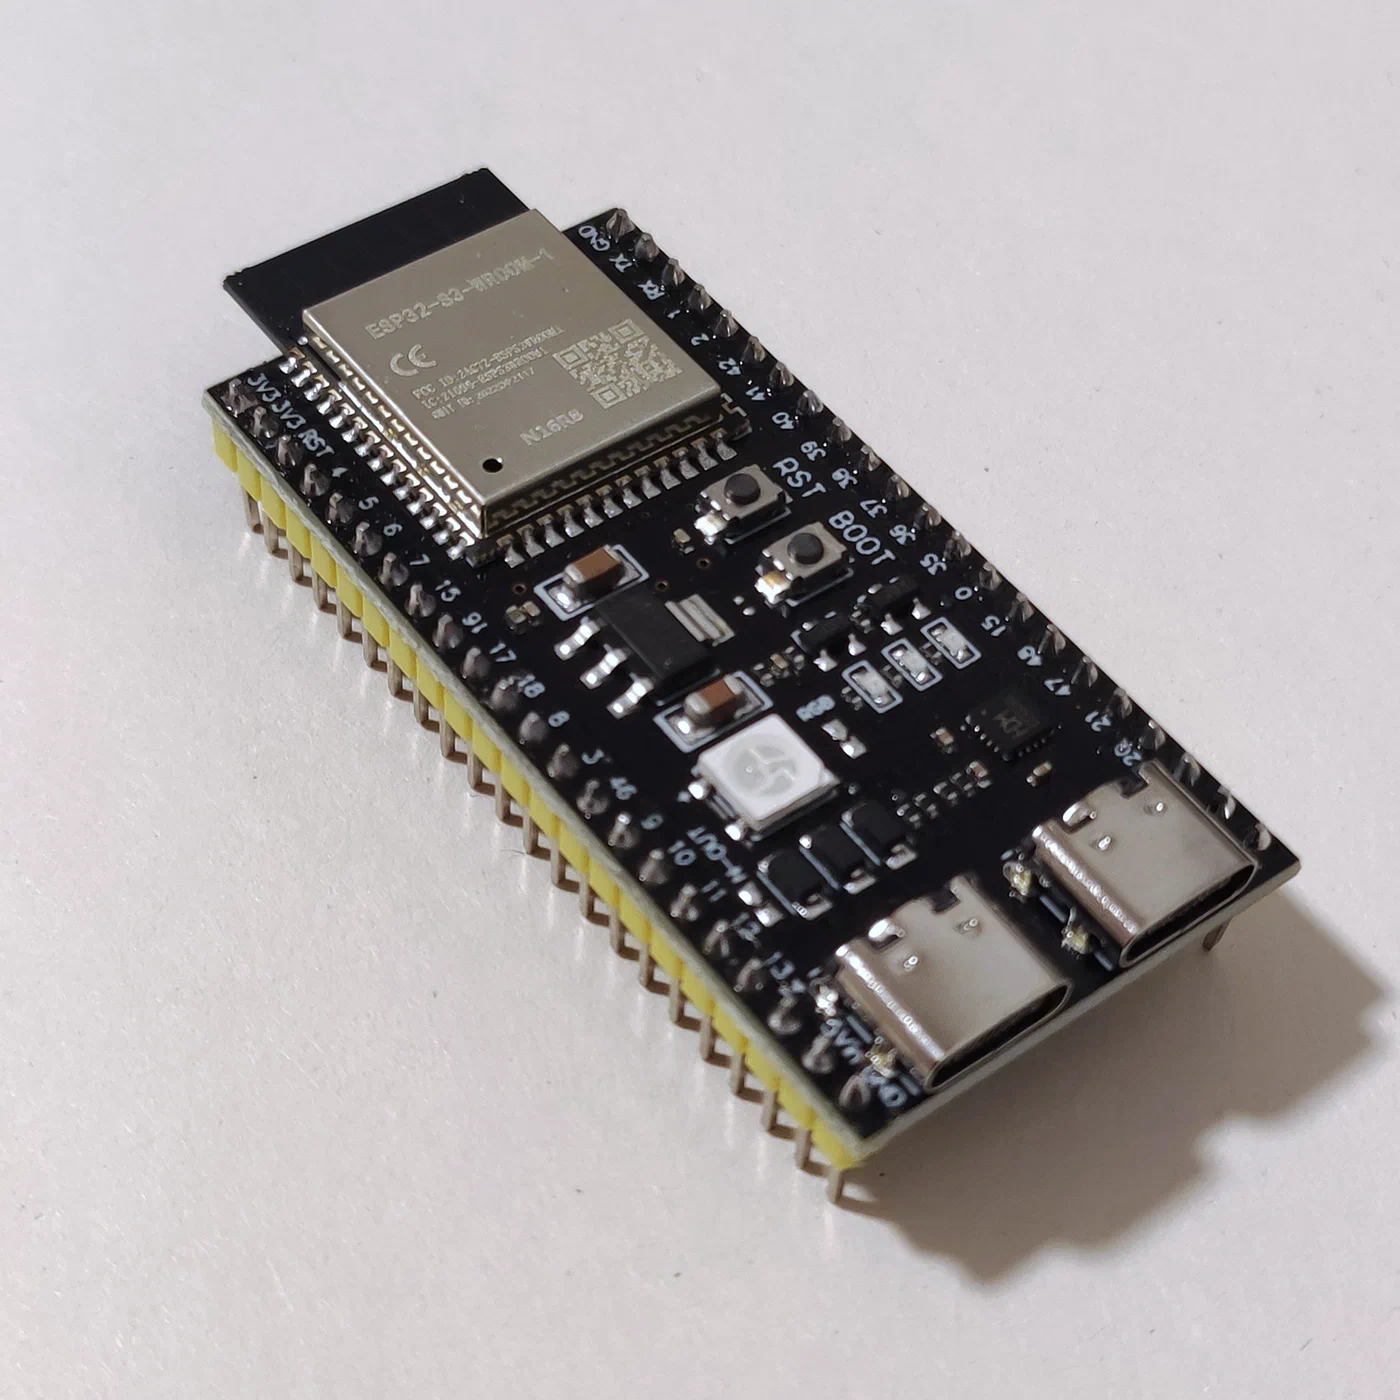
For hardware, there are two tiers worth discussing. A Raspberry Pi 5 with 16GB RAM is the minimum viable platform - it can run the full stack, though LLM inference will be slower (expect 2–4 tokens per second on CPU with a 3B quantized model). A mini-PC with an Intel N100 or N305 processor (roughly $150–$200 in 2026) offers meaningfully better performance, roughly 3–5x faster LLM inference thanks to better single-thread CPU performance, and is the recommended platform if this assistant is going to be your daily driver. ESP32-S3 microcontrollers serve a different role entirely - they are satellite microphone nodes for multi-room coverage, not capable of running any part of the AI stack themselves.
Wake Word Detection
The wake word engine is the component that runs every second of every day, listening to every sound in your home. Its power consumption, memory footprint, and accuracy are all critical - false positives (triggering on background noise or similar-sounding words) and false negatives (missing your actual wake word) are the most common complaint from users of DIY voice assistants, and they kill the experience faster than anything else.
The best open-source option in 2026 is openWakeWord, a Python-based framework that uses learned embeddings derived from Whisper’s audio encoder to detect custom wake words. Unlike older solutions that rely on narrow phoneme matching, openWakeWord understands the acoustic shape of a word in context, making it significantly more robust to background noise and speaker variation. Porcupine from Picovoice is the commercial alternative - it has higher out-of-the-box accuracy and runs efficiently on embedded hardware, but its free tier limits you to a small set of pre-built wake words and requires an internet connection for activation. For a truly private, offline build, openWakeWord is the right choice.
Training a custom wake word with openWakeWord requires only 5–10 minutes of your own voice recordings. You record yourself saying the wake phrase approximately 150–200 times, in different rooms and distances from the microphone. openWakeWord then applies synthetic augmentation - adding background noise, reverb, and pitch variation - to expand that small dataset into a robust training set. The training process itself runs in under 30 minutes on a laptop CPU. The resulting model is a small ONNX file that you drop into the openWakeWord models directory.
Sensitivity tuning is a balancing act between two types of errors. A false positive rate that is too high means the assistant wakes up when you say something that merely resembles the wake word - someone on the TV says “hey sailor” and suddenly your kitchen lights turn off. A false negative rate that is too high means you have to repeat yourself constantly. The openWakeWord sensitivity threshold (a float between 0.0 and 1.0) is tuned per-environment: start at 0.5, run the assistant for a day, then tighten toward 0.7 if you are getting too many false triggers. Running the wake word detector in a dedicated Python thread with threading.Thread(daemon=True) keeps it from blocking the main pipeline. When it fires, it places a signal in a queue.Queue that the STT stage is watching - no shared state, no race conditions.
Latency is King: Sub-Second Responses
The latency gap between a commercial voice assistant and a DIY one is the primary reason most people who try the DIY route end up going back to Alexa. Alexa’s response time from end of speech to first audio playback is typically 400–700ms. A naive DIY implementation - recording until silence, then transcribing the whole recording, then waiting for the full LLM response, then synthesizing the whole TTS output - can easily exceed 3–5 seconds. That gap feels like an eternity in conversation. Closing it requires streaming at every stage of the pipeline.
faster-whisper is the correct choice for the STT layer. It is a reimplementation of OpenAI’s Whisper using CTranslate2, which delivers 4–8x faster inference than the original Whisper implementation on the same hardware. More importantly for latency, faster-whisper supports streaming transcription - it processes audio in small chunks as you speak rather than waiting for you to finish. This “voice activity detection + streaming” approach, using Silero VAD to detect speech boundaries, means transcription begins while you are still talking and completes within 100–200ms of your final word. On a Raspberry Pi 5, the medium model (769M parameters) achieves adequate accuracy with roughly 200–400ms total transcription latency. On a mini-PC or any system with a GPU, the large-v3 model completes in under 150ms and is meaningfully more accurate.
The LLM stage is where you face the sharpest trade-off between intelligence and speed. For simple home automation commands - “turn off the kitchen lights,” “set a 20-minute timer,” “what’s the weather” - a 3B quantized model like Phi-4 (3.8B) or Llama 3.2 3B runs at 3–5 tokens/second on a Raspberry Pi 5’s CPU, producing a first token in roughly 200–400ms. That is fast enough for simple intent parsing. For complex, multi-step queries that genuinely require reasoning, you can route those requests to a larger model running on your home server. This two-tier approach - small model for common commands, larger model for exceptions - keeps the everyday experience snappy while preserving the ability to handle complex queries.
Piper TTS enables streaming synthesis, meaning audio playback starts before the full response has been generated. This is critical for responses longer than a sentence. Rather than waiting for Piper to generate 10 seconds of audio and then playing it, you pipe the text in sentence-length chunks, each of which starts playing the moment its audio is ready. A well-tuned pipeline feels conversational even when the LLM is taking 1–2 seconds to generate a long response, because the user starts hearing the answer within 200ms of the first token.
Putting this together into a concrete latency budget:
| Stage | Optimized Target | What Gets You There |
|---|---|---|
| Wake word detection | 0 ms perceived | Runs continuously in background |
| End-of-utterance detection | 300 ms | Silero VAD with 300ms silence threshold |
| STT (faster-whisper streaming) | 150–250 ms | medium model, streaming chunks |
| LLM intent parsing (first token) | 200–400 ms | 3B quantized INT4 model |
| TTS first audio chunk (Piper) | 100–150 ms | Sentence-boundary streaming |
| Total to first audio | ~750–1100 ms | All stages pipelined |
Getting below 1 second of total latency on a Raspberry Pi 5 is achievable with this stack. On a mini-PC with even modest GPU acceleration, sub-600ms is realistic. The target should be 1 second to first audio output - at that threshold, the interaction feels natural.
Multi-Room Audio and Presence
A voice assistant that only works in one room is genuinely limited. You want to walk into the bedroom and say the wake word and have the assistant respond. You want the kitchen speaker to respond to kitchen commands. Building multi-room coverage does not mean buying five Raspberry Pi units - it means deploying cheap ESP32-S3 microcontroller boards as satellite listening nodes throughout your home.
The ESP32-S3 is a dual-core 240MHz microcontroller with built-in WiFi, enough RAM to run a continuous audio stream, and hardware support for I2S microphone arrays. Running the esp-wr-audio-board or similar open firmware, it captures audio from an attached MEMS microphone array, compresses it, and streams it over WebSocket or MQTT to your central processing server. The ESP32-S3 itself does not run wake word detection - that computation happens on the server. This means the satellites are simple, cheap (roughly $8–15 per unit with a microphone breakout), and consume very little power (under 200mW active).
The glue that makes this work cleanly is the Wyoming Protocol, an open, lightweight protocol developed by the Rhasspy project and now officially supported in Home Assistant’s voice pipeline. Wyoming defines a simple message-passing format for audio streaming, wake word events, STT results, TTS audio, and pipeline state. A Wyoming-compatible satellite sends audio frames to the server; the server runs wake word detection, fires a wake event, runs STT, and sends back a TTS audio stream. From the satellite’s perspective, it is a simple WebSocket client. From the server’s perspective, all satellites look identical regardless of their hardware.
The contextual awareness problem - knowing which room a command came from so you can interpret “turn off the light in here” correctly - is solved through satellite identity. Each ESP32-S3 node has a unique ID embedded in its MQTT topic or Wyoming session header. The intent processing layer maps that ID to a room tag, and when a command contains a relative location pronoun (“in here,” “this room”), it substitutes the known room context. This mapping lives in a simple YAML config file and requires no machine learning.
Preventing cross-room false activations is a real concern in open-plan homes. The ESP32-S3 supports digital microphone beamforming - focusing the microphone array’s sensitivity in a specific direction and rejecting audio from behind the device. Combined with per-satellite wake word sensitivity tuning (slightly higher threshold in open-plan areas, lower in enclosed rooms), false cross-room activations can be reduced to near zero.
Home Assistant Integration
Home Assistant is the natural control plane for a local voice assistant. It already knows about every smart device in your home, has a rich action system, and since the 2024.x release cycle has included a first-class voice pipeline architecture specifically designed for local, privacy-preserving setups. Integrating your custom Whisper STT and Piper TTS with Home Assistant takes less than an hour and gives you access to HA’s entire ecosystem of device integrations.
Home Assistant’s native voice pipeline uses Wyoming Protocol natively. You run your faster-whisper STT server as a Wyoming-compatible service (the wyoming-faster-whisper add-on or Docker container), point HA at it in Settings → Voice Assistants, and HA handles routing wake events to your STT service and piping transcribed text to its intent engine. Similarly, wyoming-piper wraps Piper TTS in a Wyoming-compatible service that HA uses for all voice responses. This means you are not reinventing the HA integration - you are providing the AI components that HA’s existing pipeline infrastructure connects.
HA’s built-in NLP intent engine handles common commands reliably - device control, scene activation, timer setting, and basic queries about device state. For anything more complex - “Is the back door unlocked and did I leave the garage light on?” - HA’s rule-based intent engine falls short. This is where plugging in a local LLM via the conversation integration makes a meaningful difference. You configure a local LLM endpoint (an Ollama instance running on your home server, for example) as a custom conversation agent in HA. Commands that HA’s native NLP cannot parse are forwarded to the LLM, which has access to your HA entity state via a system prompt that includes your device list. The LLM generates a Home Assistant service call in JSON, which your integration layer executes. This hybrid approach - rule-based NLP for common commands, LLM for complex ones - keeps latency low for 90% of commands while handling the long tail gracefully.
Beyond reactive commands, a voice assistant becomes genuinely useful when it can proactively speak to you. Home Assistant’s tts.speak service, pointed at a Wyoming Piper instance and a media player entity, lets any HA automation trigger a spoken announcement. A motion sensor at the front door can trigger “Someone’s at the front door.” A timer completion event can say “Your oven timer just finished.” A morning automation can read out the day’s weather and calendar events. All of this happens entirely on your local network, synthesized by Piper, without a cloud TTS service in sight.
Privacy Hardening and Security
An always-listening device in your home is a significant privacy commitment, even when you built it yourself. The difference between your DIY assistant and a commercial one is that you have the ability to verify what it does with audio - and that verification is not optional. Trust, but verify.
The first step is confirming that no audio leaves your network. The cleanest approach is a Pi-hole DNS sinkhole - if your voice assistant processes ever attempt to resolve an external domain, Pi-hole logs it immediately. Combining Pi-hole with a tcpdump capture session (running tcpdump -i eth0 -n not host YOUR_HA_IP on the Pi while speaking wake words and commands) lets you confirm, at the packet level, that no audio data is leaving. If your assistant is correctly configured and running entirely local models, these captures should be completely empty of outbound traffic during voice interactions. Running this verification after any software update is good practice.
A hardware mute switch is the only absolute guarantee of audio privacy. Wiring a physical button - ideally a latching toggle - in series with the microphone’s power line means that when the switch is off, no software change, no firmware bug, and no remote exploit can cause the microphone to record audio. This is not paranoia; it is sound engineering practice for a device that is always listening. A simple LED indicator light wired to the same circuit provides a visible confirmation that the microphone is active. Several commercial open-source hardware microphone arrays (like the ReSpeaker series) include this as a built-in feature.
Speaker verification - confirming that the voice giving commands belongs to someone in an authorized list - adds another layer of protection against commands from guests, TV audio, or voices from outside the home. SpeechBrain’s ECAPA-TDNN model provides strong speaker embedding extraction and runs efficiently on CPU. The enrollment process is straightforward: record 30–60 seconds of each authorized speaker saying arbitrary phrases, extract embeddings, and store them locally. At inference time, the STT pipeline extracts an embedding from the command audio and computes cosine similarity against enrolled embeddings. Commands below a similarity threshold (tuned per-environment) are rejected before reaching the intent layer. This adds roughly 50ms to the pipeline and effectively eliminates the risk of unauthorized voice commands.
For logging, the principle is simple: log events, never audio. Your log files should contain timestamps of wake word detections, parsed intent labels, entity IDs that were controlled, and error codes when something fails. They should never contain raw audio samples, audio file paths, or verbatim transcription text. Implement log rotation using Python’s logging.handlers.RotatingFileHandler so logs roll over weekly and are deleted after 30 days. If you ever share logs for debugging, there should be nothing in them that reveals what you said or when you were home.
Hardware Bill of Materials
For readers who want to build this from scratch, here is a representative 2026 component list for a single-room setup:
| Component | Recommended Option | Approx. Price |
|---|---|---|
| Main compute | Raspberry Pi 5 (16GB) | $80 |
| MicroSD card | 64GB A2-rated card | $12 |
| Microphone array | ReSpeaker 4-Mic Array for Pi | $35 |
| Speaker | Small USB or 3.5mm powered speaker | $20–$40 |
| Power supply | Official Pi 5 27W USB-C PSU | $12 |
| Case | Argon NEO 5 or similar | $15 |
| Total | ~$175–$195 |
For a multi-room expansion, each ESP32-S3 satellite adds roughly $15–25 in hardware (board plus MEMS microphone breakout), making whole-home coverage achievable for under $100 in satellite nodes.
Getting the Software Running
The fastest path to a working installation is using the Home Assistant OS or Home Assistant Supervised as your base, then installing the Wyoming Whisper and Wyoming Piper add-ons from the HA add-on store. This approach handles service management, auto-restart, and HA integration automatically. If you prefer to run a standalone Linux system (Raspberry Pi OS or Ubuntu), the same components are available as Docker containers:
# Wyoming faster-whisper STT server
docker run -d \
  --name wyoming-faster-whisper \
  -p 10300:10300 \
  -v /data/whisper:/data \
  rhasspy/wyoming-faster-whisper \
  --model medium \
  --language en

# Wyoming Piper TTS server
docker run -d \
  --name wyoming-piper \
  -p 10200:10200 \
  -v /data/piper:/data \
  rhasspy/wyoming-piper \
  --voice en_US-lessac-medium

# openWakeWord server
docker run -d \
  --name wyoming-openwakeword \
  -p 10400:10400 \
  rhasspy/wyoming-openwakeword \
  --preload-model ok_nabu
With these three containers running, navigate to Home Assistant → Settings → Voice Assistants → Add Assistant, and point each stage at the respective Wyoming service. HA will handle the rest of the pipeline coordination. For the custom LLM conversation agent, install Ollama on a home server or directly on the Pi (for slower but functional inference), pull a suitable model (ollama pull phi4 or ollama pull llama3.2:3b), and configure the Ollama integration in HA to use it as your conversation backend.
What to Expect and Where to Go Next
A well-tuned version of this stack on a Raspberry Pi 5 delivers a genuinely useful voice assistant - one that handles device control, timers, basic queries, and multi-step commands without ever touching the internet. Response latency in the 750–1100ms range is perceptibly fast. The voice quality from Piper using the high-quality en_US-lessac-high voice model is natural enough that guests will not immediately identify it as synthetic.
The areas where this stack still lags behind commercial assistants are music integration (requiring additional setup with Spotify Connect, MPD, or Mopidy), complex multi-step reasoning (where a 3B model on a Pi 5 hits its limits), and automatic speaker recognition for household members (which requires enrollment effort). Each of these is solvable, and the community around Home Assistant’s voice pipeline is actively working on all of them.
The fundamental value proposition of this build is not feature parity with Alexa - it is the knowledge that your home’s listening device is under your complete control, running your software, on your hardware, with your data staying exactly where it belongs: in your home.