Home Assistant Packages: Split Config from 2000 to 30

Use Home Assistant
’s built-in packages system. Instead of one giant configuration.yaml that grows into a 2,000-line beast, packages let you split YAML by function: packages/lighting.yaml, packages/climate.yaml, packages/security.yaml, and so on. Each file can hold any mix of automations, sensors, scripts, input helpers, and templates. To tweak your thermostat logic, you open packages/climate.yaml. Nothing else.
As of Home Assistant 2026.4, packages support every integration domain, !secret references, Jinja2 templates, and nested subfolders. The rest of this post walks through setup, migration, design patterns, and Git workflows that make packages practical for a real smart home.
Why Packages Beat the Traditional !include Approach
Home Assistant offers two ways to split your config, and they work on different ideas.
The classic !include style splits by domain. You end up with lines like automation: !include automations.yaml and sensor: !include_dir_merge_list sensors/ in the main file. So one feature, say thermostat control, gets scattered across five or more files. The climate entity lives in configuration.yaml. Template sensors sit in sensors/. Automations go in automations.yaml. Scripts go in scripts.yaml. Input helpers live somewhere else. To grok one feature, you open half a dozen files.
Packages flip that model. A packages/thermostat.yaml file holds the climate entity, template sensors, automations, scripts, and input_number helpers in one place. Everything for thermostat control sits in one file.
Each package file works like a mini configuration.yaml. It can define any top-level domain key: automation:, template:, input_boolean:, script:, sensor:, and so on. They don’t clash with other packages. At startup, Home Assistant deep-merges every package file. If you define the same entity ID in two packages, Home Assistant throws a startup error. It won’t silently overwrite. So config conflicts can’t slip past you.
The practical difference at scale:
| Aspect | !include (domain split) | Packages (function split) |
|---|---|---|
| File organization | One file per domain type | One file per feature |
| Finding related config | Search across 5+ files | Open one file |
| Adding a new feature | Edit multiple files | Create one new file |
| Removing a feature | Hunt through every domain file | Delete one file |
| Git diffs | Changes mixed across domain files | Isolated to feature file |
| Sharing configs | Extract from multiple files | Share single file |
A 200-device Home Assistant box with 150 automations is painful to wrangle in one file. The same setup split into 20-30 focused packages is easy to navigate, debug, and version-control.
Setting Up the Packages Directory
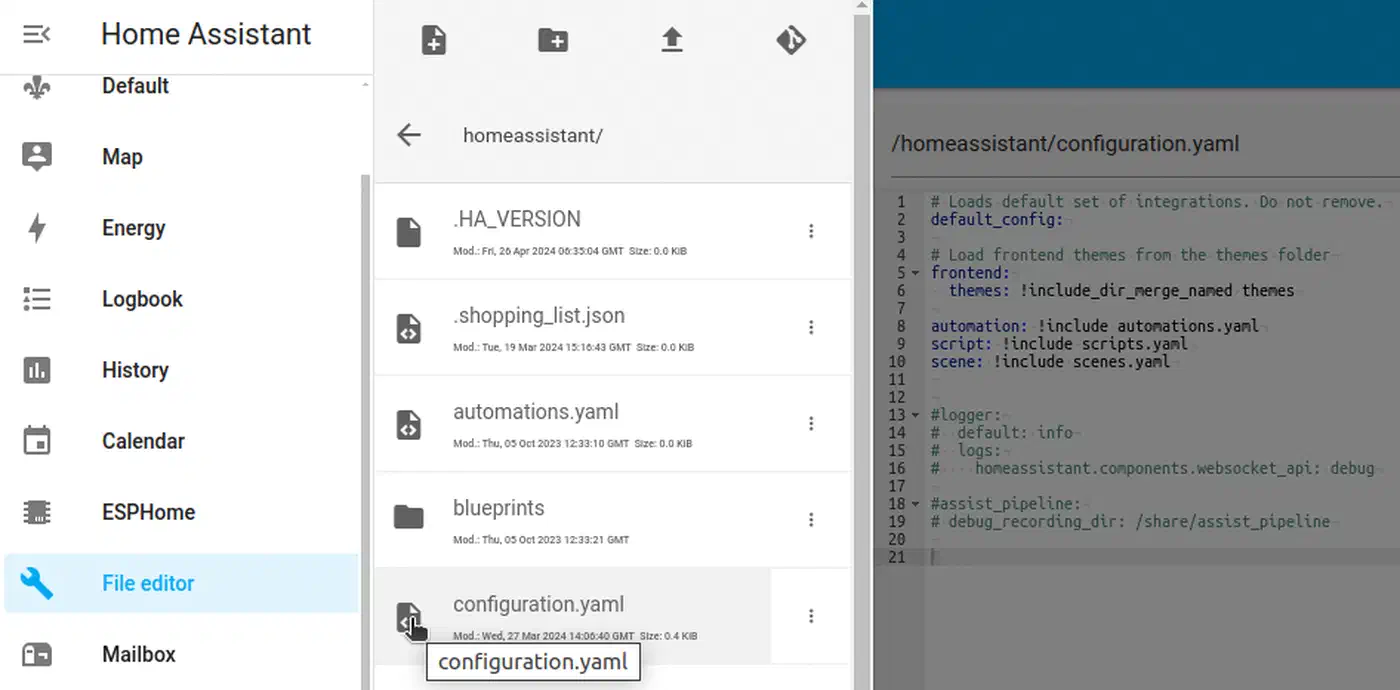
To turn on packages, add one block to your configuration.yaml. Drop this under the homeassistant: key:
homeassistant:
  packages: !include_dir_named packages
This tells Home Assistant to load every .yaml file in packages/ (and its subfolders) as a named package. The filename becomes the package name.
You have three loading options:
!include_dir_named- The filename becomes the package name. File content uses the same indentation asconfiguration.yaml, so you can paste entries straight in. File names must be globally unique, even across subfolders.!include_dir_merge_named- Each file must list a package name as the top-level key, with content nested under it. More flexible naming, but you have to adjust indentation.- Explicit per-file loading - List each package on its own:
packages: lighting: !include packages/lighting.yaml. More verbose, but you control which files load.
The recommended directory structure looks like this:
/config/
  configuration.yaml
  secrets.yaml
  packages/
    lighting.yaml
    climate.yaml
    security.yaml
    presence.yaml
    media.yaml
    notifications.yaml
Name files by function, not by device or room. A lighting.yaml that holds all lighting logic for the house is easier to maintain than bedroom_lights.yaml, kitchen_lights.yaml, and hallway_lights.yaml, each with tiny scraps.
Each package file leads with domain keys at the top level. A bare-bones packages/climate.yaml might look like this:
input_number:
  climate_target_temp:
    name: Target Temperature
    min: 16
    max: 30
    step: 0.5
    unit_of_measurement: "°C"

input_boolean:
  climate_away_mode:
    name: Climate Away Mode
    icon: mdi:home-export-outline

template:
  - sensor:
      - name: "HVAC State"
        state: "{{ states('climate.living_room') }}"
        icon: mdi:hvac

automation:
  - alias: "Climate - Set Away Temperature"
    trigger:
      - platform: state
        entity_id: input_boolean.climate_away_mode
        to: "on"
    action:
      - service: climate.set_temperature
        target:
          entity_id: climate.living_room
        data:
          temperature: "{{ states('input_number.climate_target_temp') | float - 3 }}"
Notice the naming pattern: entity IDs start with climate_ so you can tell at a glance which package owns them. This pays off when you have 30 packages and want to track an entity back to its source.
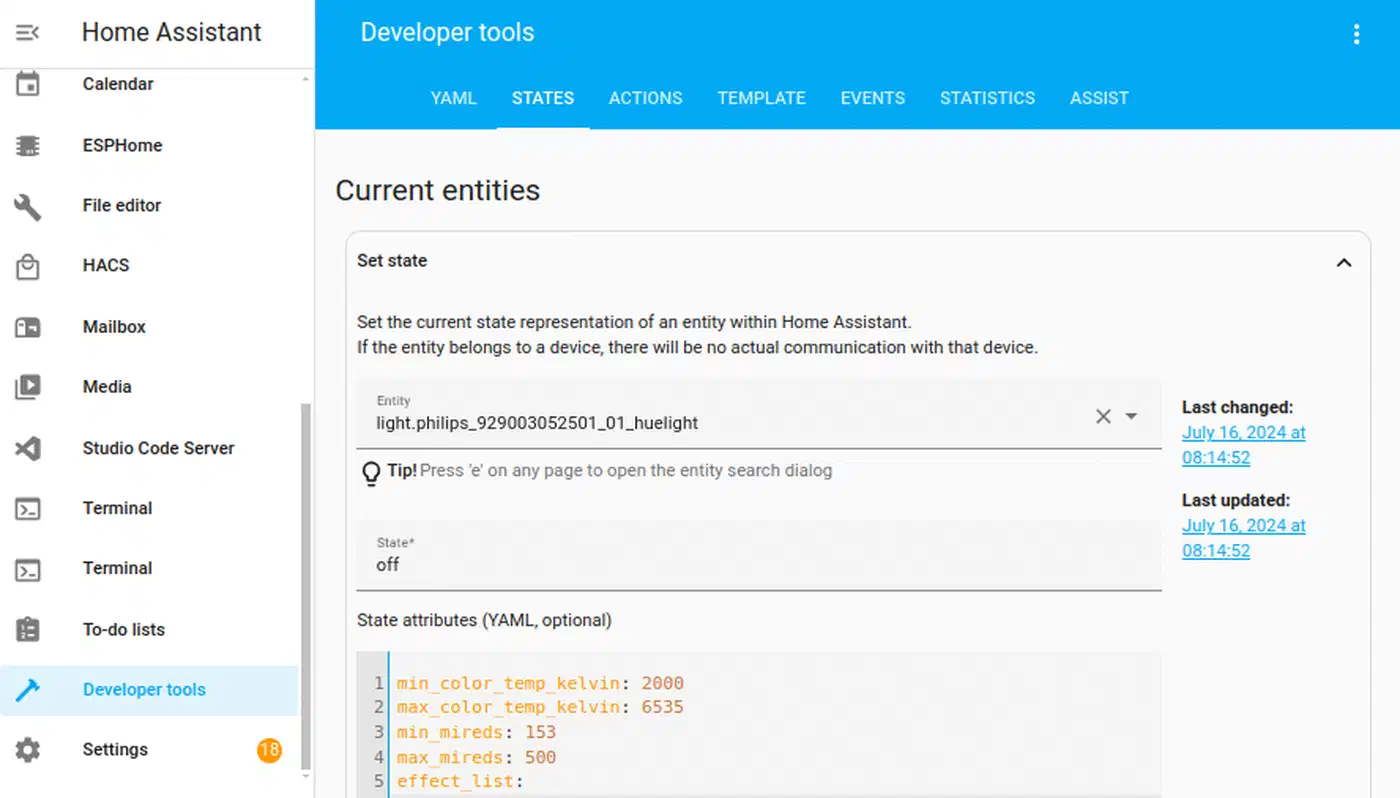
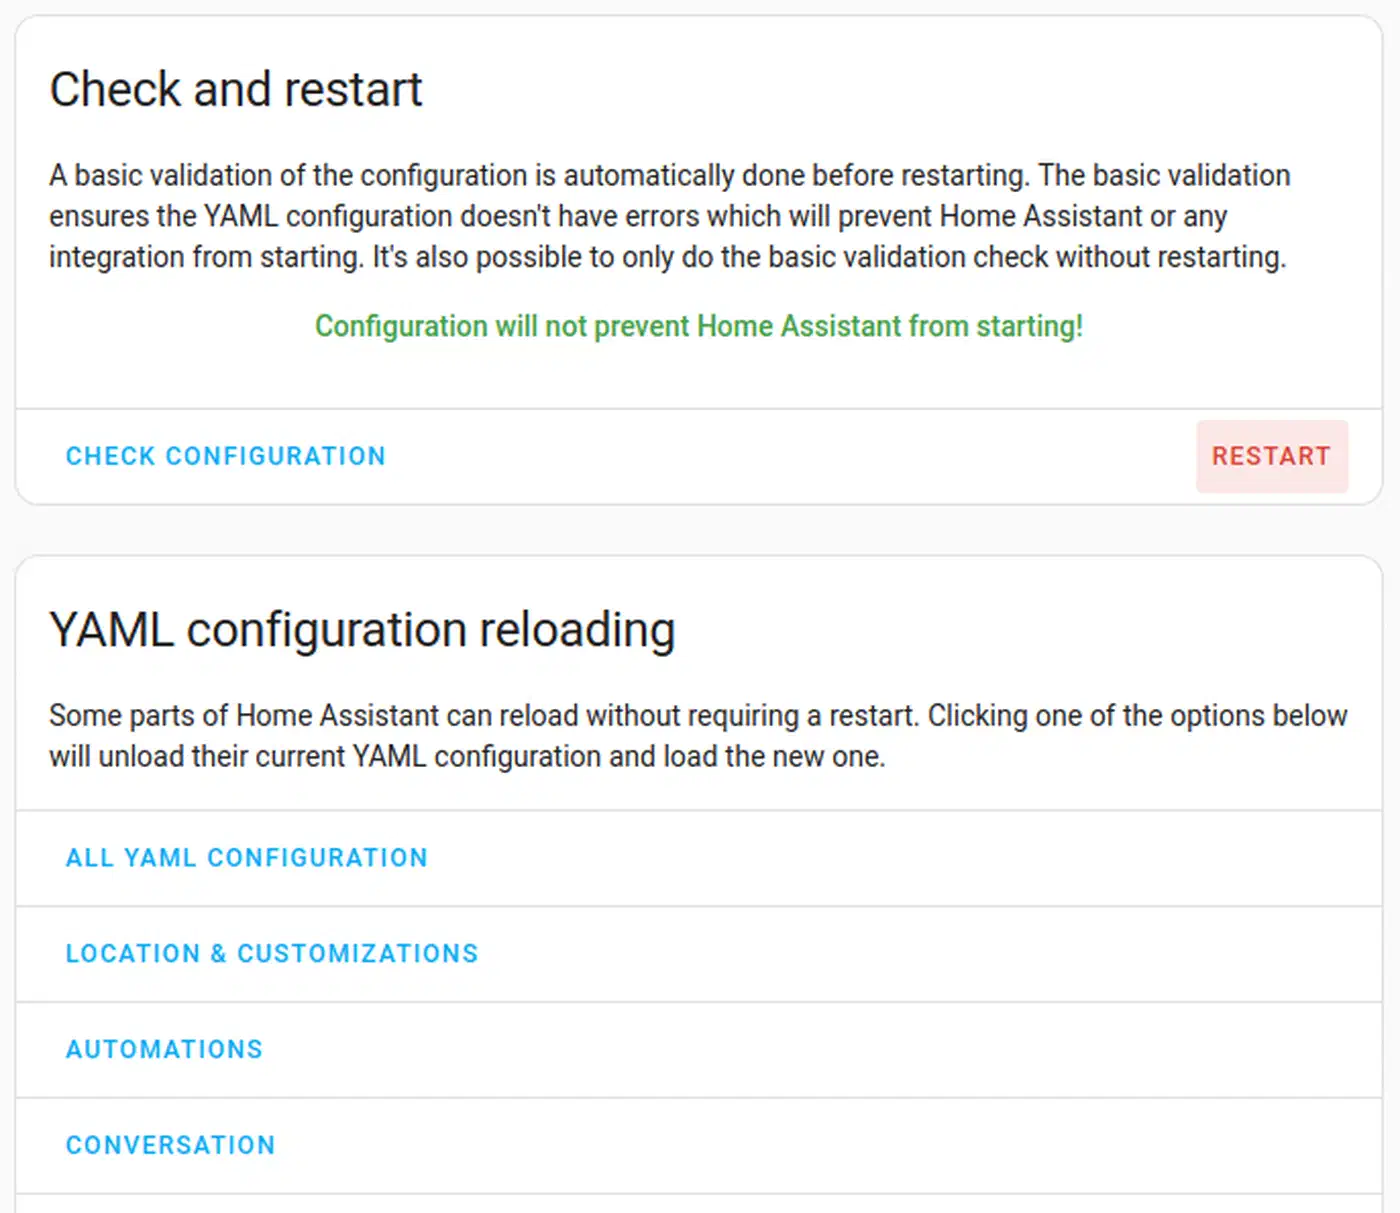
Before you restart Home Assistant after any config change, check the config first. Run ha core check on the CLI, or go to Developer Tools > YAML > Check Configuration in the web UI. This catches merge errors, duplicate entity IDs, and YAML syntax bugs before a bad restart locks you out.
Subdirectory Support
Home Assistant supports nested subfolders under packages/ when you use !include_dir_named. You can lay it out like this:
packages/
  lighting/
    adaptive.yaml
    motion.yaml
  climate/
    thermostat.yaml
    humidity.yaml
  security/
    alarm.yaml
    cameras.yaml
The big catch: file names must be globally unique across every subfolder. You can’t have both packages/lighting/schedule.yaml and packages/climate/schedule.yaml. !include_dir_named uses the filename (without path) as the package name, so both would resolve to schedule.
Migrating from a Monolithic Configuration
Moving an existing Home Assistant box to packages works best in small steps. Don’t try to redo everything in one sitting.
Step 1: Build a safety net. Make a full backup via Settings > System > Backups. If you keep your config in Git (and you should), commit the current state with a message like “pre-migration snapshot.” That gives you a clean rollback point.
Step 2: Pick one feature area to start. Lighting is usually a good first target. It tends to mix automations, scenes, scripts, and input helpers. Create packages/lighting.yaml and move every lighting bit into it: automations, scenes, scripts, input helpers, and template sensors.
Step 3: Remove the moved items from their old homes. Delete them from automations.yaml, configuration.yaml, scripts.yaml, and anywhere else they sat. Keep the automation: !include automations.yaml line in configuration.yaml for any automations that remain.
Step 4: Check and restart. Run the config check, fix any duplicate-key errors, then restart. Verify the moved entities show up in Developer Tools > States and that automations still fire.
Step 5: Repeat. Move one feature at a time: climate, security, presence, media, notifications. Spread it over days or weeks. You don’t have to do it all at once.
The UI-Managed Automations Problem
This trips people up the most during migration. Automations built through the Home Assistant UI (the visual editor) live in automations.yaml, and Home Assistant owns that file. If you move a UI-built automation into a package, it turns YAML-only. You can’t edit it in the visual editor anymore.
The fix: use labeled automation blocks. In your configuration.yaml, keep:
automation ui: !include automations.yaml
automation manual: !include_dir_merge_list automations_manual/
More often, let the UI keep owning automations.yaml for simple stuff anyone in the house might want to tweak. Put your tricky, multi-step automations into packages. YAML editing gives you more power and better version control there.
Rule of thumb: if the visual editor handles it fine and someone else might need to tweak it, leave it in automations.yaml. If it uses templates, tricky conditions
, or multi-step flows, put it in a package.
Package Design Patterns for Common Features
Knowing how packages work is step one. Good package design also leans on a handful of patterns you’ll see again and again. Below are templates for common smart home features you can adapt to your setup. A self-contained feature like rain-aware garden watering is a textbook package: its zones, weather sensors, and watering automations all belong in one file.
Lighting Package
Pull all lighting into one file: light: platform configs, scene: definitions, adaptive lighting automations, motion-triggered lighting scripts, and an input_select for lighting modes.
input_select:
  lighting_mode:
    name: Lighting Mode
    options:
      - Bright
      - Relaxed
      - Movie
      - Dinner
    icon: mdi:lightbulb-group

scene:
  - name: lighting_bright
    entities:
      light.living_room:
        state: "on"
        brightness: 255
      light.kitchen:
        state: "on"
        brightness: 255

automation:
  - alias: "Lighting - Apply Mode"
    trigger:
      - platform: state
        entity_id: input_select.lighting_mode
    action:
      - service: scene.turn_on
        target:
          entity_id: "scene.lighting_{{ trigger.to_state.state | lower }}"
Presence Package
Define person: entities, zone: blocks, arrival and departure automations, and a template sensor for the “house occupied” state:
input_boolean:
  presence_guest_mode:
    name: Guest Mode
    icon: mdi:account-group

template:
  - binary_sensor:
      - name: "House Occupied"
        state: >
          {{ is_state('person.alice', 'home')
             or is_state('person.bob', 'home')
             or is_state('input_boolean.presence_guest_mode', 'on') }}
        device_class: occupancy

automation:
  - alias: "Presence - Welcome Home"
    trigger:
      - platform: state
        entity_id: person.alice
        to: "home"
    action:
      - service: light.turn_on
        target:
          entity_id: light.hallway
      - service: notify.mobile_app_alice
        data:
          message: "Welcome home!"
Security Package
Bundle the alarm panel setup, contact sensor groups, intrusion detection, and notification automations:
group:
  security_doors:
    name: All Door Sensors
    entities:
      - binary_sensor.front_door
      - binary_sensor.back_door
      - binary_sensor.garage_door

automation:
  - alias: "Security - Door Open Alert"
    trigger:
      - platform: state
        entity_id: group.security_doors
        to: "on"
    condition:
      - condition: state
        entity_id: alarm_control_panel.home
        state: "armed_away"
    action:
      - service: notify.mobile_app_alice
        data:
          message: "Alert: {{ trigger.to_state.name }} opened while alarm is armed!"
          data:
            priority: high

script:
  security_siren_sequence:
    alias: "Security Siren Sequence"
    sequence:
      - service: siren.turn_on
        target:
          entity_id: siren.indoor
      - delay: "00:05:00"
      - service: siren.turn_off
        target:
          entity_id: siren.indoor
Notification Package
Put all notification logic in one place. Other packages then call a single script and skip duplicate service calls:
input_select:
  notification_priority:
    name: Notification Priority
    options:
      - Low
      - Normal
      - High
      - Critical
    icon: mdi:bell

script:
  notify_all_phones:
    alias: "Notify All Phones"
    fields:
      message:
        description: "The notification message"
      title:
        description: "The notification title"
        default: "Home Assistant"
    sequence:
      - service: notify.mobile_app_alice
        data:
          title: "{{ title }}"
          message: "{{ message }}"
      - service: notify.mobile_app_bob
        data:
          title: "{{ title }}"
          message: "{{ message }}"
Each package should be self-contained enough that deleting the file kills the whole feature cleanly, with no stray entity references in other packages. The notification package is the exception: other packages call script.notify_all_phones. That’s an on-purpose shared service, not a leaked dependency.
Version Control and Collaboration
Once your config is split into packages, Git gets a lot more useful. With each feature in its own file, git diff tells you what changed and where. To take it further, see our guide on auto-backing up your HA config to GitHub
.
Git Setup for Home Assistant
Run git init in your /config/ folder, then add a .gitignore that skips secret and generated files:
# .gitignore
secrets.yaml
.storage/
home-assistant_v2.db
tts/
backups/
*.log
Ship a secrets.yaml.example with placeholder values. That way others (or future you, setting up a new box) know which secrets to fill in:
# secrets.yaml.example
wifi_password: "your-wifi-password-here"
mqtt_broker_password: "your-mqtt-password-here"
telegram_bot_token: "your-bot-token-here"
Meaningful Commit History
Because each package is its own file, your commit log starts to read itself:
climate: add window-open HVAC pause automation
security: fix false alarm trigger during maintenance mode
lighting: add dinner scene for dining room
presence: refactor house-occupied sensor to include guest mode
Compare that to the one-big-file style, where configuration.yaml is the only file that ever changes and you can’t tell at a glance which feature got touched.
Branch-Based Testing
Make a feature/new-lighting-modes branch, edit packages/lighting.yaml, test it on a dev Home Assistant box, then merge to main. If it breaks, git revert hits one clean commit. You don’t have to untangle a stack of mixed changes.
CI/CD with GitHub Actions
The Home Assistant Config Check GitHub Action checks your YAML on every push or pull request. A basic workflow looks like this:
name: Home Assistant Config Check
on:
  push:
    branches: [main]
  pull_request:
    branches: [main]

jobs:
  check:
    runs-on: ubuntu-latest
    steps:
      - uses: actions/checkout@v4
      - name: Home Assistant Config Check
        uses: frenck/action-home-assistant@v1
        with:
          path: "."
          secrets: secrets.yaml.example
This catches YAML syntax bugs, missing secrets, and domain config errors before they ever hit your live Home Assistant box.
Collaboration in Multi-Person Households
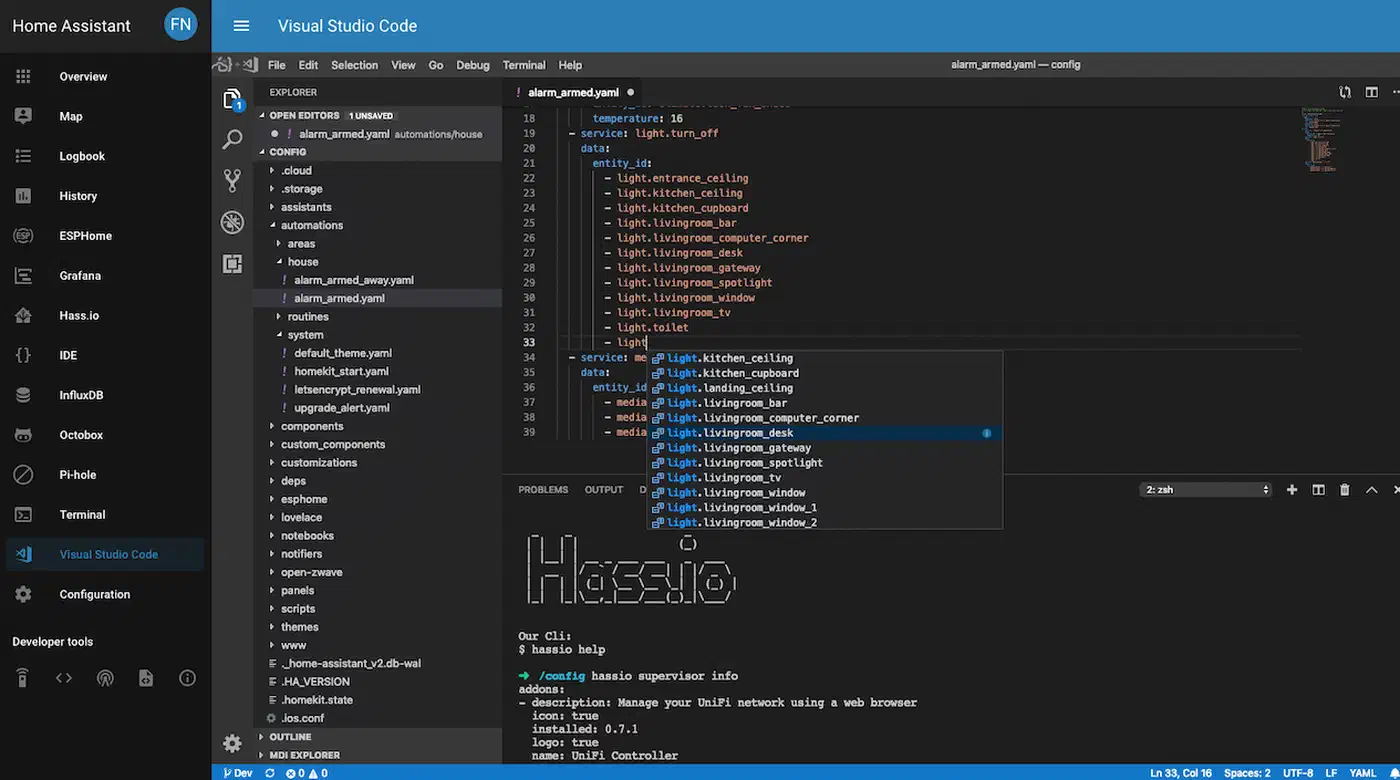
When more than one person edits the config, packages cut merge conflicts way down. One person can edit packages/lighting.yaml while another edits packages/climate.yaml. They never touch the same file. The Studio Code Server
add-on gives you VS Code in the browser, with built-in Home Assistant YAML auto-complete. Anyone in the house can edit files in place.
Advanced Tips and Debugging
YAML Anchors for Reducing Duplication
YAML anchors (&anchor_name) and aliases (*anchor_name) work inside a package file to cut down on repeat config. If you have several similar automations that differ only in entity IDs, define the shared structure once:
automation:
  - alias: "Lighting - Motion Kitchen"
    trigger: &motion_trigger
      - platform: state
        to: "on"
    action: &motion_lights_on
      - service: light.turn_on
    trigger:
      - <<: *motion_trigger
        entity_id: binary_sensor.motion_kitchen
    action:
      - <<: *motion_lights_on
        target:
          entity_id: light.kitchen

  - alias: "Lighting - Motion Hallway"
    trigger:
      - <<: *motion_trigger
        entity_id: binary_sensor.motion_hallway
    action:
      - <<: *motion_lights_on
        target:
          entity_id: light.hallway
Anchors are scoped to a single YAML file, so you can’t share them across packages. For cross-package reuse, the notification script pattern shown above (calling script.notify_all_phones from any package) is the better play.
Debugging: Which Package Defines an Entity?
When something breaks, you sometimes need to find which package defines an entity. The entity ID prefix pattern (climate_away_mode, lighting_mode) makes this easy for entities you wrote. For entities without a clear prefix, search the packages folder:
grep -r "entity_id_in_question" /config/packages/Developer Tools > States in the Home Assistant UI shows every entity and its current value, but not which package or file defined it. The grep route is the most reliable way to trace where an entity came from.
Performance Notes
The number of package files has no real effect on Home Assistant startup time. YAML parsing is fast. What takes time at startup is loading integrations, talking to devices, and building the entity registry. One file or fifty, the parsed result is the same. Home Assistant merges everything into one config dictionary before any work begins.
Tested with 30+ package files on a Raspberry Pi 4 and an Intel NUC, the startup time gap was within measurement noise: under one second either way. Organize for readability and easy upkeep. Don’t sweat the file count.