How to Use AppDaemon for Advanced Home Assistant Automations

AppDaemon
(currently at version 4.5.14) is a Python runtime that runs alongside Home Assistant
and lets you write automations as full Python classes. You get access to state machines, scheduling, external API calls, and conditional logic that would be impossible or unmaintainable in YAML automations. Install it as a Home Assistant add-on, create a Python file in the apps directory, define a class that inherits from hass.Hass, and use callbacks like listen_state() and run_daily() to build automations that handle multi-step workflows, persistent variables, and real-time data processing.
When YAML Automations Fall Short
Home Assistant’s built-in YAML automations and visual editor handle most smart home logic well enough. But certain patterns become painful or outright impossible once you push beyond simple trigger-action pairs.
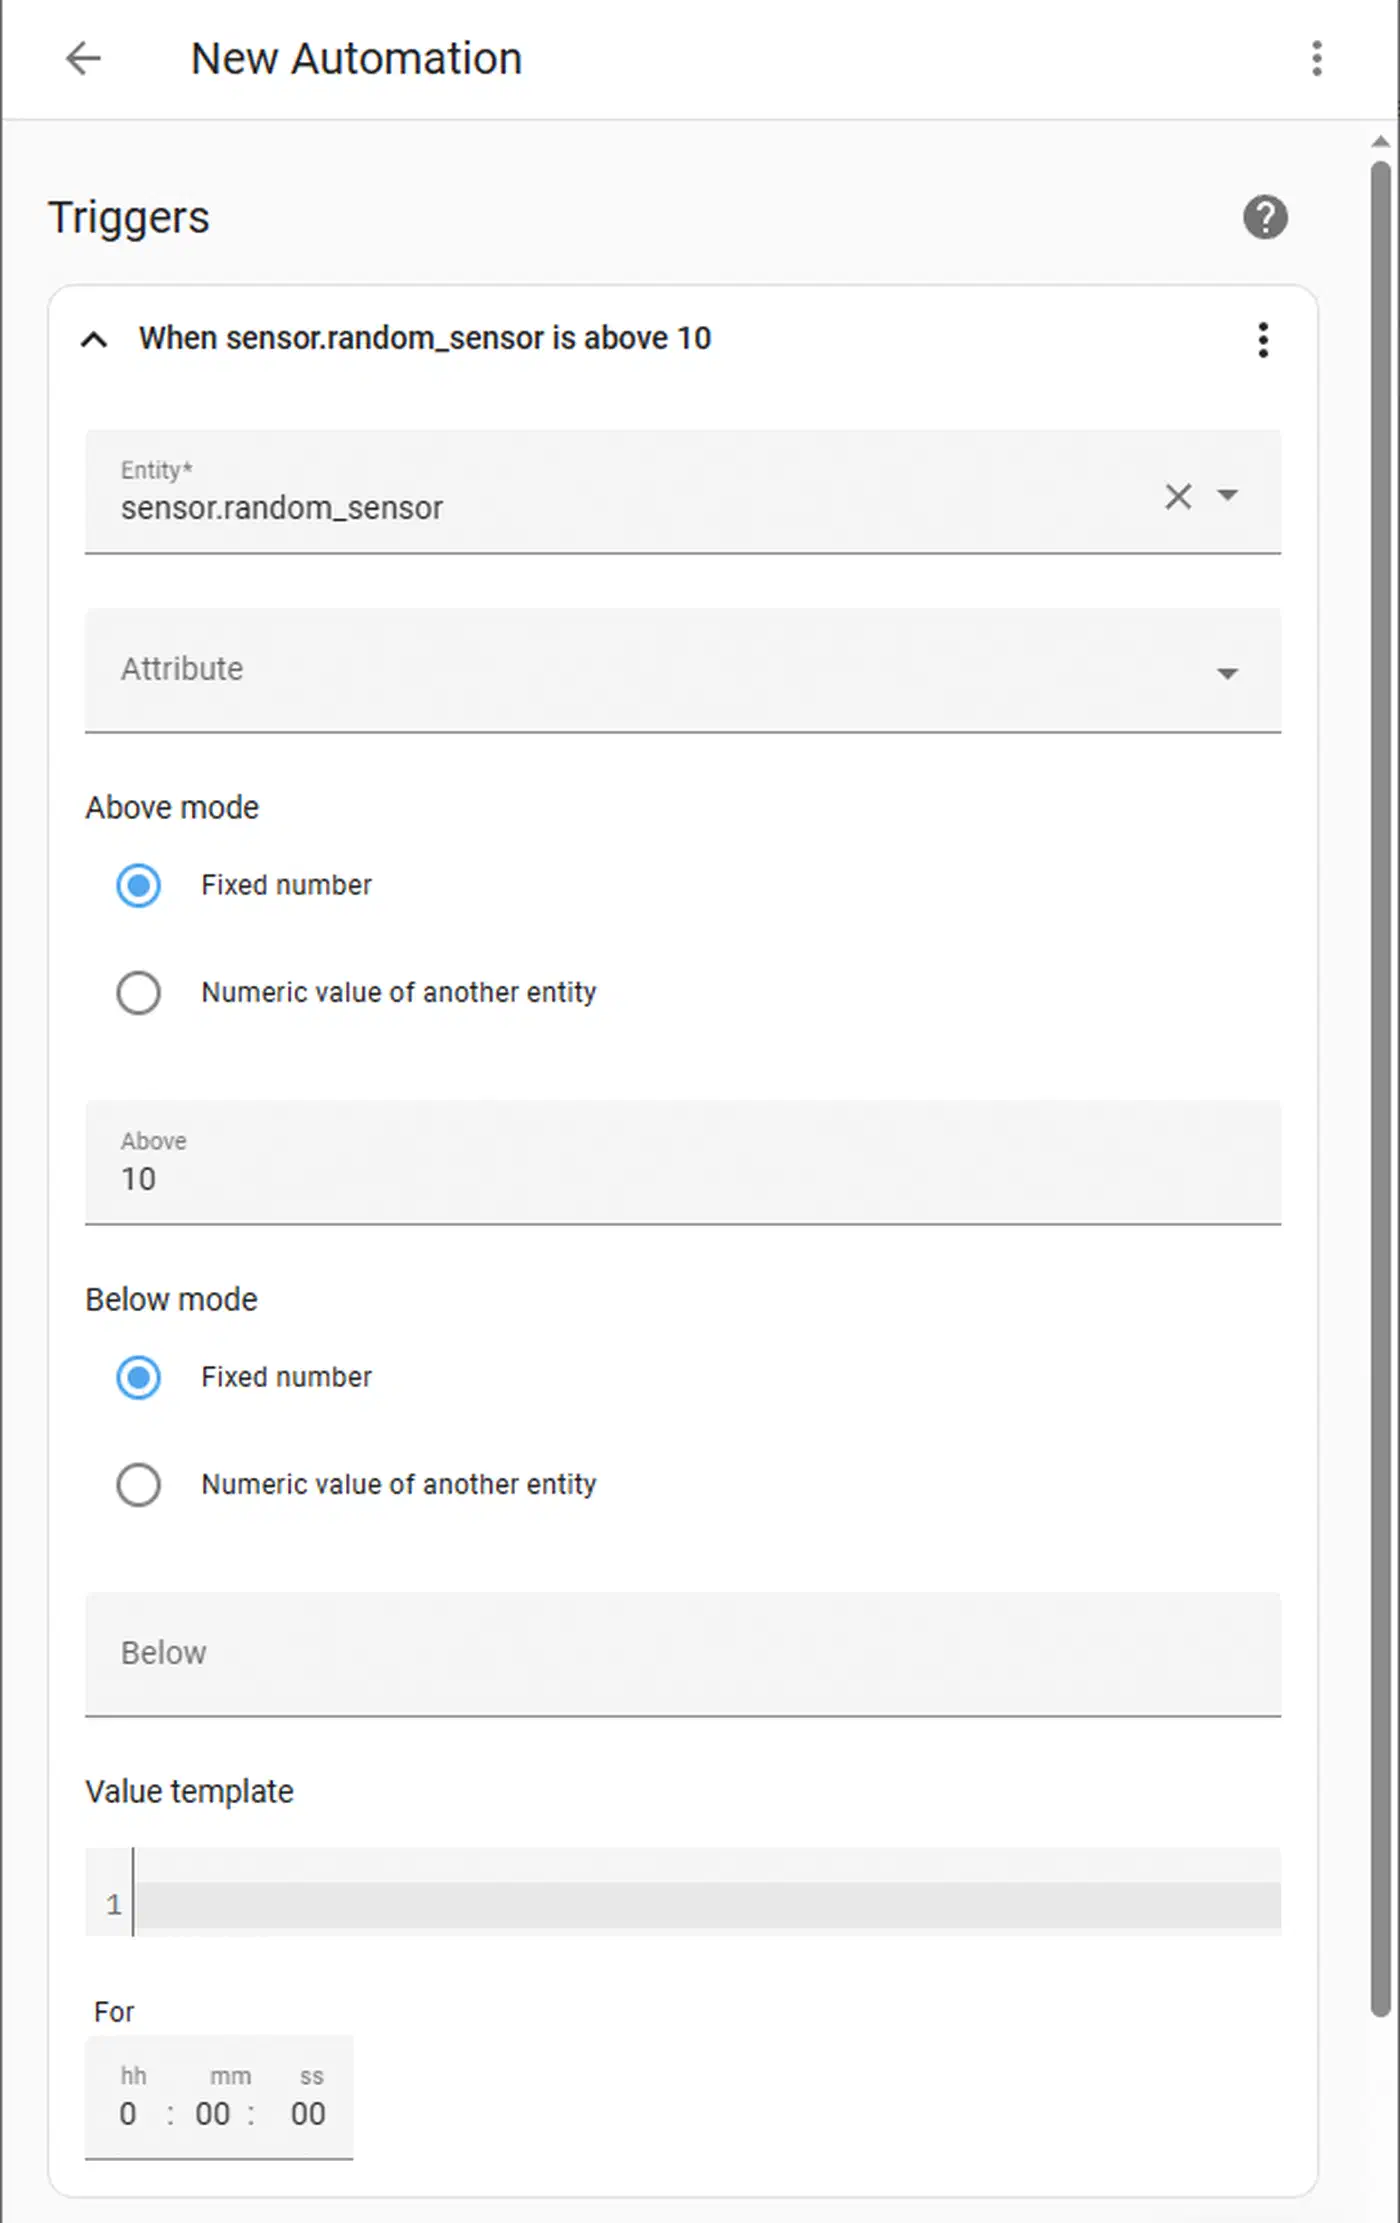
State machines are the classic example. Tracking a washing machine cycle that transitions through fill, wash, rinse, spin, and done based on power meter readings requires maintaining state between automation runs. YAML automations have no native state persistence between triggers - you end up juggling input_select helpers and multiple automations that reference each other.
Complex conditionals hit a wall quickly too. When you need nested if/elif/else logic with five or more conditions, mathematical calculations, or string parsing, YAML templates become unreadable. Python’s native control flow is cleaner by a wide margin.
External API integration gets awkward in YAML. Pulling data from REST APIs - weather services, utility rate APIs, stock tickers - and feeding it into automation decisions requires rest sensors and convoluted templates. Python’s requests library or aiohttp handles this directly.
Rate limiting and debouncing require manual input_datetime helpers in YAML. In Python, a simple timer variable or decorator covers it. Data persistence across restarts - storing running averages, counters, or historical values - means using fragile input_number and input_text helpers in YAML. Python lets you write dictionaries to JSON files and read them back.
And then there is testing. Python automations can be unit-tested with pytest and debugged with standard tools. YAML automations can only be tested by triggering them live and checking the trace log.
Installing and Configuring AppDaemon
AppDaemon runs as a separate process that connects to Home Assistant via the WebSocket API. There are two main installation methods.
Home Assistant Add-on (recommended): Install from Settings > Add-ons > Add-on Store > AppDaemon 4. This handles the Python environment, auto-connects to HA, and provides a built-in code editor via the add-on’s web UI on port 5050. No token configuration needed since the add-on communicates with HA directly.
Docker standalone: For users running HA Core or HA Container without the add-on store:
docker run -d --name appdaemon \
  -p 5050:5050 \
  -v /path/to/conf:/conf \
  -e HA_URL=http://homeassistant:8123 \
  -e TOKEN=your_long_lived_token \
  acockburn/appdaemon:4.4.2
Create a long-lived access token in Home Assistant under Profile > Security.
Directory structure: The apps/ directory contains your Python files. apps.yaml maps class names to their configuration parameters. Each app is a .py file with a class inheriting from hassapi.Hass (imported via import hassapi as hass). AppDaemon hot-reloads when files change, so you do not need to restart anything during development.
First app test: Create apps/hello.py:
import hassapi as hass

class Hello(hass.Hass):
    def initialize(self):
        self.log("AppDaemon is running!")
Add the app to apps.yaml:
hello:
  module: hello
  class: Hello
Check the AppDaemon log for the message. If it appears, your setup works.
Adding dependencies: Put Python packages in appdaemon.yaml under python_packages (for pip packages) and system_packages (for Alpine apk packages). Common additions include requests, numpy, and paho-mqtt.
Core Patterns: Callbacks, Scheduling, and State
Most of what you do in AppDaemon revolves around its event-driven callback system and flexible scheduling.
The listen_state() method fires your callback function whenever an entity’s state changes. It supports optional new, old, attribute, and duration parameters:
self.listen_state(self.motion_detected, "binary_sensor.hallway_motion", new="on")The duration parameter is worth knowing about. self.listen_state(cb, "binary_sensor.door", new="on", duration=300) fires only if the door has been open for 5 continuous minutes - good for “left the door open” alerts without complex YAML wait/condition chains.
For scheduling, run_daily() runs at a specific time each day:
self.run_daily(self.morning_routine, datetime.time(7, 0, 0))Also available: run_hourly(), run_every(), run_at(), and run_in() for one-shot delayed execution.
Reading and setting state works synchronously. self.get_state("sensor.outdoor_temp") returns the value as a string you can cast and use in calculations. self.call_service("light/turn_on", entity_id="light.living_room", brightness=200) mirrors the HA service call interface.
For state persistence between callback invocations, define instance variables in initialize() like self.wash_state = "idle" to track state machine positions. These survive across callbacks but reset on AppDaemon restart. If you need persistence across restarts, serialize to a JSON file using Python’s json module.
Real-World Projects
These patterns click once you see them applied to real automations. Here are three projects that would be painful or impossible in YAML.
A washing machine state machine monitors a smart plug’s power reading (sensor.washer_power) and transitions through states - idle, filling, washing, rinsing, spinning, done - based on power thresholds and durations. It sends a notification only when the full cycle completes. This requires tracking six states and transition timers. It comes out to roughly 50 lines of Python versus 200+ lines of YAML with multiple helpers.
Smart presence detection combines multiple presence indicators (phone WiFi, Bluetooth tracker, door sensor, motion sensors) with weighted scoring and hysteresis. Mark someone as “home” only when two or more indicators agree for 30+ seconds, and “away” only after all indicators show absent for 10+ minutes. This eliminates the false departure/arrival events that plague single-sensor presence detection.
A dynamic energy tariff automation fetches hourly electricity prices from a REST API (Octopus Energy , Tibber , or Amber Electric ), calculates the cheapest 3-hour window in the next 24 hours, and schedules high-power devices (EV charger, water heater, dishwasher) to run during that window. The schedule updates at midnight and whenever prices change. This requires array sorting, datetime math, and API calls that YAML cannot handle cleanly. For a foundation to measure energy usage before automating it, see tracking home energy with Home Assistant .
All three projects use the same building blocks: state machine transitions with listen_state(), scheduled recalculations with run_daily(), external API calls with requests, persistent state with JSON files, and structured notifications with call_service("notify/...").
For error handling, wrap API calls in try/except blocks, log errors with self.error(), and implement retry logic with self.run_in(self.retry_callback, 60) for transient failures.
AppDaemon vs Alternatives
| Feature | YAML Automations | Node-RED | Pyscript | AppDaemon |
|---|---|---|---|---|
| Learning curve | Low | Medium | Medium | Medium-High |
| State machines | Difficult (helpers) | Possible (context) | Good | Excellent |
| External APIs | Convoluted templates | HTTP nodes | Native Python | Native Python |
| Testing | Live only | Limited | Jupyter support | pytest compatible |
| Runs as | Built-in | Separate add-on | HA integration | Separate process |
| Hot reload | No (restart needed) | Yes | Yes | Yes |
| Debugging | Trace logs | Debug panel | Jupyter | Python debugger |
Pyscript is the closest alternative to AppDaemon. It runs inside Home Assistant as an integration rather than a separate process, and it lets you use HA state variables directly as Python variables. Multi-step automations can be written as single functions that sleep or wait for triggers mid-execution, without splitting logic into callbacks. The tradeoff is that pyscript is more tightly coupled to HA, while AppDaemon runs independently and can survive HA restarts. If you want to go even deeper with Python in Home Assistant, writing a custom HACS integration is the natural next step.
Node-RED takes a visual flow-based approach. It is self-documenting and fast to iterate on for moderately complex automations. But for anything requiring real programming logic - loops, data structures, API parsing - you end up writing JavaScript inside function nodes anyway.
Production Best Practices
Use self.log("message", level="DEBUG") with appropriate log levels. Configure per-app log levels in appdaemon.yaml to keep noisy debug output from flooding the main log. Logs are viewable in the AppDaemon add-on UI or at /conf/logs/.
For development, create a test_mode parameter in apps.yaml that replaces actual service calls with log messages when enabled. This lets you verify logic without toggling lights while you iterate on code.
Organize your code with one file per automation domain (lighting.py, climate.py, presence.py). Use a shared utils.py for common functions like time calculations and notification formatting. Store the entire apps/ directory in a Git repository so you have rollback capability when a new automation causes unexpected behavior.
On the performance side, AppDaemon runs in a single Python process. Avoid blocking calls - use self.run_in_executor() for slow API requests. Keep callback functions fast (under 100ms). For CPU-intensive work, offload to a separate thread with self.create_task(). On a Raspberry Pi 4, AppDaemon typically uses 50-150MB of RAM with a handful of apps running, scaling up with the number of active callbacks and state listeners.