 Botmonster Tech
OpenWrt 25.12: 2,200 routers, 5-minute flash, enterprise features

Can your consumer router do WireGuard VPN at 800 Mbps, isolate IoT devices into separate VLANs, and kill bufferbloat with a single queue management setting? Stock firmware almost certainly cannot. OpenWrt can.
OpenWrt is a full Linux distribution that replaces the limited manufacturer firmware on compatible routers. The router ends up behaving more like a managed switch and enterprise firewall than the box your ISP sent you, which pairs well with a cheap 10GbE backbone
behind it. Recent releases introduced the apk package manager (replacing opkg) and support over 2,200 devices. Flashing typically takes five minutes and is reversible if you keep a backup.
This guide covers every stage: verifying your router is supported, downloading the right image, flashing safely, and getting the most important features running.
Is Your Router Compatible? Checking the Table of Hardware
The OpenWrt Table of Hardware is where you start, before touching anything else. Search by manufacturer and model name - the table lists each supported hardware revision, CPU, RAM, flash storage, WiFi chipset, flash method, and current support status.
Hardware revision is critical and often overlooked. The TP-Link Archer C7 v2 and v5, for example, use entirely different system-on-chips. The revision is printed on the label on the bottom of the router (look for “Ver: 2.0” or similar). Download an image for the wrong revision and you will have a paperweight.
Minimum viable hardware for a useful OpenWrt install in 2026:
- RAM: 128 MB minimum, 256 MB or more preferred - especially if you plan to run WireGuard, adblock, or SQM simultaneously
- Flash: 16 MB minimum, 32 MB or more if you want to install multiple packages; routers with 4 MB flash and 32 MB RAM are listed as unsupported in OpenWrt 24.10 and later
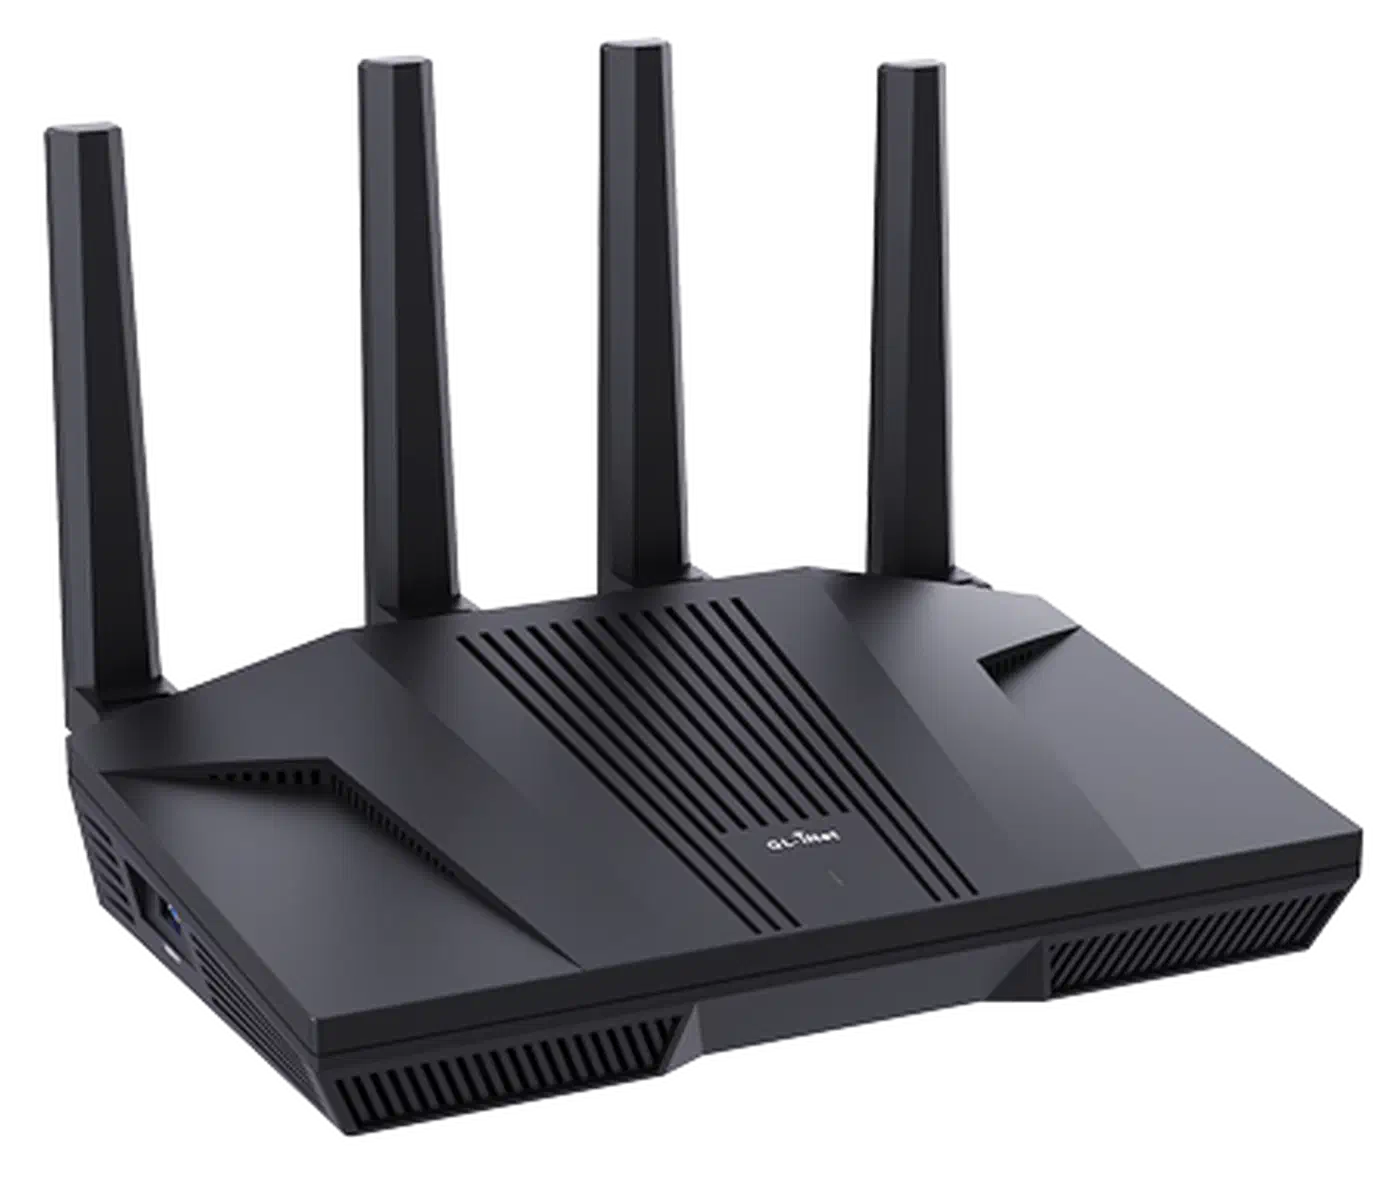
If you are buying a router specifically to run OpenWrt, these three have excellent chipset support and reasonable prices:
| Router | CPU | RAM | Flash | WiFi | Price (approx.) |
|---|---|---|---|---|---|
| Dynalink DL-WRX36 | Qualcomm IPQ8072A | 1 GB | 512 MB NAND | WiFi 6 (AX6000) | ~$40 refurbished |
| Belkin RT3200 / Linksys E8450 | MediaTek MT7622BV | 512 MB | 256 MB NAND | WiFi 6 (AX3200) | ~$50 |
| GL.iNet GL-MT6000 (Flint 2) | MediaTek MT7986A | 1 GB | 256 MB NAND | WiFi 6 (AX6000) | ~$80 |
Avoid Broadcom-based routers where possible. Broadcom’s WiFi chipsets require proprietary drivers with poor open-source support. Qualcomm chipsets use the ath10k, ath11k, and ath12k drivers, which are fully mainlined in Linux. MediaTek uses mt76, which is equally well-supported. Both give you the full performance headroom of the hardware.
One more distinction worth understanding: release builds vs snapshot builds. Release builds (like 25.12.2) include the LuCI web interface pre-installed and are stable. Snapshot builds are compiled nightly from the development branch - they may be newer but can have bugs and typically lack LuCI by default. For a first flash, always use a release build.
Flashing OpenWrt: Step-by-Step
The flashing process takes roughly five minutes, but one mistake - wrong image file, wrong revision, or power loss mid-flash - can brick your router. Follow each step exactly.
Before you flash, collect this information from your stock firmware:
- ISP connection type (DHCP, PPPoE, static)
- PPPoE username and password if applicable
- VLAN ID if your ISP uses VLAN tagging on the WAN (common with fiber ONTs)
- Download both the
factoryimage (for the initial flash from stock firmware) and thesysupgradeimage (for future OpenWrt-to-OpenWrt updates) - Verify the SHA256 checksum of both downloaded files against the values on the OpenWrt download page
Method 1: Web UI Flash (Most Common)
This works on the majority of routers:
- Log into your stock firmware interface (usually
192.168.1.1or192.168.0.1) - Navigate to Firmware Update, System Update, or similar
- Upload the OpenWrt
factoryimage - NOT thesysupgradeimage - Confirm the update and wait 2-3 minutes; do not interrupt power
- The router reboots directly into OpenWrt
The Belkin RT3200 / Linksys E8450 requires a slightly different approach because it uses a UBI flash layout. The community maintains a dedicated installer that converts the flash layout first and then installs OpenWrt in a two-step process.
Method 2: TFTP Recovery
Used when the router lacks a working web interface, or when recovering from a failed flash:
- Set your PC’s Ethernet interface to a static IP of
192.168.1.2with netmask255.255.255.0 - Start a TFTP server -
tftpd-hpaon Linux,Tftpd64on Windows - Place the firmware file in the TFTP root with the exact filename the router expects (documented per-device on the OpenWrt wiki)
- Power-cycle the router while holding the reset button for 5-10 seconds to enter TFTP recovery mode
- The router fetches the file automatically and flashes it
Method 3: Serial Console (Last Resort)
If TFTP recovery fails, connect a 3.3V USB-to-serial adapter - an FTDI FT232RL or CP2102, around $5 - to the router’s UART pads (TX, RX, GND). Open a terminal at 115200 baud. You will land in the U-Boot bootloader, where you can trigger a TFTP flash manually. This requires opening the case and careful probe placement on the pads, but it can recover routers that appear completely dead.
First Steps After Flashing
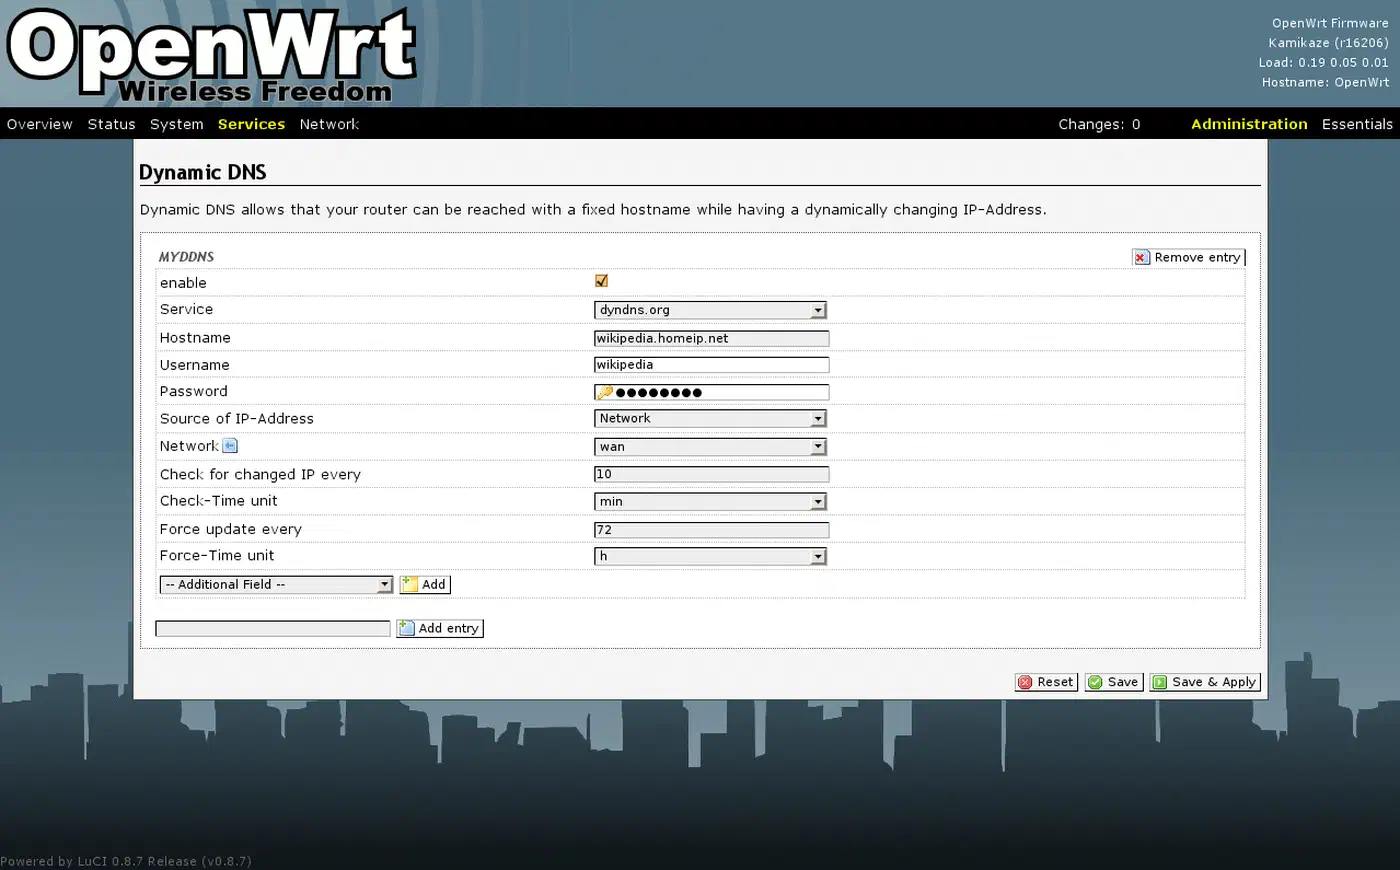
Connect via Ethernet only - WiFi is disabled by default on a fresh OpenWrt install for security reasons. Browse to http://192.168.1.1. The default login has no password. Set one immediately under System > Administration before doing anything else.
Verify the version under System > Overview. Enable WiFi under Network > Wireless: configure your SSID, set WPA3 or WPA2/WPA3 mixed mode, and click Enable for both the 2.4 GHz and 5 GHz radios.
Essential Post-Flash Configuration
A fresh OpenWrt install works but needs a few passes to match your environment and improve security.
WAN connection: Go to Network > Interfaces > WAN. Set the protocol to DHCP for cable and most fiber connections, or PPPoE for DSL connections. If your ISP requires VLAN tagging on the WAN port - common with fiber ONTs from AT&T or many European ISPs - set the VLAN ID under the device configuration, before the protocol layer. When the WAN comes up, the fastest confirmation is to load any address-reporting page from a LAN client and see a real public address come back.
LAN subnet: The default is 192.168.1.0/24. If that conflicts with your work VPN or an upstream network, change it now. 10.0.0.0/24 or 172.16.0.0/24 are common alternatives. Update the DHCP range under Network > Interfaces > LAN > DHCP Server to match.
Encrypted DNS: By default, OpenWrt forwards DNS queries to your ISP’s resolvers in plaintext. Install luci-app-https-dns-proxy to route queries over HTTPS to Cloudflare (1.1.1.1) or Google (8.8.8.8). In OpenWrt 25.x, use apk add luci-app-https-dns-proxy; in 24.10, use opkg install luci-app-https-dns-proxy. For a more private alternative that eliminates dependency on third-party DNS providers entirely, see our guide on setting up Pi-hole with Unbound
.
Packages worth installing after refreshing the feed:
apk update
apk add luci-app-sqm luci-proto-wireguard luci-app-adblock luci-app-statistics
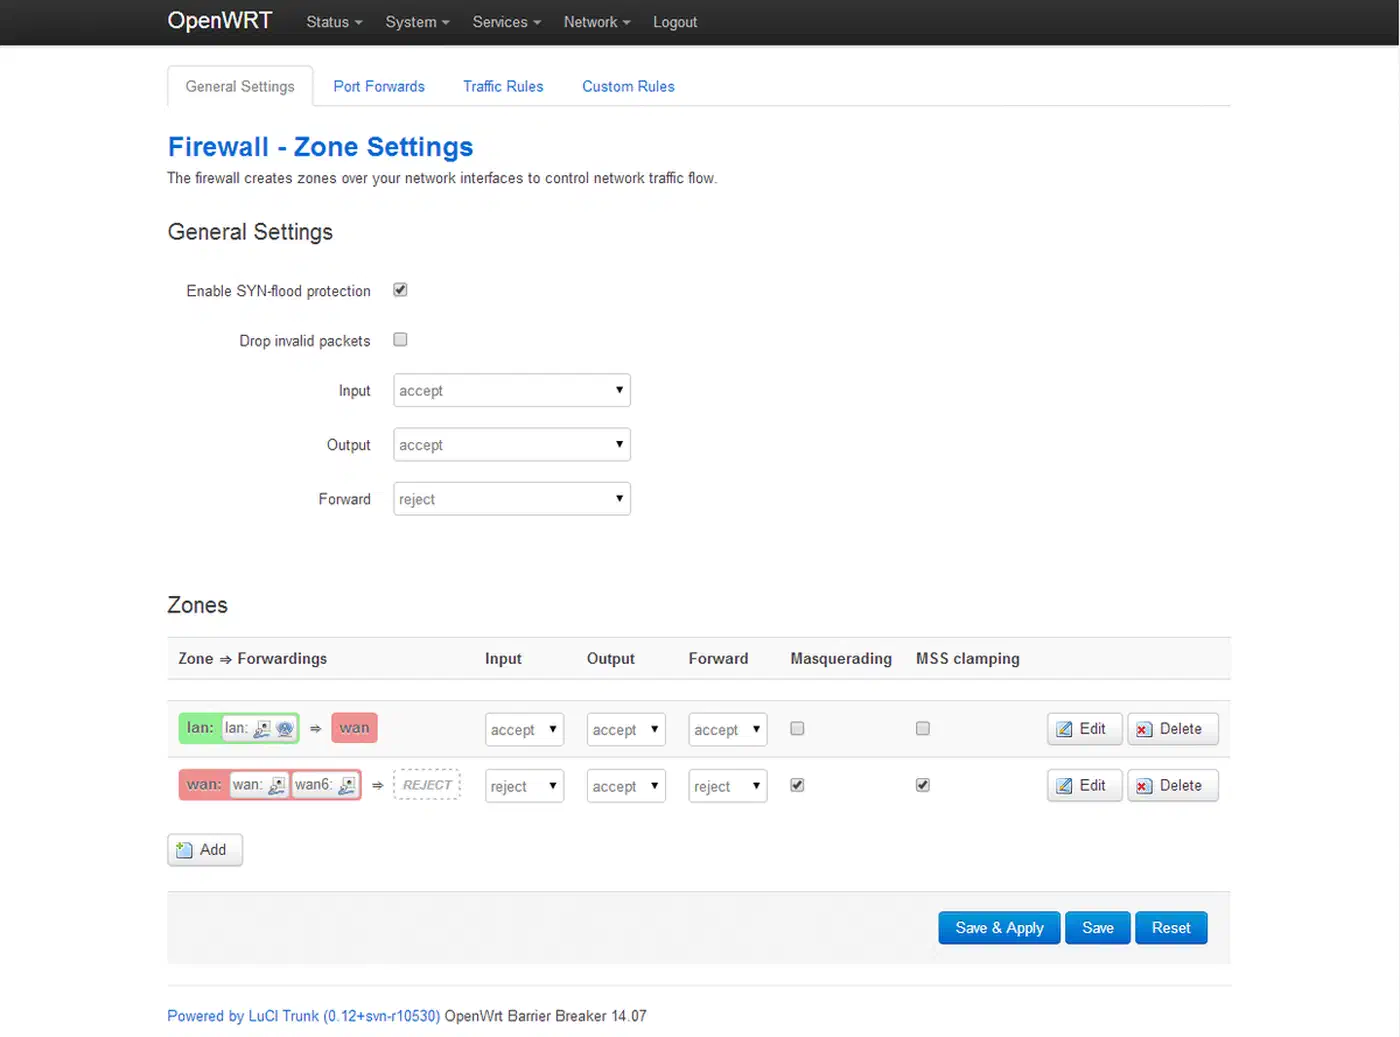
OpenWrt ships with lan (trusted) and wan (untrusted) firewall zones and proper NAT masquerading. The defaults are solid - you only need to add custom rules when creating additional zones for IoT VLANs or VPN tunnels.
Save a configuration backup via System > Backup/Flash Firmware > Generate Archive before you start experimenting. It contains your full configuration and can restore a working system in minutes.
Advanced Features: VLANs, WireGuard, and SQM QoS
VLAN Segmentation for IoT Devices
IoT devices - smart bulbs, plugs, cameras, thermostats - are among the least-patched and most vulnerable things on a home network. A VLAN puts them in their own isolated segment so that a compromised bulb cannot reach your NAS or laptop.
In OpenWrt, go to Network > Interfaces > Devices and create a bridge VLAN (for example, br-lan.20 for VLAN ID 20). Then create a new interface named iot bound to that VLAN device, assign it a separate subnet (10.0.20.0/24), and enable a DHCP server for it. Create a separate WiFi SSID and assign it to the iot interface.
For the firewall, create a new zone called iot with input, output, and forward all set to reject. Add specific traffic rules to allow the IoT zone to reach only what it needs - your Home Assistant server on port 8123 and MQTT broker on port 1883, for instance - while blocking everything else, including traffic to your main LAN.
WireGuard VPN
WireGuard
is a modern VPN protocol with a small codebase, fast handshakes, and good performance on commodity hardware. Install luci-proto-wireguard, then create a new interface with the WireGuard protocol. Generate a key pair on the router:
wg genkey | tee /tmp/private.key | wg pubkey > /tmp/public.keySet a listen port (51820 is standard), add your phone or laptop as a peer using its public key, and open UDP 51820 in the firewall. The WireGuard app on your phone handles the client side. For a complete walkthrough of key generation, peer configuration, and firewall rules, see our guide on setting up a private WireGuard VPN .
Performance on recommended hardware holds up well. The GL.iNet GL-MT6000 reaches up to 900 Mbps WireGuard throughput. The Dynalink DL-WRX36, with its Qualcomm IPQ8072A and hardware NEON crypto acceleration, hits 800-850 Mbps in community benchmarks - enough for a gigabit WAN connection with room to spare.
SQM QoS: Eliminating Bufferbloat
Bufferbloat occurs when transmit buffers fill up during a large download. Packets pile up, latency spikes from a few milliseconds to hundreds, and real-time traffic - video calls, gaming, SSH - suffers. Stock firmware almost never addresses this. OpenWrt’s SQM with the CAKE algorithm does.
Install luci-app-sqm and go to Network > SQM QoS. Enable it on the WAN interface, set download and upload speeds to 85-90% of your measured ISP speeds, and select the cake qdisc with the piece-of-cake script.
Without SQM, a single large download can push WAN latency from 5 ms to 200 ms or beyond. With CAKE running, latency stays under 10 ms even under full load. Community testing has logged latency increases under full load of under 10 ms above baseline, versus well over 1 second on unmanaged connections. Verify your own numbers with the bufferbloat.net speed tests
or the irtt tool for detailed latency histograms.
CAKE is slightly more CPU-intensive than fq_codel - roughly 15% more overhead - but that is negligible on any of the three routers listed above.
OpenWrt vs. Alternatives
| Firmware | Best For | Wireless Support | Hardware | Difficulty |
|---|---|---|---|---|
| OpenWrt | Consumer routers, home labs, embedded Linux | Excellent (ath11k, mt76) | 2,200+ devices | Moderate |
| DD-WRT | Legacy router support, basic feature extension | Good | Many older devices | Easy-Moderate |
| pfSense / OPNsense | Enterprise firewall, security-focused | Poor (no WiFi 5/6 support) | x86 hardware only | Moderate-Hard |
| Tomato | Simple home router customization | Good | Limited (mostly Broadcom) | Easy |
DD-WRT remains functional but has seen little meaningful development in years. pfSense and OPNsense run on x86 mini PCs for a home lab rather than consumer WiFi routers, and their wireless support is essentially nonexistent. If you need a strong firewall with a polished GUI, OPNsense on a small x86 box paired with a separate access point is worth considering - but that is a two-device setup, not a single router replacement.
For running a full Linux networking stack on a consumer WiFi router with decent package coverage, OpenWrt does not have a direct competitor.
Troubleshooting and Recovery
No internet after flash: Check Network > Interfaces > WAN > Status for an assigned IP address. If nothing shows, verify the WAN protocol matches your ISP type. For PPPoE, confirm your credentials. For fiber with VLAN tagging, confirm the VLAN ID is set at the device level, not just the interface level.
Cannot reach LuCI at 192.168.1.1: Your PC may be on a different subnet. Set it manually to 192.168.1.2/24 and retry. If LuCI is not installed, connect via SSH (ssh root@192.168.1.1) and run apk list luci to check.
WiFi performance problems: Confirm the country code is set correctly under Network > Wireless > Radio > Advanced Settings. An incorrect country code restricts available channels and transmit power. Also check that antenna connectors are firmly attached - a common miss after opening the case for serial console work.
Soft brick - failsafe mode: Power on the router and watch the status LED. When it begins blinking rapidly (timing varies by model; check the device-specific OpenWrt wiki page), press the reset button once. The router boots into a minimal failsafe environment at 192.168.1.1 where you can SSH in and either fix the configuration or reflash.
Hard brick: If failsafe does not work, the serial console is the last option. Attach the USB-to-serial adapter, interrupt U-Boot at startup, and flash a known-good image via TFTP from the bootloader command line. This works even with completely corrupted flash contents, as long as U-Boot itself is intact - which it almost always is, since it occupies a protected flash region.
Generate a configuration backup before making significant changes. A good backup turns a recovery situation into a five-minute restore.