Build a Low-Cost Air Quality Sensor with ESPHome

A DIY air quality monitor built on an ESP32 and a modern particle sensor is one of the best home automation projects you can finish in a single afternoon. Wire a PMS5003 or the newer Sensirion SEN66 to an ESP32 and flash ESPHome . Within minutes, Home Assistant finds the device on your local network. No cloud account, no monthly fee, no privacy worries.
Why Monitor Air Quality at Home?
Most people think of air pollution as an outdoor problem. In fact, indoor air is often worse. Cooking on a gas stove, burning candles, running a laser printer, using sprays, or even new furniture off-gassing formaldehyde can push indoor pollutants well above outdoor levels for hours.
The pollutants that count most at home fall into a few key groups. PM2.5 (fine particles, ≤ 2.5 µm) is the most closely watched. Particles this small go deep into lung tissue and enter the bloodstream. The EPA’s 24-hour limit is 35 µg/m³. Cooking one pan of food in a closed kitchen can briefly push past it. Spikes above 150 µg/m³ cause clear breathing effects within hours. PM10 covers coarser particles like dust and pollen. VOCs (volatile organic compounds) include benzene, formaldehyde, and hundreds of other gases from furniture, paint, glue, and sprays. CO2 is a direct proxy for airflow. A well-vented room stays below 800 ppm. A closed bedroom with one sleeper can top 2000 ppm by morning. NOx gases come mainly from gas stoves and outdoor traffic.
Off-the-shelf monitors from Airthings, IQAir, and Kaiterra cost between $150 and $600. Most of them route your data through their own cloud. If the API shifts or your subscription lapses, you lose access to your own readings. A DIY build with ESPHome runs $25 to $50 in parts. It reports straight to Home Assistant over your local Wi-Fi: zero middlemen, full control.
Hardware Bill of Materials
The exact parts list depends on which sensors you pick. The core board is always an ESP32. The ESP32-WROOM-32 is the default pick. It’s well-documented, has native ESPHome support, and costs about $4 on AliExpress or $8 on Amazon. It also has enough GPIO pins and flash for any sensor combo you’d want. If you want lower idle current or a different radio, weigh the best ESP32 boards before you buy.
| Component | Approximate Cost | Notes |
|---|---|---|
| ESP32-WROOM-32 dev board | $4–8 | Any standard 38-pin variant works |
| PMS5003 particle sensor | $15–20 | UART interface, 5V power |
| Sensirion SEN66 (recommended) | $25 | I2C, all-in-one: PM, VOC, NOx, RH, T, CO2 |
| SCD40 or SCD41 CO2 sensor | $20 | Optional if using SEN66; true photoacoustic CO2 |
| USB-C power supply (5V 1A) | $5 | Wall adapter or power bank |
| Dupont wires (20–30 cm) | $2 | Jumper cables for breadboard prototyping |
| Perfboard + pin headers | $3 | For a permanent, solderable version |
| 3D-printed or ABS enclosure | $0–5 | Print from STL or use a Hammond 1551GFLBK |
The biggest sourcing choice is which sensor set you use. If you already own a PMS5003 or want the cheapest build, it works fine. For a new build in 2026, the Sensirion SEN66 is the better pick, for reasons in the next section. If you don’t need a true CO2 reading, the SEN65 (which drops the SCD40) saves a few dollars.
For an enclosure, Printables hosts several STL files for ESPHome air quality boxes. Search for “ESP32 air quality sensor enclosure.” Many are sized for the 38-pin ESP32 and have vent slots for the sensor inlet. No printer? A stock ABS project box from Hammond Manufacturing works well and runs about $4 from most parts shops.
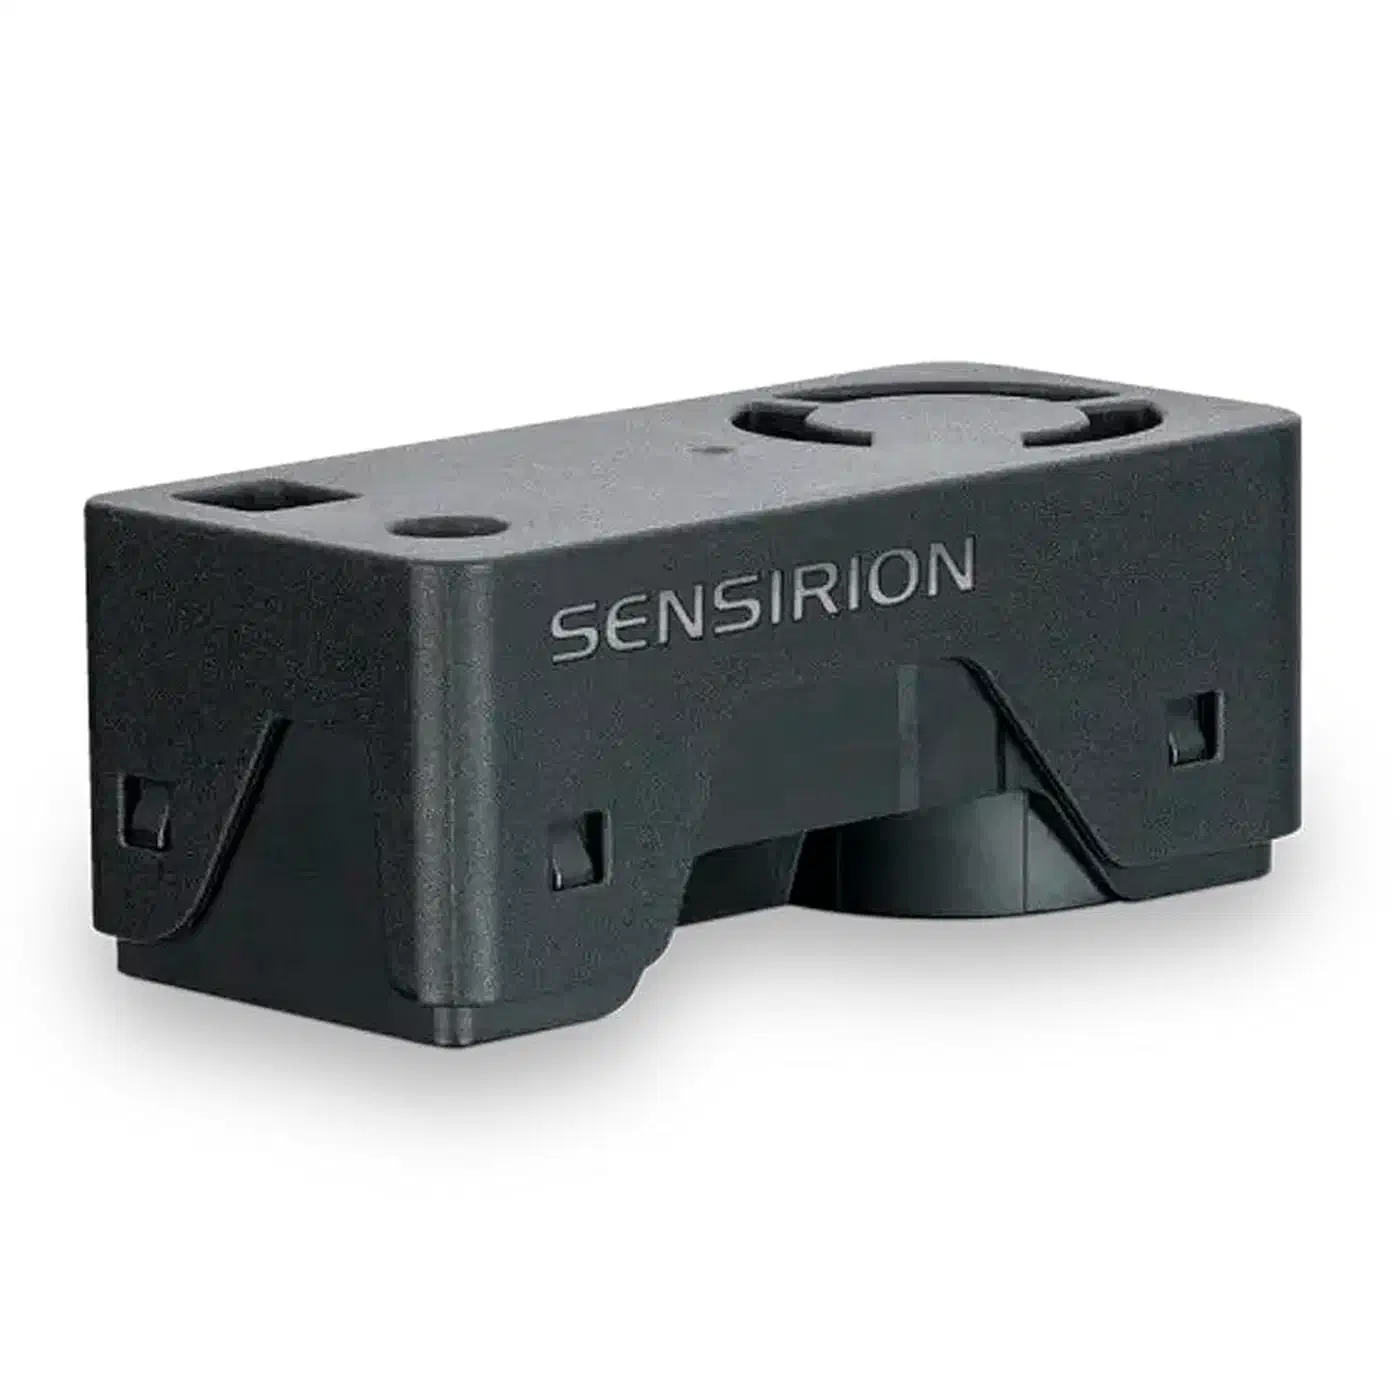
The Sensirion SEN6x Sensor Family
The SEN6x line from Sensirion is a big step up from older multi-sensor builds. A 2022-era ESPHome node might pair a PMS5003 (particles), an SGP41 (VOC/NOx), and an SHT45 (temperature/humidity). That’s three sensors, three wiring harnesses, and three ESPHome platform blocks. The SEN6x folds all of that into one 22 × 22 mm module over I2C, with just four wires.
The product family breaks down as follows:
- SEN60: PM1.0, PM2.5, PM4.0, PM10, temperature, and relative humidity. No VOC or CO2.
- SEN63C: Adds a true CO2 sensor (SCD30 NDIR) to the SEN60 measurements.
- SEN65: PM plus VOC Index and NOx Index, temperature, humidity. No CO2.
- SEN66: The complete package - PM1.0 through PM10, VOC Index, NOx Index, temperature, humidity, and a true CO2 reading from an embedded SCD40 NDIR sensor. This is the recommended choice for home air quality monitoring.
The ESPHome sen5x component supports the full SEN6x family over the same I2C protocol. You name the exact model in your YAML, and ESPHome handles the rest. Wiring is minimal: VCC goes to the ESP32’s 3.3V pin, GND to GND, SDA to GPIO 21, and SCL to GPIO 22. That’s the default hardware I2C bus on the ESP32. You don’t need pull-up resistors for cable runs under about 30 cm. The sensor has them built in.
SEN66 accuracy holds up against mixed sensor builds: PM2.5 ±10 µg/m³ or ±10% (whichever is larger), VOC Index against a self-tuned baseline (not absolute µg/m³), and CO2 ±75 ppm ±5% of the reading. The VOC and NOx values are unitless indices on a 1 to 500 scale, not raw concentrations. They show change from a learned baseline, not exact chemical levels.
Wiring the Circuit
Wiring is simple for both sensors, but a few mistakes are easy to make.
Wiring the SEN66 (recommended path):
SEN66 VCC  → ESP32 3.3V
SEN66 GND  → ESP32 GND
SEN66 SDA  → ESP32 GPIO 21
SEN66 SCL  → ESP32 GPIO 22
That’s the full wiring. No level shifting, no pull-up resistors for short runs, no extra power rail. For cable runs longer than 30 cm, add 4.7 kΩ pull-ups from SDA and SCL to 3.3V to keep the I2C signal clean.
Wiring the PMS5003 (alternative path):
The PMS5003 needs 5V, not 3.3V. That’s the most common wiring slip. The ESP32 GPIO pins are 3.3V logic, but the PMS5003’s UART TX line is also 3.3V safe even on a 5V supply. No level shifter is needed on the data line.
PMS5003 VCC   → ESP32 5V (VIN pin)
PMS5003 GND   → ESP32 GND
PMS5003 TX    → ESP32 RX GPIO (e.g., GPIO 16)
PMS5003 SET   → 3.3V (pull high for continuous operation)
PMS5003 RESET → 3.3V (pull high to keep sensor active)
Leave the PMS5003’s RX pin unconnected unless you plan to send sleep or wake commands. Pull SET and RESET high with a 10 kΩ resistor or tie them straight to 3.3V. If you don’t, the sensor stays asleep and gives no readings.
For early testing, a breadboard and female-to-female Dupont jumpers are fine. Once your config works, move everything to a piece of perfboard with header sockets. Solder the ESP32 into one set of headers. Then run short wire jumpers to a second header that mates with the sensor. This lets you swap sensors without desoldering anything.
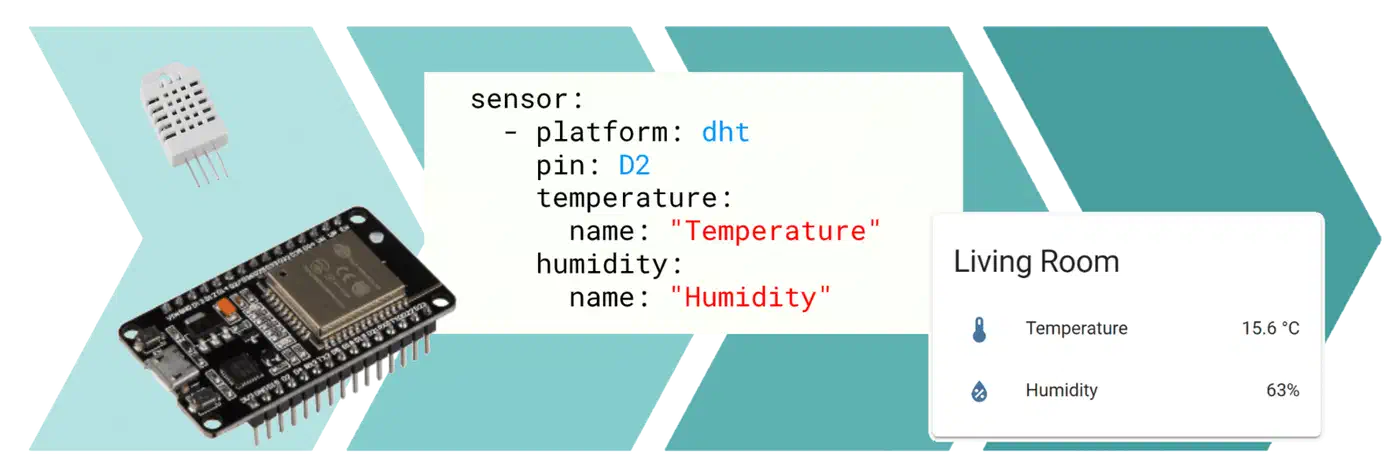
ESPHome Configuration YAML
Once the hardware is wired, the ESPHome YAML config is the only software you need to write. The block below is a complete, production-ready config for the SEN66. Swap in your own Wi-Fi credentials and OTA password.
esphome:
  name: air-quality-sensor
  friendly_name: Air Quality Sensor

esp32:
  board: esp32dev
  framework:
    type: arduino

# Enable logging over USB serial for initial setup
logger:
  level: INFO

# Home Assistant API - generates encryption key on first compile
api:
  encryption:
    key: !secret ha_api_key

# Over-the-air firmware updates
ota:
  - platform: esphome
    password: !secret ota_password

wifi:
  ssid: !secret wifi_ssid
  password: !secret wifi_password
  # Static IP optional but recommended for reliable mDNS
  # manual_ip:
  #   static_ip: 192.168.1.150
  #   gateway: 192.168.1.1
  #   subnet: 255.255.255.0

  ap:
    ssid: "Air Quality Fallback AP"
    password: "fallback1234"

captive_portal:

# Web server for standalone debugging without Home Assistant
web_server:
  port: 80

# I2C bus - default ESP32 hardware I2C pins
i2c:
  sda: GPIO21
  scl: GPIO22
  scan: true

sensor:
  - platform: sen5x
    id: sen66_sensor
    pm_1_0:
      name: "PM 1.0"
      unit_of_measurement: µg/m³
    pm_2_5:
      name: "PM 2.5"
      unit_of_measurement: µg/m³
    pm_4_0:
      name: "PM 4.0"
      unit_of_measurement: µg/m³
    pm_10_0:
      name: "PM 10.0"
      unit_of_measurement: µg/m³
    temperature:
      name: "Temperature"
      accuracy_decimals: 1
    humidity:
      name: "Humidity"
      accuracy_decimals: 0
    voc_index:
      name: "VOC Index"
    nox_index:
      name: "NOx Index"
    co2:
      name: "CO2"
      unit_of_measurement: ppm
    address: 0x6B
    update_interval: 60s
    acceleration_mode: low
    store_baseline: true
For a PMS5003 build, replace the i2c and sensor blocks with:
uart:
  rx_pin: GPIO16
  baud_rate: 9600

sensor:
  - platform: pmsx003
    type: PMS5003
    pm_1_0:
      name: "PM 1.0"
    pm_2_5:
      name: "PM 2.5"
    pm_10_0:
      name: "PM 10.0"
    update_interval: 60s
A 60-second update_interval is a careful pick. The PMS5003 and SEN66 both use laser-driven optical counters that warm up a bit when run flat-out. A one-minute cycle gives the sensor time to settle, keeps Home Assistant’s history database tidy, and extends sensor life. For rooms with fast air changes, like a kitchen during cooking, you can drop it to 30 seconds with no trouble.
The store_baseline: true flag on the SEN66 tells ESPHome to save the VOC/NOx baseline to flash across reboots. Without it, the sensor restarts its self-calibration each time it loses power. That takes several days of nonstop running to settle.
OTA Firmware Updates
One of ESPHome’s best features is over-the-air updating. After the first USB flash (using esphome run air-quality-sensor.yaml from your laptop), all later firmware changes can be pushed wirelessly. From the ESPHome dashboard in Home Assistant, open your device and click “Install.” The new binary uploads to the ESP32 over Wi-Fi in about 30 seconds. No USB cable, no need to open the box.
Keep your secrets.yaml file (with your Wi-Fi password, API key, and OTA password) out of any public ESPHome repo. Treat the OTA password like any other device credential. A blank or default password lets anyone on your network flash new firmware to your sensor.
Home Assistant Integration and Automations
ESPHome devices announce themselves on your local network via mDNS. When you power on the sensor for the first time after flashing, Home Assistant spots it within a minute or two. A notice on the Integrations page reads: “New device discovered: Air Quality Sensor.” Click “Configure,” paste the API encryption key from your secrets.yaml, and every sensor entity shows up at once. No IP address to hunt down, no manual YAML to add to configuration.yaml.
A good first dashboard is a history graph card with PM2.5 and CO2 over a 24-hour window. Add a Lovelace card of type history-graph, set hours to 24, and add sensor.air_quality_sensor_pm_2_5 and sensor.air_quality_sensor_co2 as entities. Watching this graph for a week gives you a baseline read on your home’s air quality. The morning coffee spike, the dinner bump, the overnight CO2 rise in bedrooms.
Automation 1 - Air Purifier Trigger:
alias: "Air Quality: Activate Purifier on High PM2.5"
description: Turn on the air purifier when PM2.5 stays elevated for 5 minutes
trigger:
  - platform: numeric_state
    entity_id: sensor.air_quality_sensor_pm_2_5
    above: 35
    for:
      minutes: 5
condition: []
action:
  - service: fan.turn_on
    target:
      entity_id: fan.xiaomi_air_purifier
  - service: notify.mobile_app_your_phone
    data:
      title: "Air Quality Alert"
      message: "PM2.5 is {{ states('sensor.air_quality_sensor_pm_2_5') }} µg/m³. Purifier activated."
mode: single
The for: minutes: 5 guard stops the automation from firing on a brief spike. For example, someone walking past with a box of dusty books. A reading that stays above 35 µg/m³ for five minutes is a real air quality event worth acting on.
Automation 2 - CO2 Ventilation Alert:
alias: "Air Quality: CO2 Ventilation Alert"
description: Notify when CO2 exceeds 1000 ppm
trigger:
  - platform: numeric_state
    entity_id: sensor.air_quality_sensor_co2
    above: 1000
    for:
      minutes: 10
action:
  - service: notify.mobile_app_your_phone
    data:
      title: "Ventilation Needed"
      message: "CO2 reached {{ states('sensor.air_quality_sensor_co2') }} ppm. Open a window."
mode: single
To simplify these automations further, you can create a binary_sensor template in Home Assistant that encapsulates the threshold logic:
template:
  - binary_sensor:
      - name: "Air Quality Poor"
        state: >
          {{ states('sensor.air_quality_sensor_pm_2_5') | float(0) > 35
             or states('sensor.air_quality_sensor_co2') | float(0) > 1000 }}
        device_class: problem
This binary sensor flips on whenever either threshold is crossed. You can use it as a single trigger in automations and as a visual cue on your dashboard.
Calibration and Accuracy
Out-of-the-box, the SEN66 is accurate enough to drive automations. If you want exact absolute values, a quick calibration is worth doing. The simplest way is to put your DIY sensor next to a reference unit, like an IQAir AirVisual Pro or a Temtop LKC-1000E, for 48 hours. Pick a room where you can drive clear air quality changes: cook, burn a candle, open a window. Record both readings at matching timestamps and work out the mean offset.
Apply the offset in ESPHome using the filters key on any sensor:
sensor:
  - platform: sen5x
    pm_2_5:
      name: "PM 2.5"
      filters:
        - offset: -3.5   # subtract 3.5 µg/m³ if your sensor reads high
        - sliding_window_moving_average:
            window_size: 5
            send_every: 1
For VOC and NOx, calibration against an absolute reference is not useful. The values are unitless indices tied to the sensor’s own learned baseline. For VOC, the trend is the signal. A sudden jump from 100 to 280 points to a real chemical event, even if the index doesn’t map to a clean µg/m³ value.
Outdoor Air Quality Comparison
A DIY indoor sensor tells you a lot more when you can stack its readings against outdoor data. The OpenAQ API gives free access to government and community air quality stations worldwide. The IQAir AirVisual API also offers a free tier.
In Home Assistant, you can integrate outdoor AQI data using the RESTful sensor platform:
sensor:
- platform: rest
name: "Outdoor AQI"
resource: "https://api.openaq.org/v2/latest?location_id=YOUR_STATION_ID¶meter=pm25&limit=1"
value_template: "{{ value_json.results[0].measurements[0].value }}"
unit_of_measurement: "µg/m³"
scan_interval: 900With both indoor and outdoor PM2.5 on the same dashboard, you can make smarter automation calls. If outdoor air is cleaner than indoor air (right after cooking, say), fire the vent fan instead of the recirculating purifier.
Sensor Placement
Where you put the sensor matters as much as the sensor itself. Several placement rules are worth following:
Height: Place the sensor 1 to 1.5 meters off the floor. That’s breathing height for a seated adult. On the ceiling, you’ll see lower particle counts because heavy particles settle. On the floor, foot traffic and pets push the readings up.
Distance from walls: Keep the sensor at least 30 cm from any wall. Airflow is poor near walls, and the local pocket of air right next to a wall doesn’t match the rest of the room.
Avoid HVAC vents: Both supply and return vents whip up local airflow that doesn’t match the room’s average. Keep the sensor at least one meter from any vent opening.
Avoid direct sunlight: Both the SEN66 and PMS5003 are heat-sensitive. A sensor baked by afternoon sun through a window will report inflated temperatures. That throws off humidity (which is temperature-linked) and shifts the VOC/NOx baseline.
Multiple sensor strategy: A single sensor works for a small apartment. For a larger home, run at least one sensor per floor. Add extra units in high-pollution rooms like the kitchen and any bedroom where windows stay closed.
Power Consumption and Battery Operation
The ESP32 plus a SEN66 pulls about 200 to 350 mA at 3.3V during active measurement. That’s roughly 0.7 to 1.2 W. A USB wall adapter is the simplest and most reliable power source. At that draw, the cost is tiny: about $0.50 per month at typical US power rates.
Battery power works, but it comes with trade-offs. In deep sleep, the ESP32 draws about 10 µA. The SEN66 needs a 60-second warm-up after power-on before readings are stable. A typical duty cycle goes like this. Wake up, power the sensor, wait 90 seconds, take a reading, send it to Home Assistant, sleep for 10 minutes. Each cycle uses about 2 to 3 mAh. A 2500 mAh LiPo gives roughly 800 to 1200 cycles per charge. That’s about one week of 10-minute readings.
For battery use with Home Assistant, pair ESPHome’s deep sleep component with the MQTT or HTTP POST mode. Skip the native API. The native API needs a persistent connection, which doesn’t play well with deep sleep.
Bringing It All Together
Building an air quality sensor with ESPHome and an ESP32 takes a couple of hours start to finish. An hour for hardware assembly. Thirty minutes to write and flash the config. Another thirty to set up the Home Assistant link and automations. The result is a fixed part of your home that quietly guards your family’s health. It makes invisible air quality events both visible and actionable.
The Sensirion SEN66 in particular makes this project far stronger than anything in the DIY space two years ago. One $25 module replaces three sensors. It puts out seven data streams over a single four-wire I2C link. That drops the bar enough to make this a beginner-friendly build, not just an advanced maker project.
Once one sensor is up and running, the next step is to add a second unit in a different room. Stack the data and you get a whole-home picture. The numbers will surprise you.