 Botmonster Tech
That old laptop in your drawer is a free headless Linux server

That retired ThinkPad or Dell Latitude in your drawer beats a Raspberry Pi 5 on raw CPU, draws about the same idle power, and ships with a free UPS: its own battery. Install Ubuntu Server or Debian, enable SSH, and close the lid. You now have a silent homelab node that runs Docker, file shares, or home automation at zero hardware cost. Managing those containers is the next choice, and Komodo, Portainer, and Dockge each fit a different size of setup.
This guide covers every step: picking the right laptop, prepping the hardware, and installing a headless Linux distro. It also walks through hardening it for always-on use, running services with Docker Compose, and keeping the box stable for years.
Why a Laptop Beats a Raspberry Pi or Mini PC
Before spending money on new hardware, check your closet. A 2018 business laptop still beats a Raspberry Pi 5 on raw CPU. It ships with more RAM, has a SATA slot for a full SSD, and draws only a bit more idle power. If the closet comes up empty, the next step is buying a dedicated mini PC, which trades the free price tag for lower power draw and a smaller footprint.
The laptop’s battery is its secret weapon. In a power outage, even a 40% health battery gives you 15 to 30 minutes of runtime. That’s enough to shut down cleanly or ride out a brownout. A standalone UPS for a Raspberry Pi or mini PC costs $40 to $60 and adds another device to manage.
You also get a built-in escape hatch. If you break SSH or networking, just open the lid and fix it on the built-in keyboard and screen. No serial cables, no pulling SD cards.
Here is how the three most common homelab starting points compare:
| Feature | Old Laptop (2018 era) | Raspberry Pi 5 (8GB) | Intel N100 Mini PC |
|---|---|---|---|
| CPU | Intel i5-8250U (4C/8T) | Arm Cortex-A76 (4C) | Intel N100 (4C/4T) |
| RAM | 8-16GB DDR4 | 8GB LPDDR4X | 8-16GB DDR4/5 |
| Storage | 2.5" SATA + M.2 | microSD / USB SSD | M.2 NVMe |
| Idle Power | 7-12W (screen off) | 2.7-3.5W | 6-10W |
| Load Power | 30-45W | 8-12W | 20-30W |
| Built-in UPS | Yes (battery) | No | No |
| Display/Keyboard | Yes | No | No |
| Cost | $0 (already owned) | ~$80 + accessories | ~$120-180 |
| Ethernet | Gigabit | Gigabit | Gigabit / 2.5GbE |
The Pi wins on raw idle wattage. But once you add the cost of a case, power supply, SSD adapter, and UPS, the old laptop is cheaper and more capable.
Choosing the Right Laptop and Preparing the Hardware
Not every old laptop makes a good server. Skip anything with less than 4GB of RAM. Skip it if it has a spinning hard drive that can’t be swapped, or a broken keyboard (you’ll need it for setup and emergencies).
Best candidates by brand:
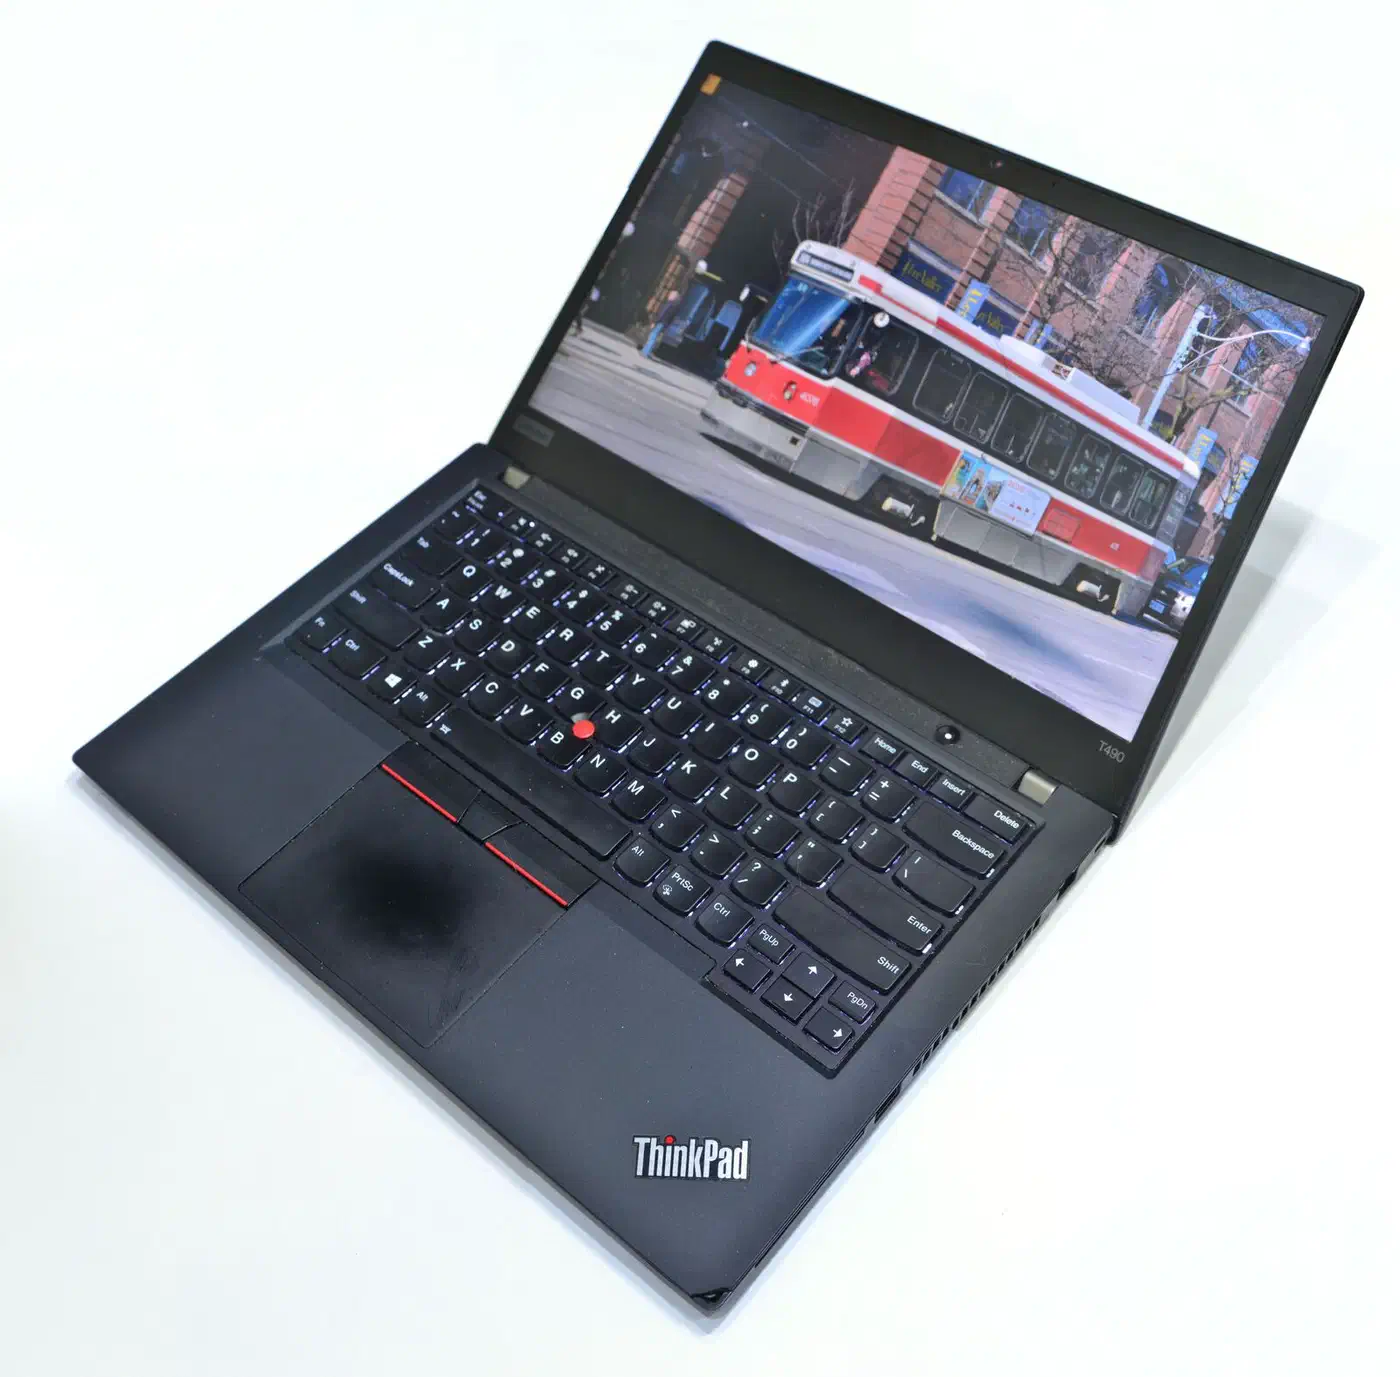
- Lenovo ThinkPad T/X series (T440, T480, X260, X280): great Linux kernel support, tough chassis, easy RAM and SSD swaps, and fine-grained BIOS power settings
- Dell Latitude 5000/7000 series (5490, 7490): solid Linux support, business-grade build, and easy to take apart
- HP EliteBook 840/850 series: good thermal design, standard SODIMM slots, and stable Linux drivers
Hardware preparation checklist:
- SSD upgrade: the biggest single change. A used 256GB SATA SSD costs about $20 and cuts boot time from minutes to seconds. If the laptop already has an SSD, skip this.
- RAM check: run
dmidecode -t memory(or read the sticker on the bottom) to find the max RAM. Most 2015 to 2019 business laptops take 16 to 32GB. A matched 8GB SODIMM runs $10 to $15 used. - Battery health: run
upower -i /org/freedesktop/UPower/devices/battery_BAT0after booting Linux. Even a tired battery at 40% of design gives you 15+ minutes of UPS runtime. A dead battery still works; the laptop just loses its UPS feature. - Fan cleaning: blow canned air through the exhaust vents. Five minutes of cleanup stops thermal throttling on long workloads.
- BIOS settings: turn on “Power On After AC Loss” (auto-restart after an outage) and set the lid-close action to “Do Nothing.”
A Note on MacBooks
Intel MacBooks (2015 to 2020) can work as Linux servers, but they come with strings attached. Linux on a MacBook usually draws 8 to 9W at idle versus 3W under macOS, because Linux can’t reach the deeper CPU sleep states on Apple firmware. The T2 chip on 2018+ models also makes install harder. If a MacBook is all you have, it works. But a ThinkPad or Latitude is the easier path, and an aging Intel MacBook often makes a better desktop than a server, so weigh that against the guide on how to restore an old MacBook Pro with Linux.
Installing a Headless Linux Distribution
A server doesn’t need a desktop. Skip GNOME, KDE, and anything with a graphical login manager. You want a minimal install that boots to a text console and runs SSH.
Recommended distributions:
- Ubuntu Server 24.04.4 LTS has the widest hardware support, the biggest troubleshooting community, and security updates through April 2029 (and through 2034 with Ubuntu Pro). The current point release ships with Linux kernel 6.17.
- Debian 12 (Bookworm) is lighter than Ubuntu, very stable, and backed by the Debian security team. A good pick if you want few packages and rare changes.
Installation steps:
- Download the server ISO and write it to a USB drive:
dd if=ubuntu-24.04.4-live-server-amd64.iso of=/dev/sdb bs=4M status=progressOr use Ventoy to create a multi-boot USB that can hold several ISOs at once.
Boot from USB, select “Install Ubuntu Server,” and follow the prompts. Key choices during install:
- Select OpenSSH Server when prompted for additional packages
- Skip any desktop environment
- Use LVM for storage (makes future resizing easier)
Set a static IP address. On Ubuntu, edit the Netplan config:
# /etc/netplan/01-static.yaml
network:
  version: 2
  ethernets:
    enp0s31f6:
      dhcp4: no
      addresses: [192.168.1.50/24]
      routes:
        - to: default
          via: 192.168.1.1
      nameservers:
        addresses: [1.1.1.1, 8.8.8.8]
Apply with sudo netplan apply.
- SSH in from another machine and verify connectivity:
ssh user@192.168.1.50
sudo apt update && sudo apt upgrade -y- Configure the lid switch so the laptop stays running with the lid closed:
# /etc/systemd/logind.conf
HandleLidSwitch=ignore
HandleLidSwitchExternalPower=ignore
HandleLidSwitchDocked=ignore
Restart the login manager with sudo systemctl restart systemd-logind. Close the lid and check that you can still SSH in.
Essential Server Configuration
A bare Linux install needs hardening before it’s ready for always-on homelab duty.
SSH Hardening
Disable password authentication and require key-based login:
# Generate a key pair on your client machine (if you don't have one)
ssh-keygen -t ed25519

# Copy the public key to the server
ssh-copy-id user@192.168.1.50

# Then on the server, edit /etc/ssh/sshd_config:
# PasswordAuthentication no
# PubkeyAuthentication yes
sudo systemctl restart sshd
Firewall
Start restrictive and open ports only as needed:
sudo ufw allow ssh
sudo ufw enable
Automatic Security Updates
Install unattended-upgrades to apply security patches automatically:
sudo apt install unattended-upgrades
sudo dpkg-reconfigure -plow unattended-upgrades
Power Management
Install TLP for laptop power tuning:
sudo apt install tlp
sudo systemctl enable tlp
If the laptop stays plugged in for good, set charge thresholds to save the battery. On ThinkPads:
echo 40 > /sys/class/power_supply/BAT0/charge_control_start_threshold
echo 80 > /sys/class/power_supply/BAT0/charge_control_end_threshold
This holds the battery between 40 and 80% charge. That can double or triple its cycle life versus sitting at 100% all the time. On other brands, set the thresholds in TLP’s /etc/tlp.conf.
Security Beyond SSH
For a server open to the internet (or even just your LAN), add a brute-force shield:
- Fail2ban watches log files and bans IPs that pass a set number of failed logins. It is simple, local, and has zero outside deps. Install with
sudo apt install fail2ban. - CrowdSec takes a different tack: it blocks known-bad IPs before they ever try a login, using a shared blocklist fed by thousands of servers. The two tools can coexist. CrowdSec blocks at the app layer while Fail2ban works at the firewall.
Wake-on-LAN
Turn on remote power-on in the BIOS, then enable it in Linux:
sudo apt install ethtool
sudo ethtool -s enp0s31f6 wol g
Running Services with Docker Compose
Docker is the easiest way to run services on the laptop. Install it with:
curl -fsSL https://get.docker.com | sh
sudo usermod -aG docker $USER
Log out and back in for the group change to take effect.
Split your services into separate Compose files by job: one for media, one for productivity, one for monitoring. This keeps stacks separate, so you can restart one without touching the others. The same box has room to automate builds and deploys with Gitea Actions if you want that work to run on hardware you own.
Starter services worth deploying:
| Service | Purpose | RAM Usage |
|---|---|---|
| Portainer | Web UI for managing containers | ~30MB |
| Pi-hole | Network-wide ad blocking and DNS | ~50MB |
| Nginx Proxy Manager | Reverse proxy with automatic SSL | ~60MB |
| Nextcloud | File sync (Google Drive replacement) | ~200MB |
| Jellyfin | Media server with hardware transcoding | ~150MB |
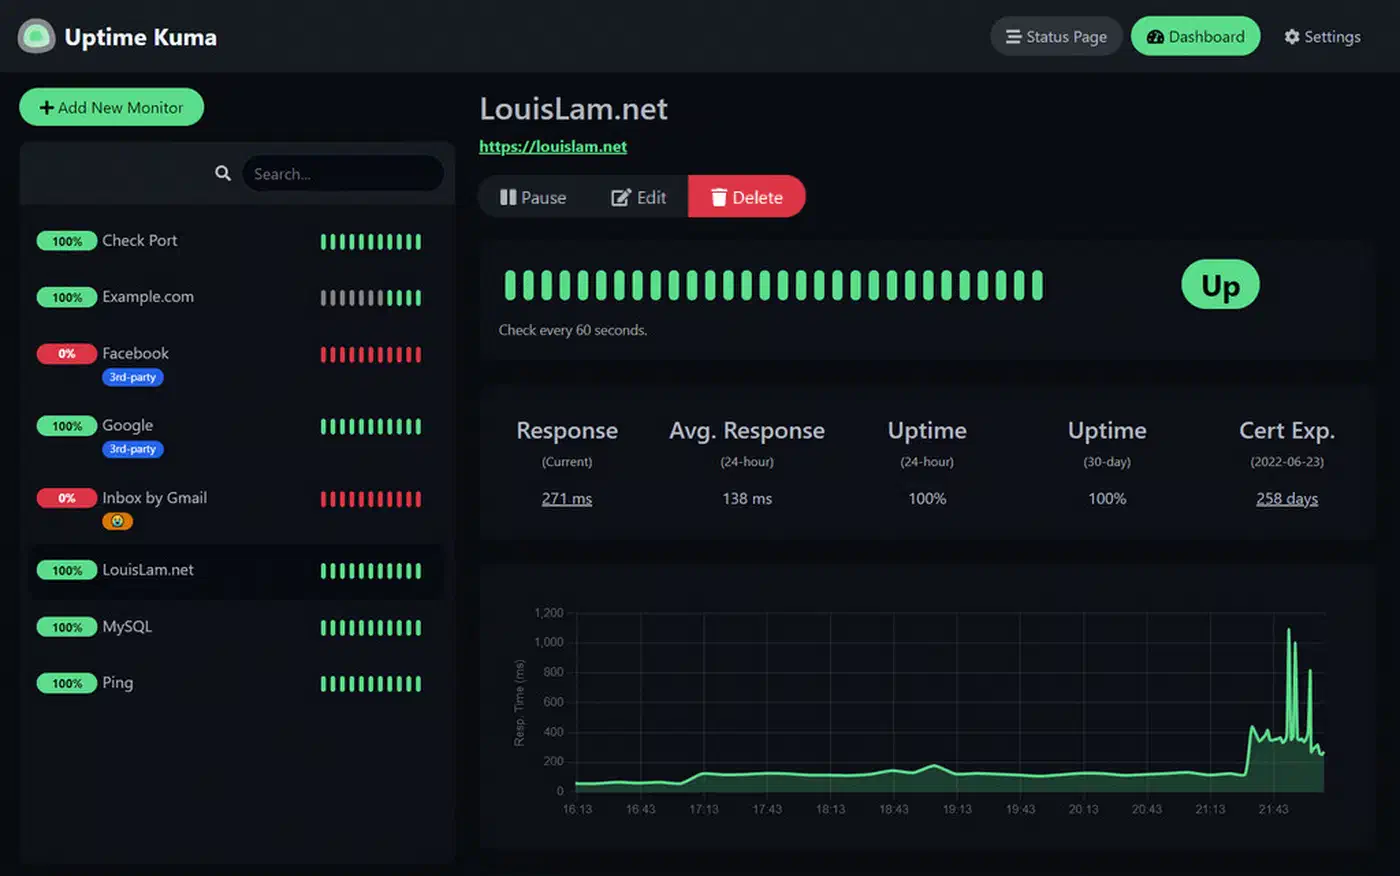
| Uptime Kuma | Monitoring dashboard | ~40MB |
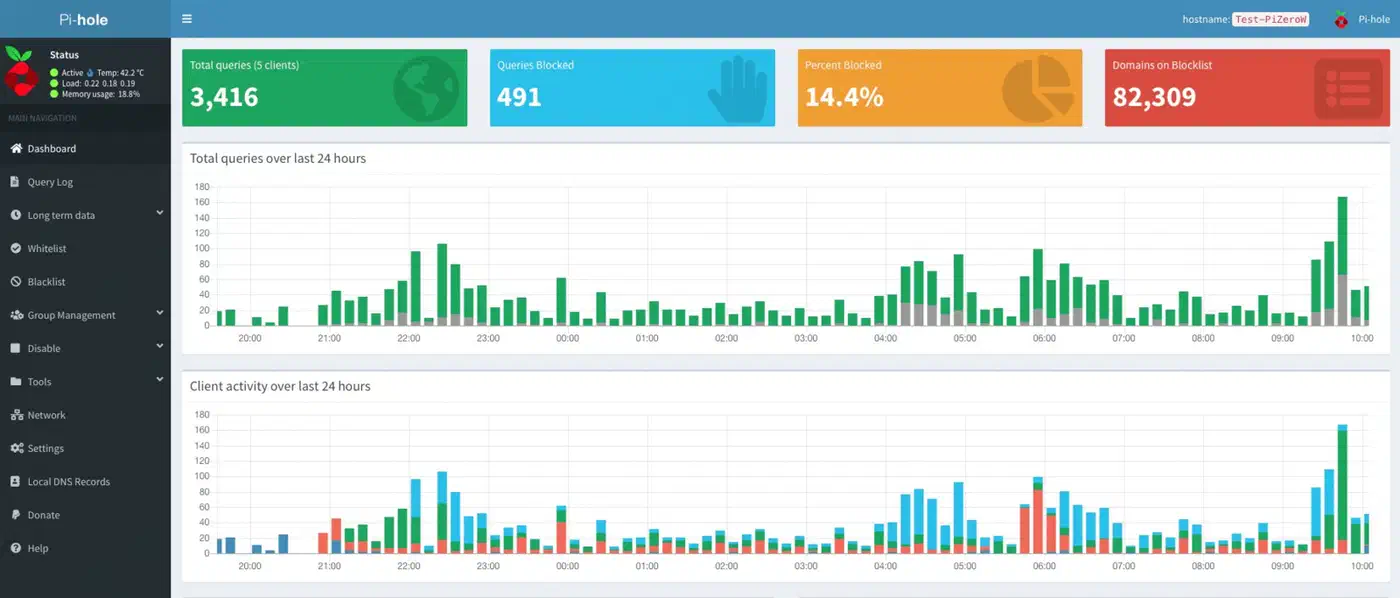
On an 8GB laptop, all six of these run with RAM to spare. Once you give each service its own subdomain, a Let’s Encrypt wildcard issued with a DNS-01 challenge puts HTTPS on every web UI at once. For media storage, mount an external USB drive and add it to /etc/fstab with the nofail flag, so the system boots even if the drive is unplugged:
# /etc/fstab
UUID=your-drive-uuid /mnt/media ext4 defaults,nofail 0 2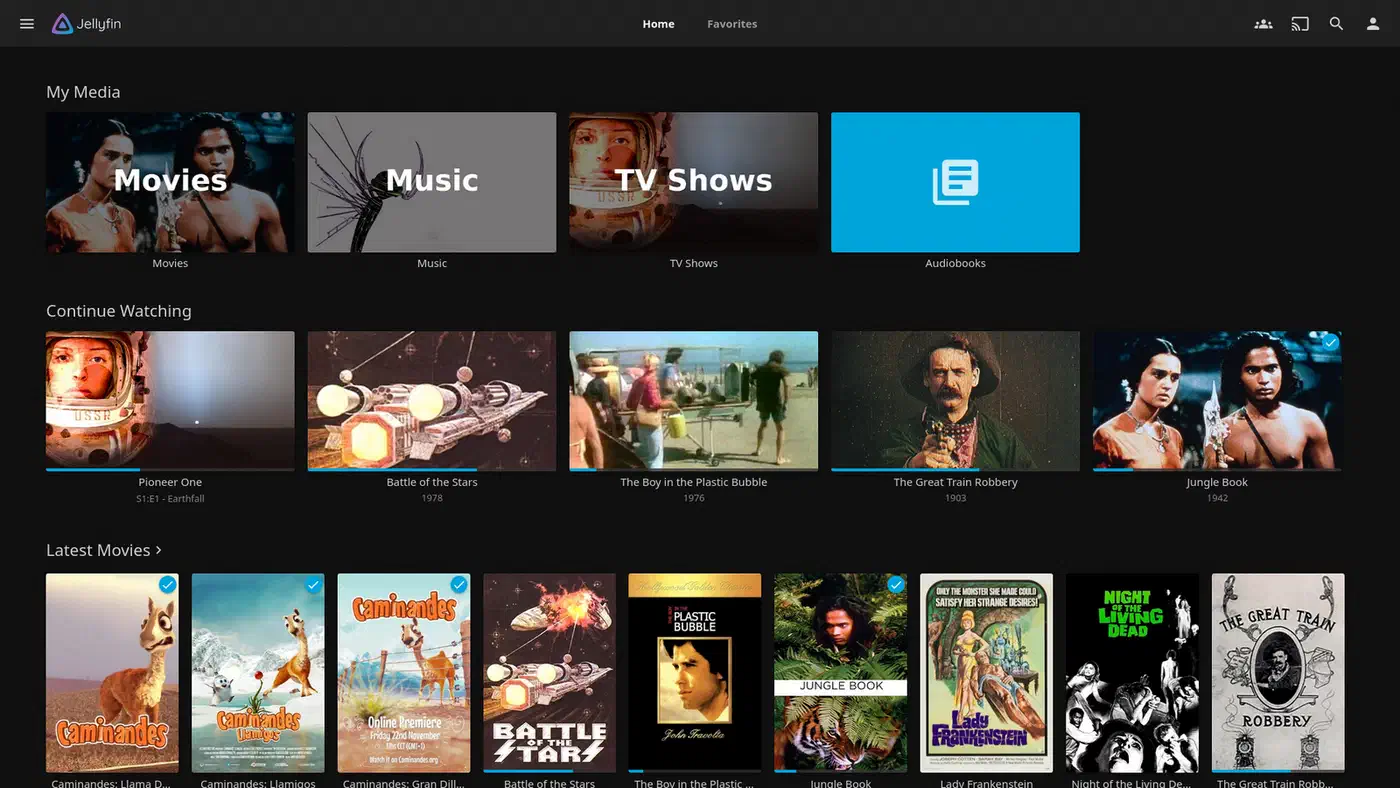
Set RAM limits in your Compose files so no single container can eat all the RAM:
services:
  jellyfin:
    image: jellyfin/jellyfin
    deploy:
      resources:
        limits:
          memory: 1G
Proxmox VE as an Alternative
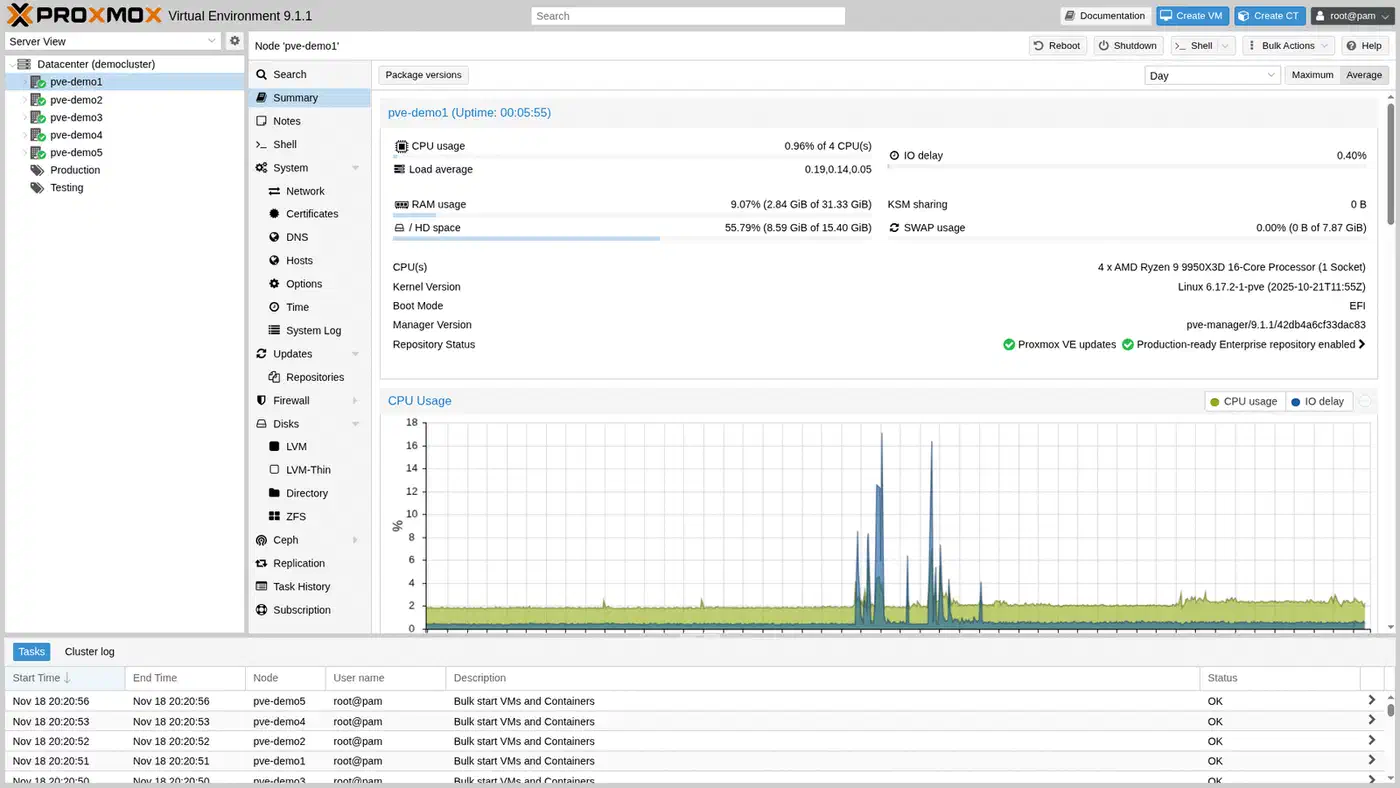
If you want full VM support and not just containers, install Proxmox VE in place of Ubuntu Server. Proxmox needs at least 8GB of RAM and a CPU with VT-x or AMD-V (almost all 2015+ Intel laptops qualify). With 16GB, you can run Proxmox plus 2 to 3 small VMs or a few LXC containers. The trade-off is more overhead than bare Docker. In return, you get full VM isolation and a polished web UI.
Thermal Management for 24/7 Operation
A laptop running 24/7 has different thermal needs than one used in short bursts on a desk. The cooling system was built for spikes, not long loads.
Practical measures:
- Prop the rear of the laptop up 2 to 3cm with rubber feet or a simple stand. This alone can drop temps by 3 to 5C by letting air flow under the chassis.
- For workloads that keep the CPU above 70C, a basic USB cooling pad ($15 to $30) with one or two fans knocks off another 5 to 10C. Models with auto fan speed work well for hands-off use.
- If the laptop is 5+ years old, the factory thermal paste has likely dried out. Fresh paste drops temps by 5 to 15C. On ThinkPads, you need to remove the keyboard and palmrest. On most Dell Latitudes, just the bottom panel.
- If thermal headroom is still tight, cap the max CPU clock to cut heat:
echo 2400000 | sudo tee /sys/devices/system/cpu/cpu*/cpufreq/scaling_max_freqThis caps all cores at 2.4GHz. The server is a bit slower at peak load, but it runs much cooler and quieter.
- Monitor temperatures with
lm-sensors:
sudo apt install lm-sensors
sudo sensors-detect
sensors
A ThinkPad T430 running Docker containers at 20% average CPU sits around 55 to 60C with stock cooling. That is well within safe limits. Trouble starts above 80C sustained.
Maintenance and Long-Term Reliability
A laptop server needs little but steady care to stay stable for years.
Monthly tasks:
- Check SSD health with
smartctl -a /dev/sdafrom the smartmontools package. Watch the reallocated sector count and wear leveling. They flag drive failure early. - Skim
journalctl --since "1 month ago" --priority=errfor repeat errors. - Check that backups finished cleanly.
Quarterly tasks:
- Check battery health with
upower -i /org/freedesktop/UPower/devices/battery_BAT0. Swap the battery every 3 to 4 years if capacity drops below 20% of design. - Update Docker images:
docker compose pull && docker compose up -dfor each stack. - Prune unused Docker images and volumes:
docker system prune -a.
Automated tasks:
- Set up
rsyncbackups to an external drive or remote server via cron. A nightly backup of your Docker volumes and Compose files takes seconds on most homelab setups. For encrypted, deduped backups with cloud offload, see automated backups with Restic and Rclone. - Set
journaldto cap disk use so logs don’t fill your SSD:
# /etc/systemd/journald.conf
SystemMaxUse=500M- A smart plug with energy tracking ($15 to $20) lets you watch live power draw. Expect 8 to 15W idle and 30 to 45W under load. A sudden jump in idle draw can flag a failing part or a runaway process.
When to retire the laptop:
- Sustained 100% CPU on normal workloads (the server has outgrown the box)
- Random crashes or kernel panics (run
memtest86+to rule out bad RAM, then suspect the board) - SSD reporting critical SMART errors
Upgrade path: when the laptop can’t keep up, move to an Intel N100 mini PC or a dedicated NAS. The move is simple. rsync your Docker volumes to the new machine, copy your Compose files, and run docker compose up -d. Everything works the same on the new box, because Docker hides the host system.