Smart Thermostat Under $30: DIY with ESP32, No Subscription

A fully local smart thermostat can be built from a 5 dollar ESP32
, a BME280 temperature sensor, and a small relay module. ESPHome
’s built-in thermostat climate component runs the control loop directly on the microcontroller, while Home Assistant
handles schedules, presence detection, and the dashboard. Total parts cost is under 30 dollars, nothing talks to a cloud, and because the heating logic lives on the ESP32 itself, the thermostat keeps working even if your Home Assistant server is rebooting or your internet is down.
Below is the full build: parts list, wiring against a real 24V HVAC system, the ESPHome YAML, Home Assistant scheduling, and the safety checks that keep this project from cooking your furnace or your pipes.
Why Build Instead of Buy a Smart Thermostat?
A Nest or Ecobee is a very polished product, and for a lot of people that is the right call. The trade-offs are worth spelling out though, because they are the reason this project exists.
Commercial smart thermostats lean heavily on the cloud. Scheduling, the mobile app, Alexa and Google Home integrations, and in some cases even basic remote access stop working the moment the vendor’s servers go down. Google Nest has had multi-hour outages where scheduling broke for millions of devices, and the first-generation Nest Protect and several Insteon products have already been abandoned by their manufacturers. A thermostat you cannot control because a company turned off a server is not a smart thermostat, it is e-waste with a screen.
Subscriptions are creeping in too. Some vendors now gate “energy insights”, “advanced scheduling”, or professional monitoring behind monthly fees. Privacy is another angle: mainstream smart thermostats ship your temperature, humidity, occupancy patterns, and HVAC runtime to servers you have no control over. That data has been used for utility demand-response programs, and in at least one well-known case, a vendor pushed a firmware update that overrode user setpoints during a heat wave.
The DIY path solves all of that in one shot. ESPHome runs on your local network, Home Assistant stores history in your own database, and because you wrote the YAML you know exactly which bytes leave the device. You also get customisation that no off-the-shelf product offers: schedule heating against tomorrow’s weather forecast, drop the setpoint automatically when electricity prices spike, pre-heat the bedroom 30 minutes before the alarm rings, or pause the furnace when a window sensor reports “open”.
Cost is the final factor. An ESP32 DevKitC runs around 5 dollars, a BME280 module is 3, a four-channel relay board is 5, a 3D-printed or generic enclosure is 10, and a handful of wires cover the rest. You come in under 30 dollars against 150 to 250 for a Nest or Ecobee Premium.
Understanding Your HVAC Wiring
Before you touch hardware, you need to understand what the wires behind your current thermostat actually do. Residential HVAC in North America almost universally uses a 24V AC control loop driven by a transformer inside the furnace or air handler. Each coloured wire is a “call” that the thermostat completes by shorting it to the R (power) wire.
The standard wire colours are well established:
| Wire | Colour | Function |
|---|---|---|
| R | Red | 24V AC power from the HVAC transformer |
| W | White | Heat call: energise to run the furnace or boiler |
| Y | Yellow | Cool call: energise to run the AC compressor |
| G | Green | Fan call: energise to run the blower |
| C | Blue (often) | Common: return path for the 24V circuit |
| O/B | Orange/Dark Blue | Reversing valve for heat pumps |
| W2 / Aux | Varies | Auxiliary or emergency heat strips on heat pumps |
The C wire is the one that trips up most DIY smart thermostat builds. Older mechanical thermostats did not need continuous power because they were just a bimetallic strip closing a contact, so many houses built before the mid-2000s have R, W, Y, and G at the wall, but no C. The ESP32 draws around 150 mA at 5V when WiFi is active, which is well within what a 24V AC HVAC transformer can deliver through a buck converter, so if you have a C wire, use it. If you do not, the cleanest workaround is a small 24V AC to 5V DC transformer plugged into a nearby outlet, with just the DC side running to the ESP32.
Before doing anything else, turn off the HVAC breaker at your panel and take a phone photo of the current wiring. Label each wire with a piece of tape before you pull the old thermostat off the wall. Two-wire heat-only systems (just R and W) are the simplest case and only need one relay channel. Heat pumps are the most involved because the reversing valve has to switch with the mode, and auxiliary heat strips need their own relay.
Hardware Assembly
The build splits cleanly into four blocks: the brain, the sensor, the switching, and the power supply. Keeping them as separate modules on a small piece of perfboard or a 3D-printed bracket makes debugging much easier than cramming everything onto one breakout.
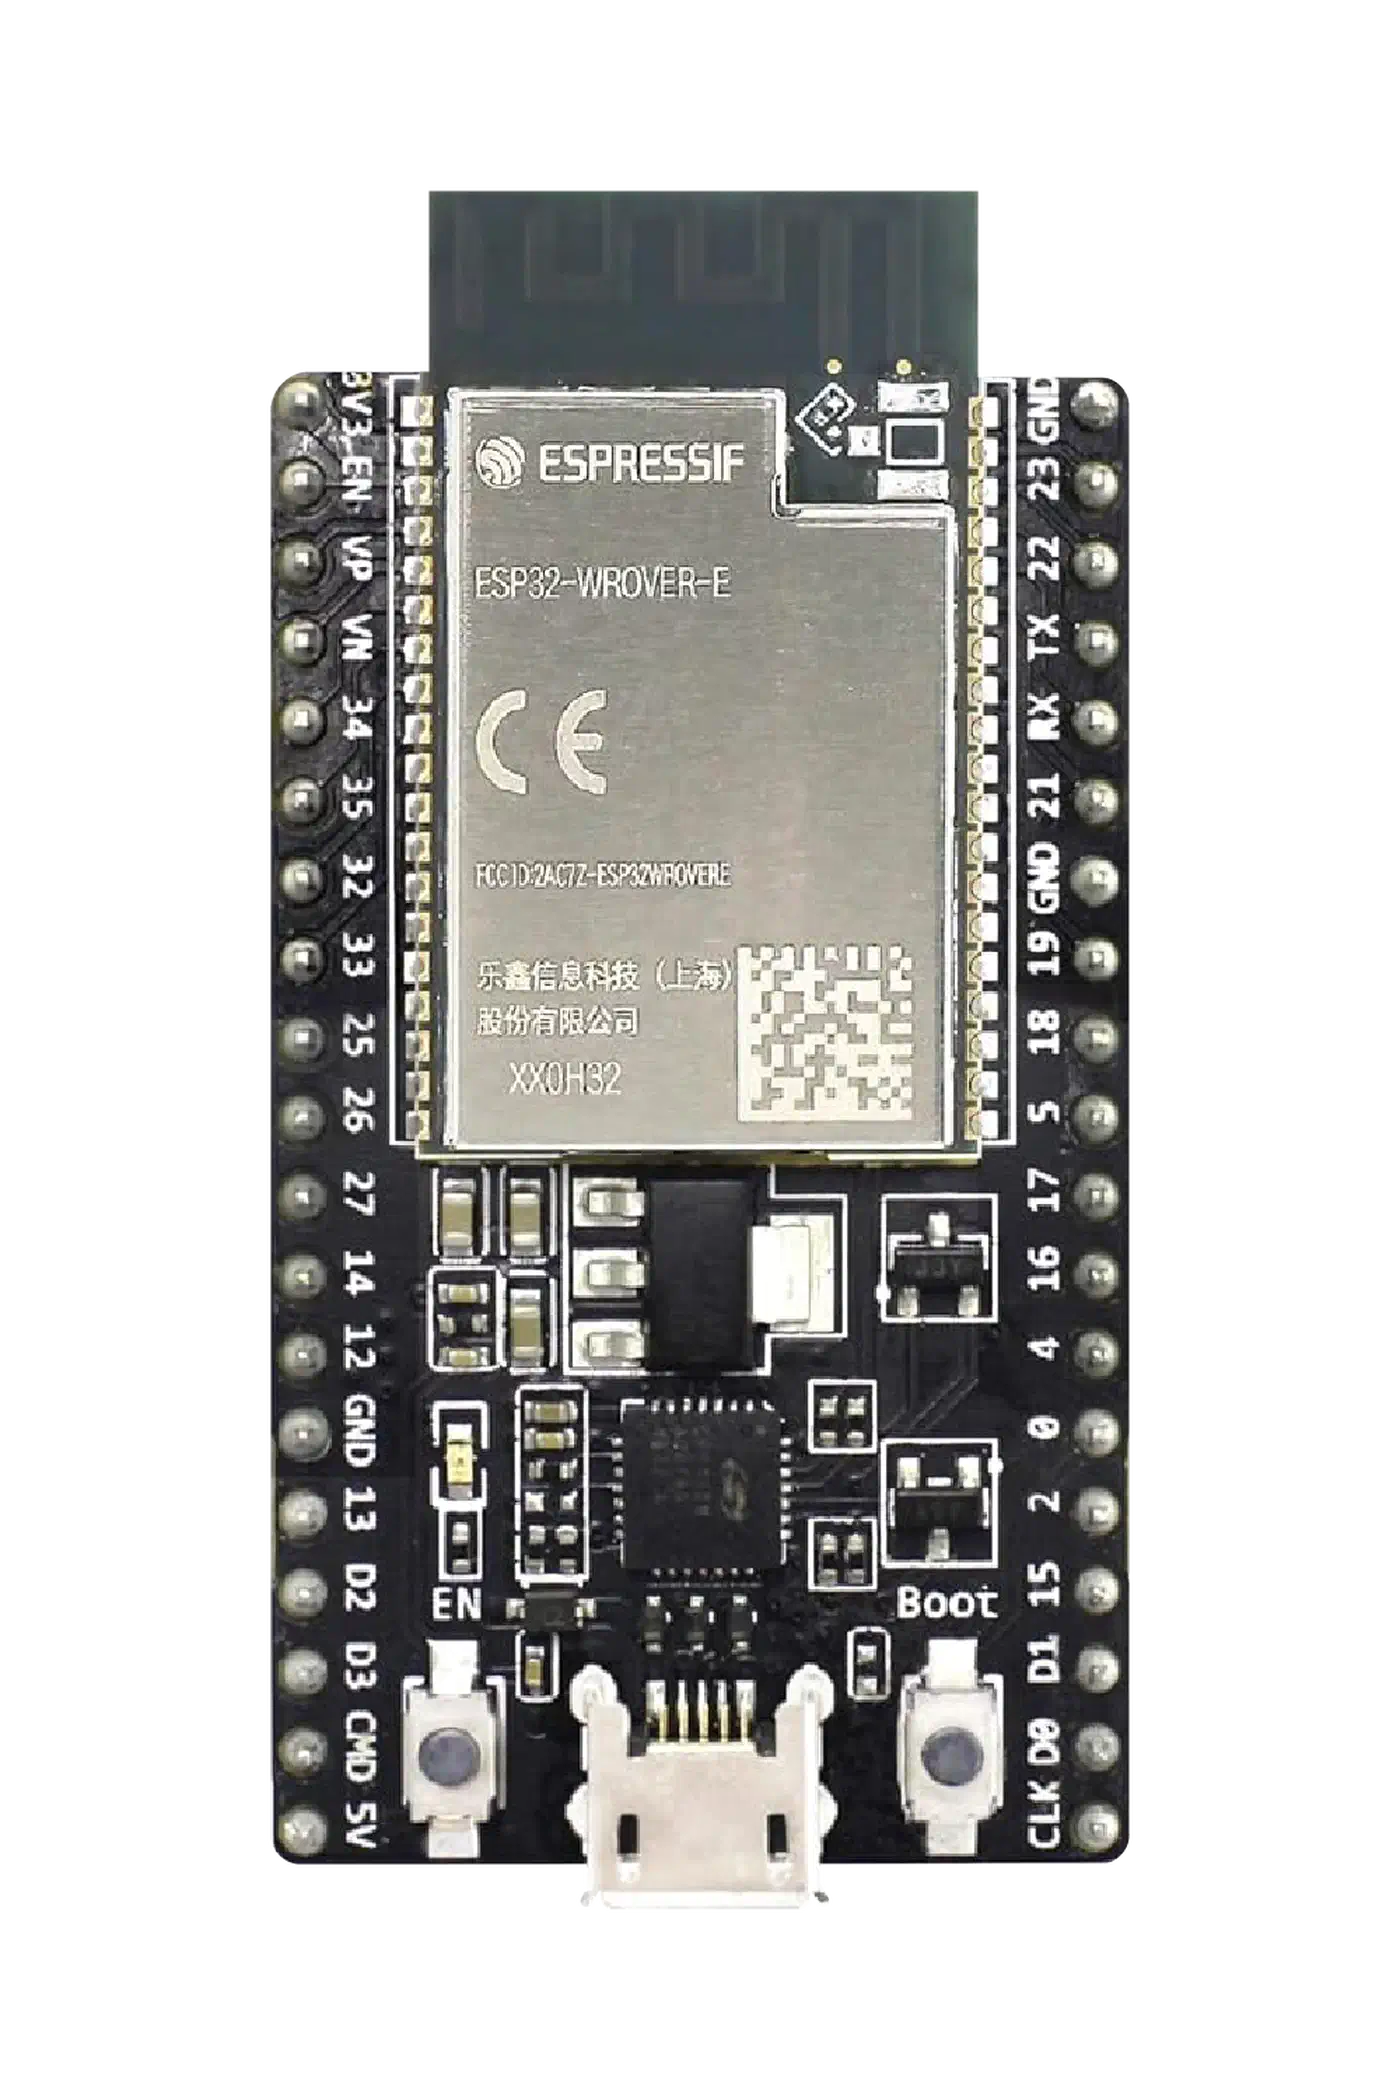
For the microcontroller, an ESP32-DevKitC or ESP32-C3 Mini both work. You need WiFi, around five free GPIOs, and I2C for the sensor and display. The C3 draws less power, which matters if you are running from a 24V-to-5V buck converter with a small margin.
My default temperature sensor is the BME280, because it gives temperature, humidity, and barometric pressure on a single I2C bus at around 0.5°C accuracy. The catch is that the BME280 self-heats by 1 to 2°C if you sample it too often, so keep the update interval at 30 seconds or longer and apply a calibration offset in ESPHome. The DS18B20 is a solid alternative if you only need temperature and want to run the sensor on a long 1-Wire cable away from the main board, which also sidesteps the self-heating problem entirely. The DHT22 works but drifts over time and is the worst of the three options. The same ESPHome sensor workflow extends naturally to other projects. A home air monitor wired to a PMS5003 built with the same toolchain adds PM2.5 and VOC tracking to the same network.
On the switching side, a 2-channel relay module is enough for basic heat and cool. A 4-channel board gives you heat, cool, fan, and either a reversing valve or aux heat. Make sure the relays are rated for at least 30V AC switching, which every standard board is. The relay coil side runs on 5V from the ESP32, and the contact side switches the 24V HVAC lines.
Power depends on whether you have a C wire. If you do, feed R and C into a 24V AC to 5V DC buck converter (a tiny board like the Hi-Link HLK-PM01 or an LM2596 module does the job), then run the 5V output to the ESP32’s VIN pin. If you do not, ignore the HVAC side for power entirely and use a USB adapter into a nearby outlet.
A 0.96" SSD1306 OLED over I2C is an optional but nice addition: it lets the thermostat show current temperature, setpoint, and mode even when Home Assistant is offline. It shares the I2C bus with the BME280, so you only need two GPIOs total for both.
For the wiring, R from the HVAC transformer goes to the common terminals of every relay. Each relay’s normally-open (NO) terminal goes to its respective HVAC wire: NO1 to W, NO2 to Y, NO3 to G. The ESP32’s GPIOs drive the relay input pins (most boards are active-low, so ESPHome’s inverted: true is usually needed). BME280 SDA and SCL go to GPIO21 and GPIO22 on a classic ESP32. The buck converter’s output goes to ESP32 VIN and GND.
ESPHome Configuration for the Climate Component
ESPHome’s thermostat platform is a proper bang-bang controller with deadbands, minimum run times, and safe defaults. The full YAML below is what I run at home, minus the secrets.
esphome:
  name: hallway-thermostat
  friendly_name: Hallway Thermostat

esp32:
  board: esp32dev

wifi:
  ssid: !secret wifi_ssid
  password: !secret wifi_password

api:
  encryption:
    key: !secret api_key

ota:
  platform: esphome
  password: !secret ota_password

logger:

i2c:
  sda: GPIO21
  scl: GPIO22
  scan: true

sensor:
  - platform: bme280_i2c
    address: 0x76
    update_interval: 30s
    temperature:
      name: "Hallway Temperature"
      id: hallway_temp
      filters:
        - offset: -1.5   # compensate for BME280 self-heating
    humidity:
      name: "Hallway Humidity"
    pressure:
      name: "Hallway Pressure"

switch:
  - platform: gpio
    pin:
      number: GPIO25
      inverted: true
    id: relay_heat
    name: "Heat Relay"
  - platform: gpio
    pin:
      number: GPIO26
      inverted: true
    id: relay_cool
    name: "Cool Relay"
  - platform: gpio
    pin:
      number: GPIO27
      inverted: true
    id: relay_fan
    name: "Fan Relay"

climate:
  - platform: thermostat
    name: "Hallway Thermostat"
    sensor: hallway_temp
    min_heating_off_time: 300s
    min_heating_run_time: 300s
    min_cooling_off_time: 300s
    min_cooling_run_time: 300s
    min_idle_time: 30s
    heat_deadband: 0.3
    heat_overrun: 0.3
    cool_deadband: 0.3
    cool_overrun: 0.3
    visual:
      min_temperature: 7 C    # 45 F frost protection floor
      max_temperature: 32 C   # 90 F safety ceiling
      temperature_step: 0.5
    heat_action:
      - switch.turn_on: relay_heat
      - switch.turn_on: relay_fan
    cool_action:
      - switch.turn_on: relay_cool
      - switch.turn_on: relay_fan
    fan_only_action:
      - switch.turn_on: relay_fan
    idle_action:
      - switch.turn_off: relay_heat
      - switch.turn_off: relay_cool
      - switch.turn_off: relay_fan
    default_preset: Home
    preset:
      - name: Home
        default_target_temperature_low: 20 C
        default_target_temperature_high: 24 C
      - name: Away
        default_target_temperature_low: 16 C
        default_target_temperature_high: 28 C
      - name: Sleep
        default_target_temperature_low: 18 C
        default_target_temperature_high: 22 C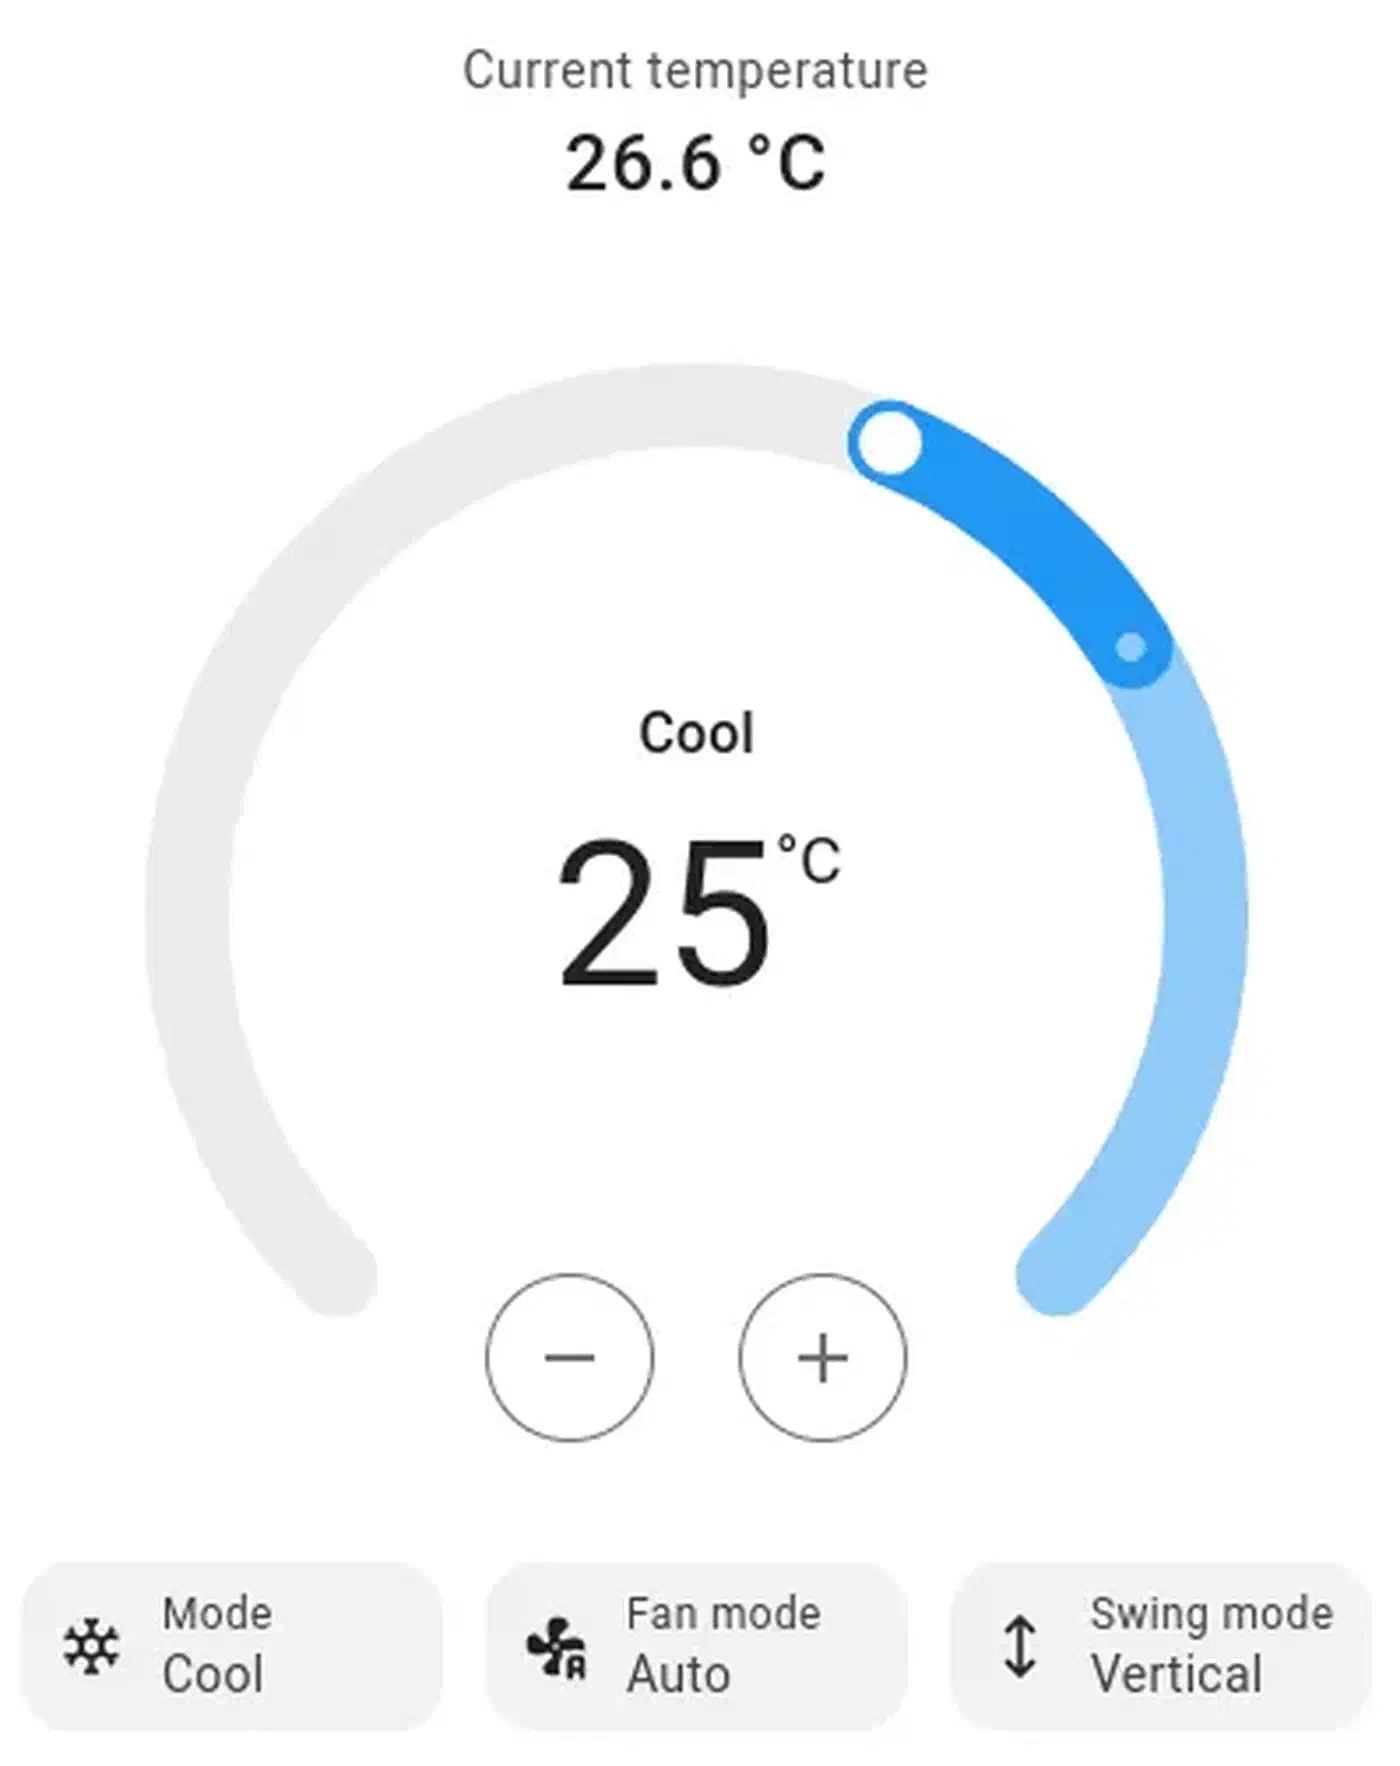
The min_heating_off_time and min_cooling_off_time values of 300 seconds are critical. A furnace that short-cycles destroys its igniter, and an AC compressor that short-cycles destroys itself because the refrigerant has not equalised pressure yet. Five minutes is the industry-standard minimum and ESPHome enforces it in the controller itself, not as an external automation, so even if Home Assistant goes rogue the compressor stays protected.
I also set the deadbands to 0.3°C rather than the default 0.5°C. This gives tighter temperature control without causing rapid cycling, because the minimum run times are already doing the heavy lifting. If you have a slow-responding system like radiant floor heating, crank the deadbands back up to 0.5 or even 0.8 to avoid overshoot.
Home Assistant Integration and Scheduling
Once the ESPHome device is flashed and on WiFi, Home Assistant will discover it automatically through the native API. The thermostat shows up as a single climate.hallway_thermostat entity with modes, setpoints, and presets. No YAML changes needed in Home Assistant, no MQTT broker required
.
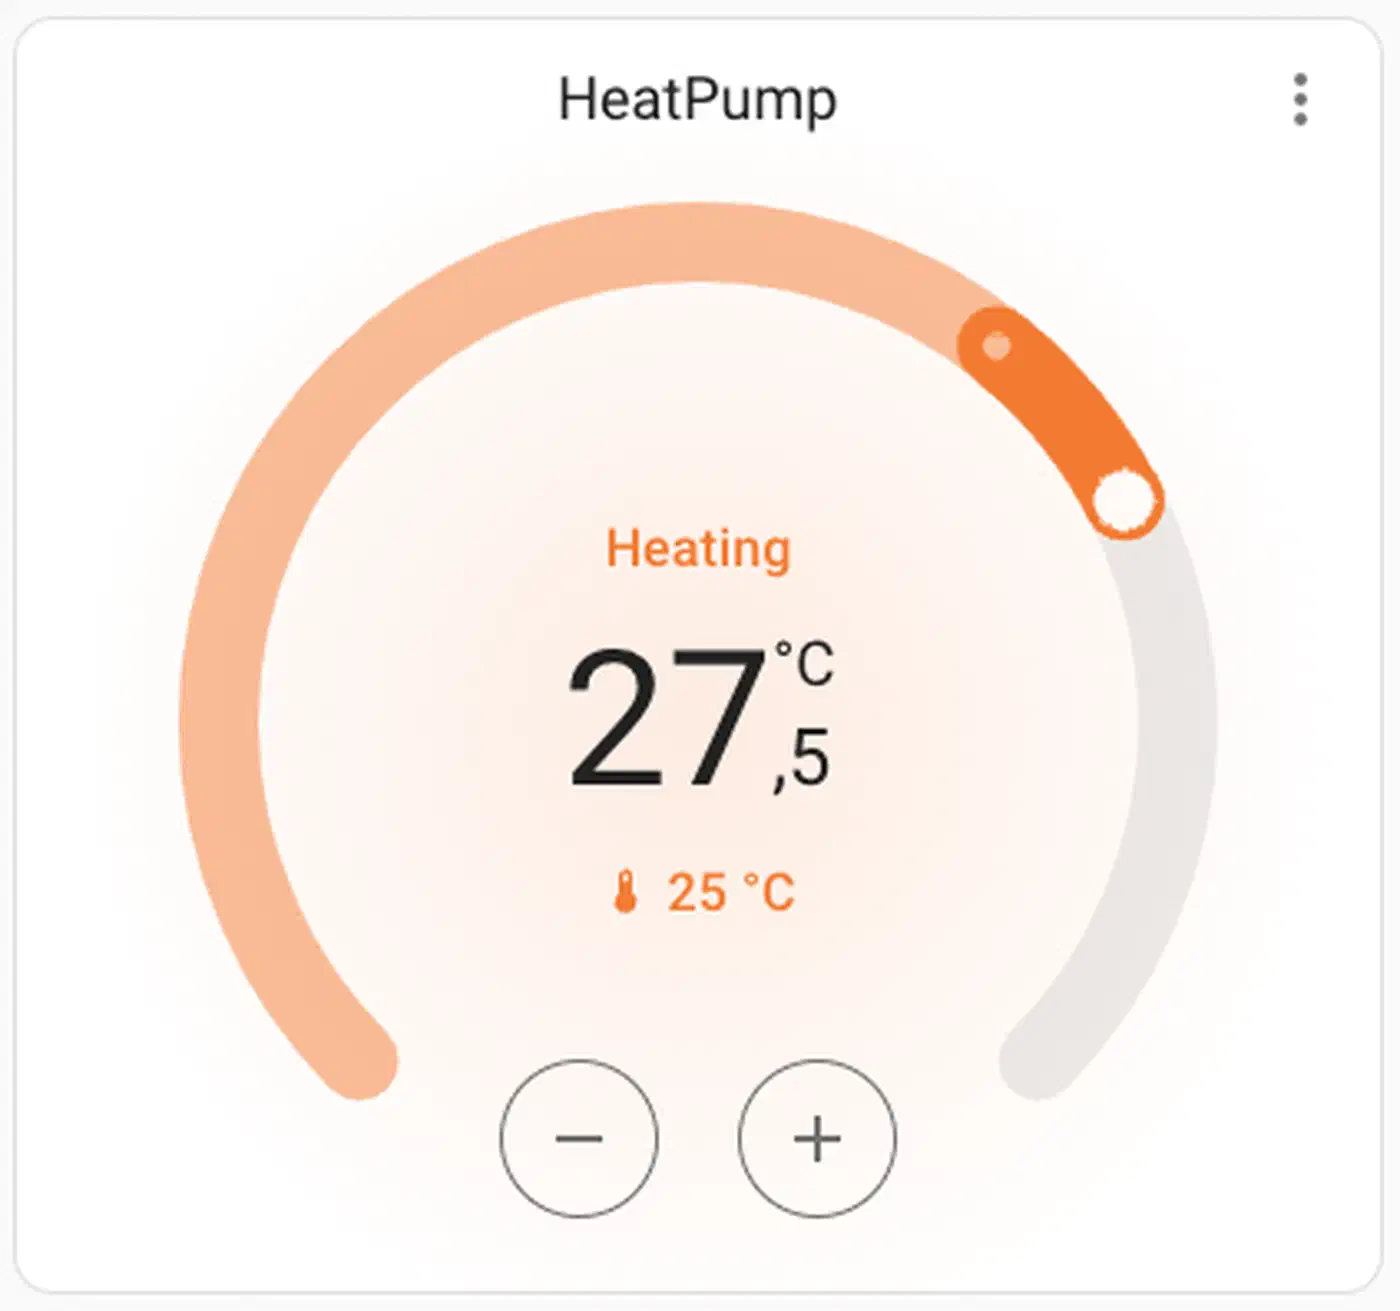
For the dashboard, the built-in Thermostat card is functional but a bit dated. The Mushroom Climate card and the Better Thermostat UI are both nicer-looking community options. Either way, you get a visual dial, mode selector, and preset buttons. To show the climate card only when someone is home, state-aware dashboard cards hide it on an empty house.
Scheduling is where the DIY approach starts paying dividends. Home Assistant has a built-in Schedule helper (Settings > Devices & services > Helpers > Schedule) that gives you a weekly calendar grid. Wire the schedule to an automation that sets the preset to Home during active blocks and Away when empty:
automation:
  - alias: "Thermostat: Home during schedule"
    trigger:
      - platform: state
        entity_id: schedule.heating_schedule
        to: "on"
    action:
      - service: climate.set_preset_mode
        target:
          entity_id: climate.hallway_thermostat
        data:
          preset_mode: Home

  - alias: "Thermostat: Away outside schedule"
    trigger:
      - platform: state
        entity_id: schedule.heating_schedule
        to: "off"
    action:
      - service: climate.set_preset_mode
        target:
          entity_id: climate.hallway_thermostat
        data:
          preset_mode: Away
From there, layer on conditions as needed. If nobody’s phone is home, force Away regardless of schedule. If tomorrow’s forecast from the Met.no integration predicts a low below -10°C, start heating 30 minutes earlier than usual. The same forecast-driven pattern powers a sprinkler setup that skips watering when rain is on the way . If the Nord Pool electricity price integration reports that power is cheap between 02:00 and 05:00, pre-heat a thermal mass floor during those hours. These are all two or three line automations with the ESPHome thermostat as the target.
Energy monitoring comes practically for free. Use Home Assistant’s history stats sensor to count how many hours per day the heat relay is on, and you have a before/after number for the efficiency improvements your scheduling delivers. Feed the heating circuit into the panel that charts HVAC draw against solar and battery flow to see consumption next to the rest of the house. In my case, tight presence-based scheduling dropped daily runtime from 11 hours to 7 in a Belgian winter.
Voice control works through the same path as every other Home Assistant entity. The Google Assistant, Alexa, and local HA Voice pipelines all treat the climate entity as a first-class device, so “set the thermostat to 21” just works.
Testing and Safety Considerations
HVAC equipment is expensive, and a runaway furnace is genuinely dangerous. A handful of precautions turn this from a risky project into a dependable one.
Before you connect anything to the real furnace, bench test with LEDs first. Wire the relay NO contacts to LEDs through a resistor and walk through every state transition: off to heat, heat to idle, idle to cool, cool to fan. Watch that the relays click in the right order and that the minimum run times are enforced. Most bugs in the YAML show up here, not at 3 AM with a cold bedroom.
Make sure the controller defaults to off on sensor failure. If the BME280 stops returning readings, the thermostat platform goes to idle automatically, but you should double-check by unplugging the sensor on the bench. A stuck-on heat relay because the sensor froze is exactly the kind of failure that turns a smart thermostat into a house fire.
WiFi loss is the next scenario to cover. ESPHome keeps running the thermostat loop even when WiFi or the Home Assistant API connection is down. The ESP32 holds the last setpoint and preset, and relays continue to be driven from the local climate component. This is the main reason to put the control logic on the ESP32 rather than in a Home Assistant automation: a reboot of your NAS should never leave the house freezing.
A hardware manual override is also worth the extra 2 dollars. Wire a physical SPDT toggle switch that either passes the relay output through to the HVAC or directly bridges R to W (forcing heat on). If the ESP32 ever dies mid-winter, flipping that toggle keeps the house warm until you can fix things. Keep the original thermostat, a screwdriver, and labelled wires in the same drawer as cheap insurance.
On electrical safety, use UL-listed or CE-marked relay modules, not the cheapest no-name boards. Keep the 24V AC wiring separated from the 5V DC ESP32 wiring inside the enclosure, ideally with a physical divider. Do not route mains voltage anywhere near this project. The whole thing runs on 24V AC and 5V DC by design, which is a major safety improvement over any line-voltage electrical work.
The minimum and maximum bounds in the YAML are not just UI settings. The visual: min_temperature: 7 C and max_temperature: 32 C lines clamp the setpoint. Even if a buggy automation tries to set the target to 2°C, ESPHome refuses. 7°C (45°F) is a sensible floor for frost protection, and 32°C (90°F) is a ceiling nobody should ever need.
With those pieces in place, you have a thermostat that costs less than dinner out, runs entirely on your own network, integrates with every Home Assistant feature you will ever want, and keeps working through cloud outages, vendor bankruptcies, and subscription rug-pulls. The code, the schedules, and the hardware all belong to you.