 Botmonster Tech
Local Z-Wave alarm: $250 setup, no monthly fee
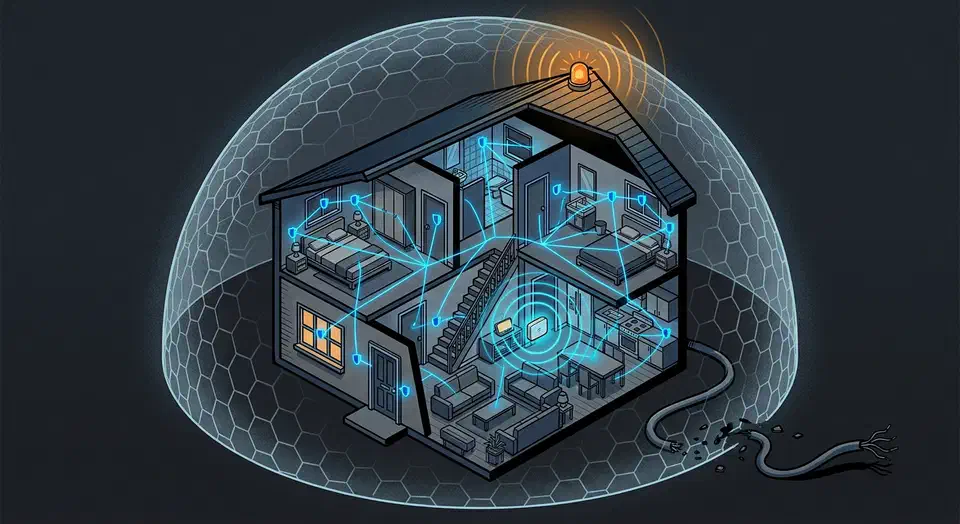
You can build a fully local, cloud-free home alarm system with Z-Wave door and window sensors, motion detectors, and a siren wired to Home Assistant through a Z-Wave JS controller. The built-in alarm_control_panel integration plus a few automations handle arming, disarming, entry delays, and the siren. It all runs on your local network. No cloud subscription, no monthly fee, and the alarm keeps working even when your internet goes down.
Monitored systems like SimpliSafe and Ring Alarm cost $10-25 per month. They also route every sensor event through a company’s cloud servers. If those servers go down, or the company raises prices, your security is at their mercy. A local Z-Wave setup on Home Assistant puts you in full control. Hardware runs about $250-350 for a three-bedroom home, with zero ongoing fees. The trade-off: you handle setup, testing, and monitoring yourself. But if you already run Home Assistant, you have the skills to make this work.
Selecting Z-Wave Hardware for a Reliable Alarm System
Z-Wave is the best protocol for a DIY alarm, for a few practical reasons. It runs on its own sub-GHz mesh radio (908.42 MHz in the US), separate from WiFi. So sensors keep talking to the hub during router outages. Since the 700 series, every Z-Wave device requires S2 encryption during pairing. That blocks replay attacks and traffic sniffing. The mesh layout also lets sensors relay signals through each other, which extends range and adds backup paths. Zigbee, WiFi, and Matter-over-Thread sensors can work for alarms too; a perimeter of cheap door sensors covers most homes for well under $100. But a Thread setup needs at least two hubs bridging the low-power mesh before it earns any of Z-Wave’s redundancy. If you are still weighing those options, see how Matter and Zigbee compare on battery life and device support. Encrypted mesh networking plus WiFi independence make Z-Wave the strongest choice for security.
The Controller
The Zooz ZST39 LR 800-series USB stick ($35) is the controller I recommend. It supports Z-Wave Long Range (up to 1 mile line-of-sight for LR devices) and S2 security out of the box. Plug it into your Home Assistant server and connect it through the Z-Wave JS add-on. That add-on gives you a full UI for pairing devices, setting parameters, and watching mesh health.
Door and Window Sensors

The Zooz ZSE44 ($25 each) reports open/closed state and has tamper detection. It runs on a single CR2032 battery that lasts 2+ years under normal use. Mount these on every exterior door and on ground-floor windows. Adhesive strips work fine for renters, but screws hold better over the long run. You will likely need 4-8 of these, based on your home’s layout.
Motion Sensors
The Aeotec TriSensor 7 ($40) covers a 120-degree arc at 5 meters. It reports motion, temperature, and light level. For alarm use, set the re-trigger interval (parameter 3) to 10 seconds instead of the default 30. Place motion sensors in hallways and rooms that an intruder must pass through. Two or three sensors cover a typical home.
Siren
The Aeotec Siren 6 ($50) puts out 105dB, with tones and volume you can tune. It has a built-in tamper switch that fires if someone tries to rip it off the wall. Mount it in a central spot, high on a wall where it is hard to reach. The siren can also chime during arm and disarm steps, using its quieter tones.
Keypad
To disarm the alarm at the door, the Ring Keypad Gen 2 ($40) ties straight into Home Assistant’s alarm panel entity through Z-Wave JS. It has its own arm away, arm home, and disarm buttons, plus a number pad for code entry. As another option, a Zooz ZEN32 Scene Controller ($30) mounted by the door can act as a disarm keypad through button-press combos.
Security Pairing
Pair every alarm device with the S2 Authenticated or S2 Access Control security class. During inclusion in the Z-Wave JS UI, you will be asked for the device’s DSK. That code is usually printed on the device or its box. Never pair alarm parts with the old S0 class, or with no security at all. S0 traffic uses a known fixed key, so anyone can grab and replay it with a $30 SDR dongle.
Configuring the Home Assistant Alarm Control Panel
Home Assistant ships a built-in manual alarm control panel integration. It handles armed and disarmed states, entry and exit delays, and the triggered state. It all runs locally, with no cloud dependency.
Basic Panel Configuration
Add the following to your configuration.yaml:
alarm_control_panel:
  - platform: manual
    name: Home Alarm
    code: "5827"
    arming_time: 30
    delay_time: 30
    trigger_time: 300
    disarmed:
      trigger_time: 0
    armed_away:
      arming_time: 30
      delay_time: 30
    armed_home:
      arming_time: 10
      delay_time: 15
    armed_night:
      arming_time: 10
delay_time: 15Three values control the timing. arming_time is the exit delay: how long you have to leave after arming. delay_time is the entry delay: how long before the siren fires after a sensor trips. trigger_time is how long the alarm stays triggered before it auto-resets. Set the code to something you will remember but no one can guess.
Arming Modes
Three arming modes cover the common scenarios:
- Armed Away turns on all sensors, perimeter and motion. Use it when nobody is home.
- Armed Home turns on perimeter sensors only and leaves motion sensors off. Use it when you are home during the day. You want to know if a door opens, but you don’t want motion sensors tripping as you walk around.
- Armed Night turns on perimeter sensors plus hallway motion, but leaves bedroom motion off. Use it at bedtime. You get motion coverage of common areas, but not where people sleep.
You can also switch between armed away and disarmed based on who is home. That works best when you pair it with reliable Bayesian presence detection. It blends Wi-Fi, GPS, and motion data into one confident estimate, instead of trusting a single signal. Worth knowing before you trust Wi-Fi as a signal: the same radio can sense a person moving, which cuts both ways for a security setup.
Sensor Zone Groups
Create template binary sensors that fold individual physical sensors into logical groups. This keeps your automations cleaner and easier to maintain:
template:
  - binary_sensor:
      - name: "Zone Perimeter"
        device_class: door
        state: >
          {{ is_state('binary_sensor.front_door_sensor', 'on')
             or is_state('binary_sensor.back_door_sensor', 'on')
             or is_state('binary_sensor.garage_door_sensor', 'on')
             or is_state('binary_sensor.kitchen_window_sensor', 'on')
             or is_state('binary_sensor.living_room_window_sensor', 'on') }}
      - name: "Zone Interior"
        device_class: motion
        state: >
          {{ is_state('binary_sensor.hallway_motion', 'on')
             or is_state('binary_sensor.living_room_motion', 'on')
             or is_state('binary_sensor.basement_motion', 'on') }}
Dashboard Card
Add the alarm_control_panel card to your Lovelace dashboard. The built-in card gives you a number pad for code entry, plus disarm, arm home, and arm away buttons. The panel reports states like disarmed, arming, armed_away, armed_home, armed_night, pending (the entry delay countdown), and triggered. So you always know exactly what the system is doing.
Also create an input_boolean.alarm_triggered_latch helper. It stays on after a trigger event until you clear it by hand. That stops the alarm from quietly resetting once trigger_time runs out. Without it, you might miss that something happened while you were away.
Building the Automation Logic
The automations are what make the alarm actually work. If they are sloppy, you will either miss real break-ins, or lose sleep over false alarms when the cat knocks things over at 3 AM.
Entry Detection
When the alarm is in armed_away mode and any perimeter sensor opens, the panel moves to pending state and starts the entry delay countdown:
automation:
  - alias: "Alarm - Entry Detected"
    trigger:
      - platform: state
        entity_id: binary_sensor.zone_perimeter
        to: "on"
    condition:
      - condition: state
        entity_id: alarm_control_panel.home_alarm
        state: "armed_away"
    action:
      - service: alarm_control_panel.alarm_trigger
        entity_id: alarm_control_panel.home_alarm
The panel runs the delay itself, based on your delay_time setting. If no one disarms within 30 seconds, the state flips to triggered.
Siren Activation
When the panel hits triggered state, activate everything:
  - alias: "Alarm - Triggered Response"
    trigger:
      - platform: state
        entity_id: alarm_control_panel.home_alarm
        to: "triggered"
    action:
      - service: siren.turn_on
        entity_id: siren.aeotec_siren_6
        data:
          tone: 3
          volume_level: 1.0
      - service: light.turn_on
        target:
          entity_id: all
        data:
          brightness: 255
      - service: input_boolean.turn_on
        entity_id: input_boolean.alarm_triggered_latch
      - service: notify.mobile_app_your_phone
        data:
          title: "ALARM TRIGGERED"
          message: "Sensor tripped: {{ trigger.to_state.attributes.friendly_name }}"
          data:
            push:
              sound:
                name: default
                critical: 1
                volume: 1.0
Exit Delay Feedback
When arming, play a gentle beep pattern on the siren so occupants know to leave:
  - alias: "Alarm - Arming Beep"
    trigger:
      - platform: state
        entity_id: alarm_control_panel.home_alarm
        to: "arming"
    action:
      - service: siren.turn_on
        entity_id: siren.aeotec_siren_6
        data:
          tone: 1
          volume_level: 0.3
      - delay: "00:00:30"
      - service: siren.turn_off
        entity_id: siren.aeotec_siren_6
Disarm Response
When the correct code is entered on the keypad or via the HA app:
  - alias: "Alarm - Disarmed"
    trigger:
      - platform: state
        entity_id: alarm_control_panel.home_alarm
        to: "disarmed"
    action:
      - service: siren.turn_off
        entity_id: siren.aeotec_siren_6
      - service: input_boolean.turn_off
        entity_id: input_boolean.alarm_triggered_latch
      - service: notify.mobile_app_your_phone
        data:
          message: "Alarm disarmed successfully"
False Alarm Mitigation
Single-sensor triggers are the biggest source of false alarms. A pet bumps a motion sensor. A strong gust rattles a window. A flaky battery sends a brief open state. Asking for two sensors to fire within 60 seconds cuts false alarms sharply, and still catches real break-ins:
  - alias: "Alarm - Two-Sensor Verification"
    trigger:
      - platform: state
        entity_id:
          - binary_sensor.front_door_sensor
          - binary_sensor.back_door_sensor
          - binary_sensor.hallway_motion
          - binary_sensor.living_room_motion
        to: "on"
    condition:
      - condition: state
        entity_id: alarm_control_panel.home_alarm
        state: "armed_away"
    action:
      - choose:
          - conditions:
              - condition: state
                entity_id: timer.alarm_verification
                state: "active"
            sequence:
              - service: alarm_control_panel.alarm_trigger
                entity_id: alarm_control_panel.home_alarm
        default:
          - service: timer.start
            entity_id: timer.alarm_verification
            data:
              duration: "00:01:00"
Create the timer helper in your configuration:
timer:
  alarm_verification:
    duration: "00:01:00"
This way, a single sensor trip starts the 60-second timer. Only a second trip inside that window actually triggers the alarm. For entry doors where you want an instant response, you can skip the check and trigger directly.
Tamper Detection
If any Z-Wave device reports a tamper event (its cover was removed), trigger the alarm right away, no matter the armed state:
  - alias: "Alarm - Tamper Detected"
    trigger:
      - platform: state
        entity_id:
          - binary_sensor.front_door_sensor_tamper
          - binary_sensor.back_door_sensor_tamper
          - binary_sensor.siren_tamper
        to: "on"
    action:
      - service: alarm_control_panel.alarm_trigger
        entity_id: alarm_control_panel.home_alarm
      - service: notify.mobile_app_your_phone
        data:
          title: "TAMPER ALERT"
          message: "Device tampered: {{ trigger.to_state.attributes.friendly_name }}"
          data:
            push:
              sound:
                name: default
                critical: 1
Notifications and Remote Monitoring
An alarm that screams into an empty house while you are at work does nothing useful. You need alerts that reach you on and off your home network. And you want more than one path, in case a single one fails.
Critical Mobile Notifications
The Home Assistant Companion App supports critical alerts that punch through Do Not Disturb mode on both Android and iOS. Set the push data with critical: 1, as shown in the trigger automation above. Also set the notification channel to alarm. Then you can give alarm events their own alert behavior on your phone.
Backup Notification Channels
Don’t lean on a single alert path. Set up a local Mosquitto MQTT broker, which ships as a Home Assistant add-on, and add a second alert path over MQTT. A Raspberry Pi with a speaker at a neighbor’s house can subscribe to alarm topics and sound an alert, even if your phone is out of reach.
The Telegram bot integration makes a great backup channel. Telegram messages do route through outside servers, but they need no subscription. If you have security cameras, you can attach snapshots to Telegram alerts. Call the camera.snapshot service when the alarm triggers, then include the image in the message.
Camera Snapshot Integration
When the alarm triggers, capture a still from a local RTSP camera and attach it to the push notification:
  - alias: "Alarm - Capture Snapshot"
    trigger:
      - platform: state
        entity_id: alarm_control_panel.home_alarm
        to: "triggered"
    action:
      - service: camera.snapshot
        data:
          entity_id: camera.front_door
          filename: /config/www/alarm_snapshot.jpg
      - delay: "00:00:02"
      - service: notify.mobile_app_your_phone
        data:
          title: "Alarm - Camera Capture"
          message: "Front door camera snapshot"
          data:
            image: /local/alarm_snapshot.jpg
Daily Health Check
Set up an automation that runs at 8 AM every day. It sends a note confirming all sensors are online and batteries are healthy. This catches dead sensors before they turn into a security gap:
  - alias: "Alarm - Daily Health Check"
    trigger:
      - platform: time
        at: "08:00:00"
    action:
      - service: notify.mobile_app_your_phone
        data:
          title: "Alarm System Status"
          message: >
            Sensors online: {{ states.binary_sensor
              | selectattr('attributes.device_class', 'defined')
              | selectattr('attributes.device_class', 'in', ['door', 'motion'])
              | rejectattr('state', 'eq', 'unavailable')
              | list | count }} /
            {{ states.binary_sensor
              | selectattr('attributes.device_class', 'defined')
              | selectattr('attributes.device_class', 'in', ['door', 'motion'])
              | list | count }}
Hardening and Reliability
Your alarm will face power outages, network drops, and maybe someone trying to rip a sensor off the wall. If you don’t plan for these, the system fails at the worst possible moment.
Power Backup
Put your Home Assistant server on a UPS. The APC BE425M ($45) gives a Raspberry Pi 5 or Intel NUC 30-60 minutes of runtime during a power outage. That is enough time to send alerts and hold the alarm state. Z-Wave sensors run on batteries, and the siren has its own power supply. So the only part that needs backup power is the controller.
Z-Wave Mesh Independence
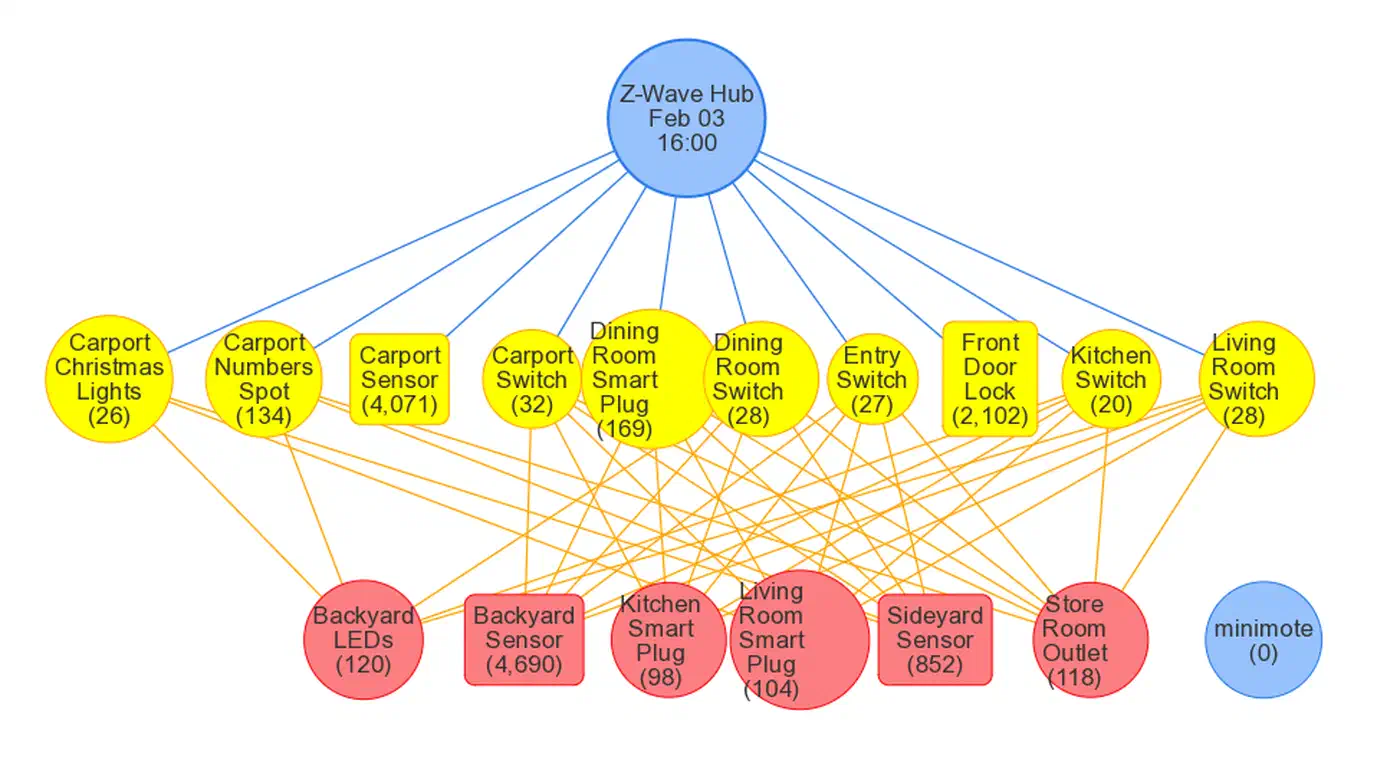
Z-Wave devices run on their own mesh radio, separate from WiFi. Sensors keep talking to the controller during router outages. The siren still fires from automations on your local Home Assistant server, as long as the server has power. WiFi alarm sensors go silent the moment the router drops, which makes Z-Wave a far better fit for security.
Mesh Maintenance
Turn on Z-Wave JS healing and route tuning. Run a network heal once a week with an automation that calls the zwave_js.heal_network service at 3 AM, when radio interference is low. The heal recalculates the best routing paths and keeps the mesh reliable.
Physical Security
Mount the Z-Wave controller and Home Assistant server in a locked utility closet or network cabinet. Add a tamper sensor on the closet door itself. If an intruder reaches the controller before the siren sounds, the whole system is beaten. The closet-door tamper sensor fires an instant alarm. And because Z-Wave signals reach the controller before anyone can touch it, the siren and alerts fire first. For a stronger defense, put your Home Assistant server on a dedicated IoT VLAN. Our guide to isolating alarm hardware behind firewall rules shows how to keep it walled off from other devices.
Regular Testing
Test the full system once a month. Arm the alarm and trip a sensor. Check that the siren sounds within the expected delay. Confirm alerts arrive on all channels. Check that disarming works from both the keypad and the app. Look at battery levels on every sensor and swap out any below 20%. If you skip testing, you won’t know the system is broken until someone actually breaks in.
Cost Comparison
Here is how a DIY Z-Wave alarm stacks up against paid systems for a 3-bedroom home:
| Component | DIY Z-Wave | SimpliSafe | Ring Alarm |
|---|---|---|---|
| Base hardware | $250-350 | $250-500 | $200-330 |
| Monthly fee | $0 | $18-28 | $10-20 |
| Year 1 total | $250-350 | $466-836 | $320-570 |
| Year 3 total | $250-350 | $898-1,508 | $560-1,050 |
| Works offline | Yes | Partial | No |
| Local processing | Yes | No | No |
| Full customization | Yes | No | No |
The DIY system costs less than one year of SimpliSafe monitoring. After that, every month is free. The real cost is your time: a few hours to set it all up, then maybe 30 minutes a month for testing and battery checks.
You do give up pro monitoring, so nobody is calling the police for you. But critical push alerts to your phone plus a 105dB siren cover most home situations. And you keep full control of the system, with no monthly check going to a monitoring company.