 Botmonster Tech
Build an ESPHome soil moisture sensor for under $10


An ESPHome soil moisture sensor costs about $6 in parts and tells Home Assistant exactly when a plant needs water. You need a capacitive probe, any ESP32 board, and roughly thirty lines of YAML. Calibration is the fiddly part: two probes off the same reel can disagree by a third of their usable range, so numbers copied from someone else’s config will lie to you.
Key Takeaways
- Buy capacitive v2.0 probes. Resistive ones corrode within weeks.
- Calibrate every probe on its own. “Dry” reads anywhere from 2.3V to 2.9V.
- Set
attenuation: 12dbor your ESP32 reports a frozen 1.07V forever. - Test the probe in air and in water before you trust a single reading.
- One ESP32 handles six to eight probes on its ADC1 pins.
Which soil moisture sensor to buy
The cheap resistive probes in starter kits put two bare metal traces into wet soil. Electrolysis eats them within weeks, and the readings drift long before the metal visibly goes.
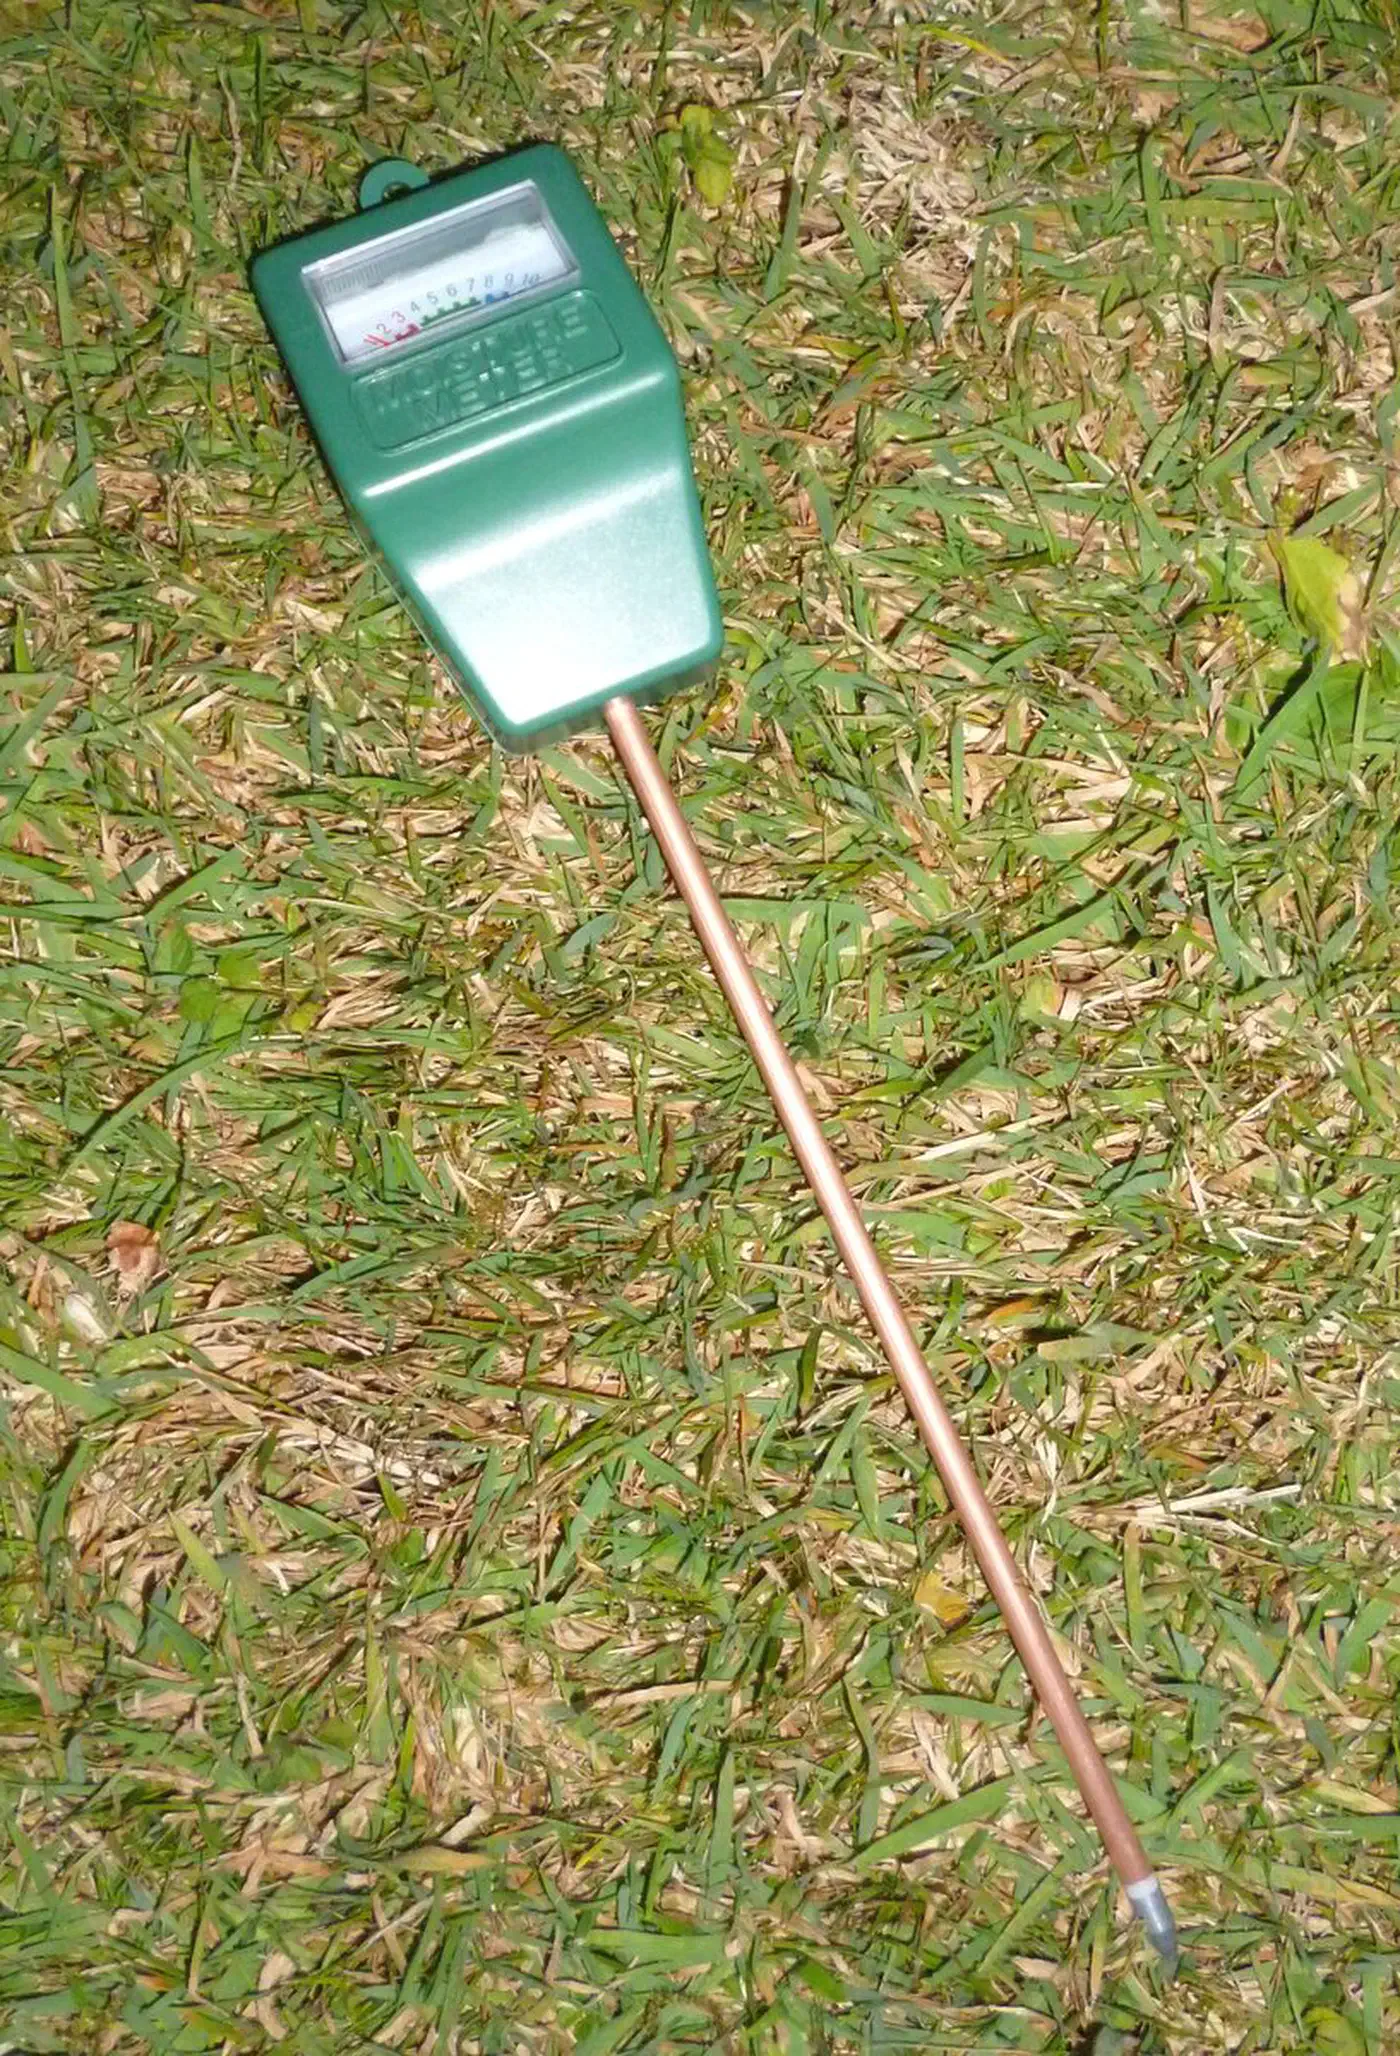
Capacitive probes avoid the problem entirely, because they measure the change in capacitance through a sealed surface and no metal ever contacts the soil. Buy the v2.0 boards, which carry an onboard voltage regulator and an NE555 timer chip. Older v1.0 boards leave traces exposed near the top, and moisture wicking up the probe still corrodes them. If v1.0 is all you can get, coat everything above the soil line with clear nail polish or conformal coating spray.
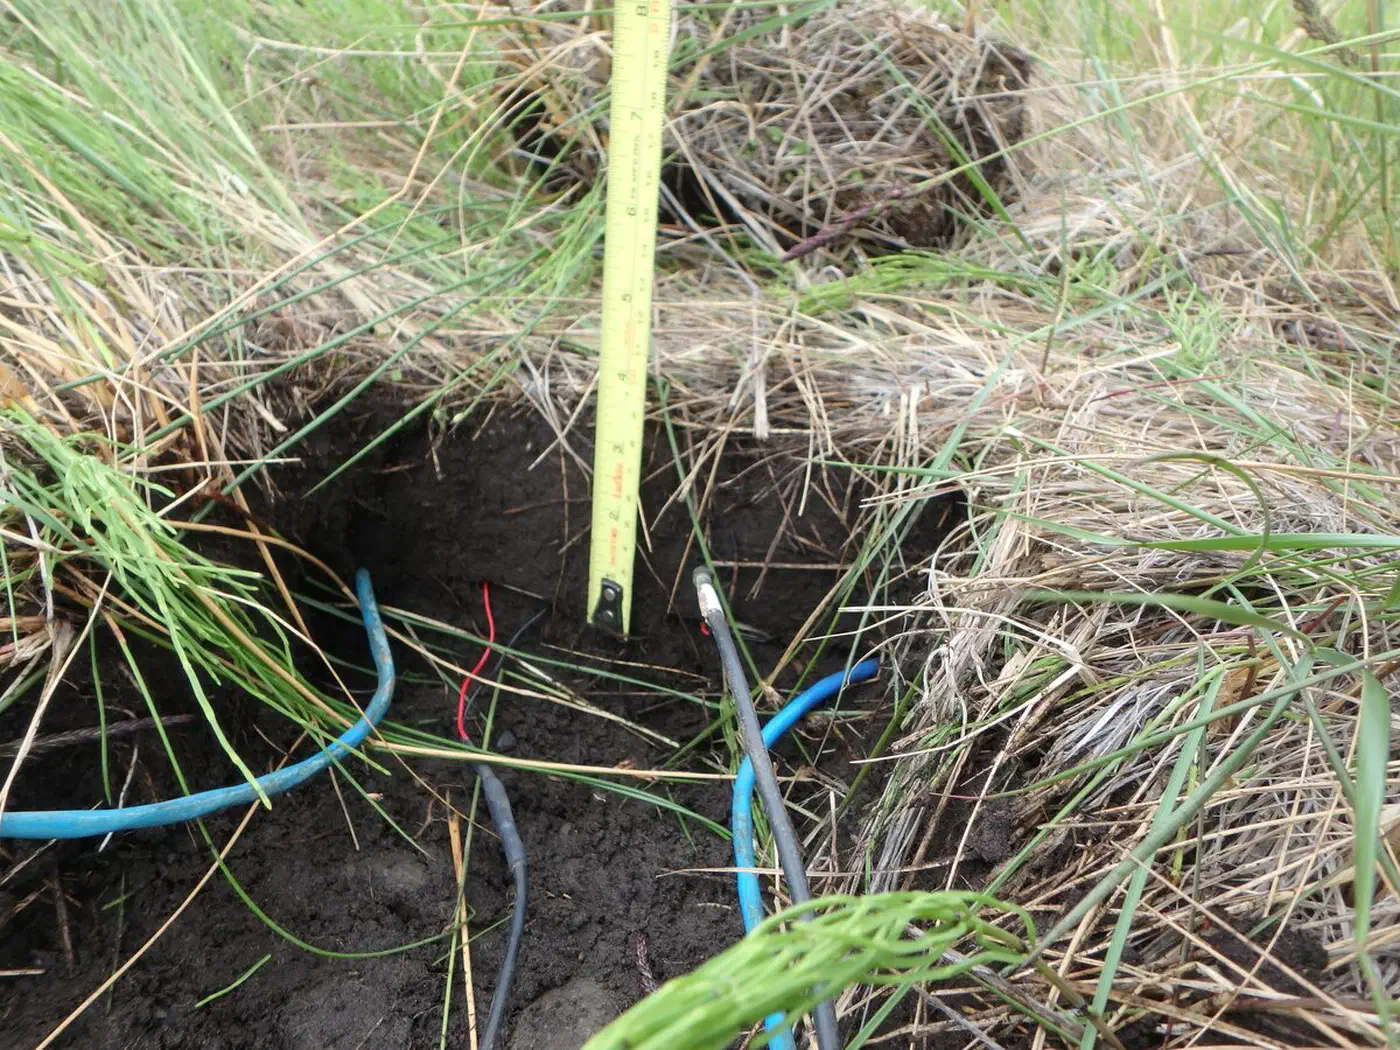
Each probe outputs an analog voltage between 0 and 3.3V. Wetter soil reads lower. Dry sits near 2.8V, soaked near 1.2V.
How far “near” stretches varies from probe to probe, which is why calibration takes up the longest section below.
Wiring the sensor to an ESP32 board
Three wires per probe: VCC to 3.3V, GND to GND, and the analog output to an ADC pin.
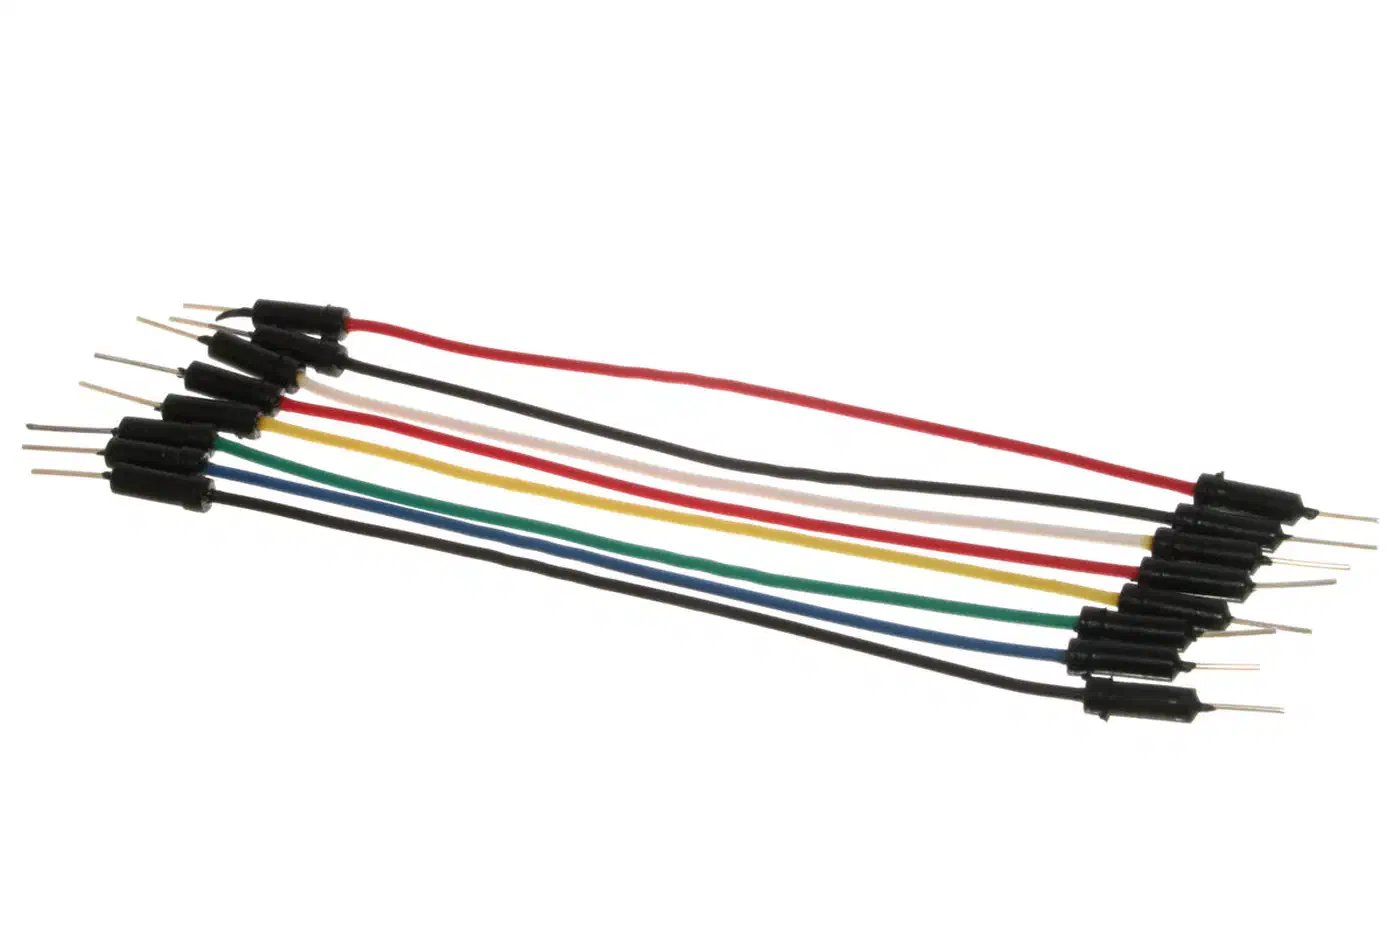
Pin choice is the one place people lose an afternoon. An ESP32 has two ADCs, and the WiFi radio claims ADC2 whenever it is on, which for an ESPHome device is always. That leaves ADC1: GPIO32 through GPIO39. Two of those, GPIO36 and GPIO39, are input-only, which is fine for a sensor.
So one ESP32-WROOM-32 reads six to eight probes comfortably. Wire the first to GPIO32, the second to GPIO33, and carry on up the range.
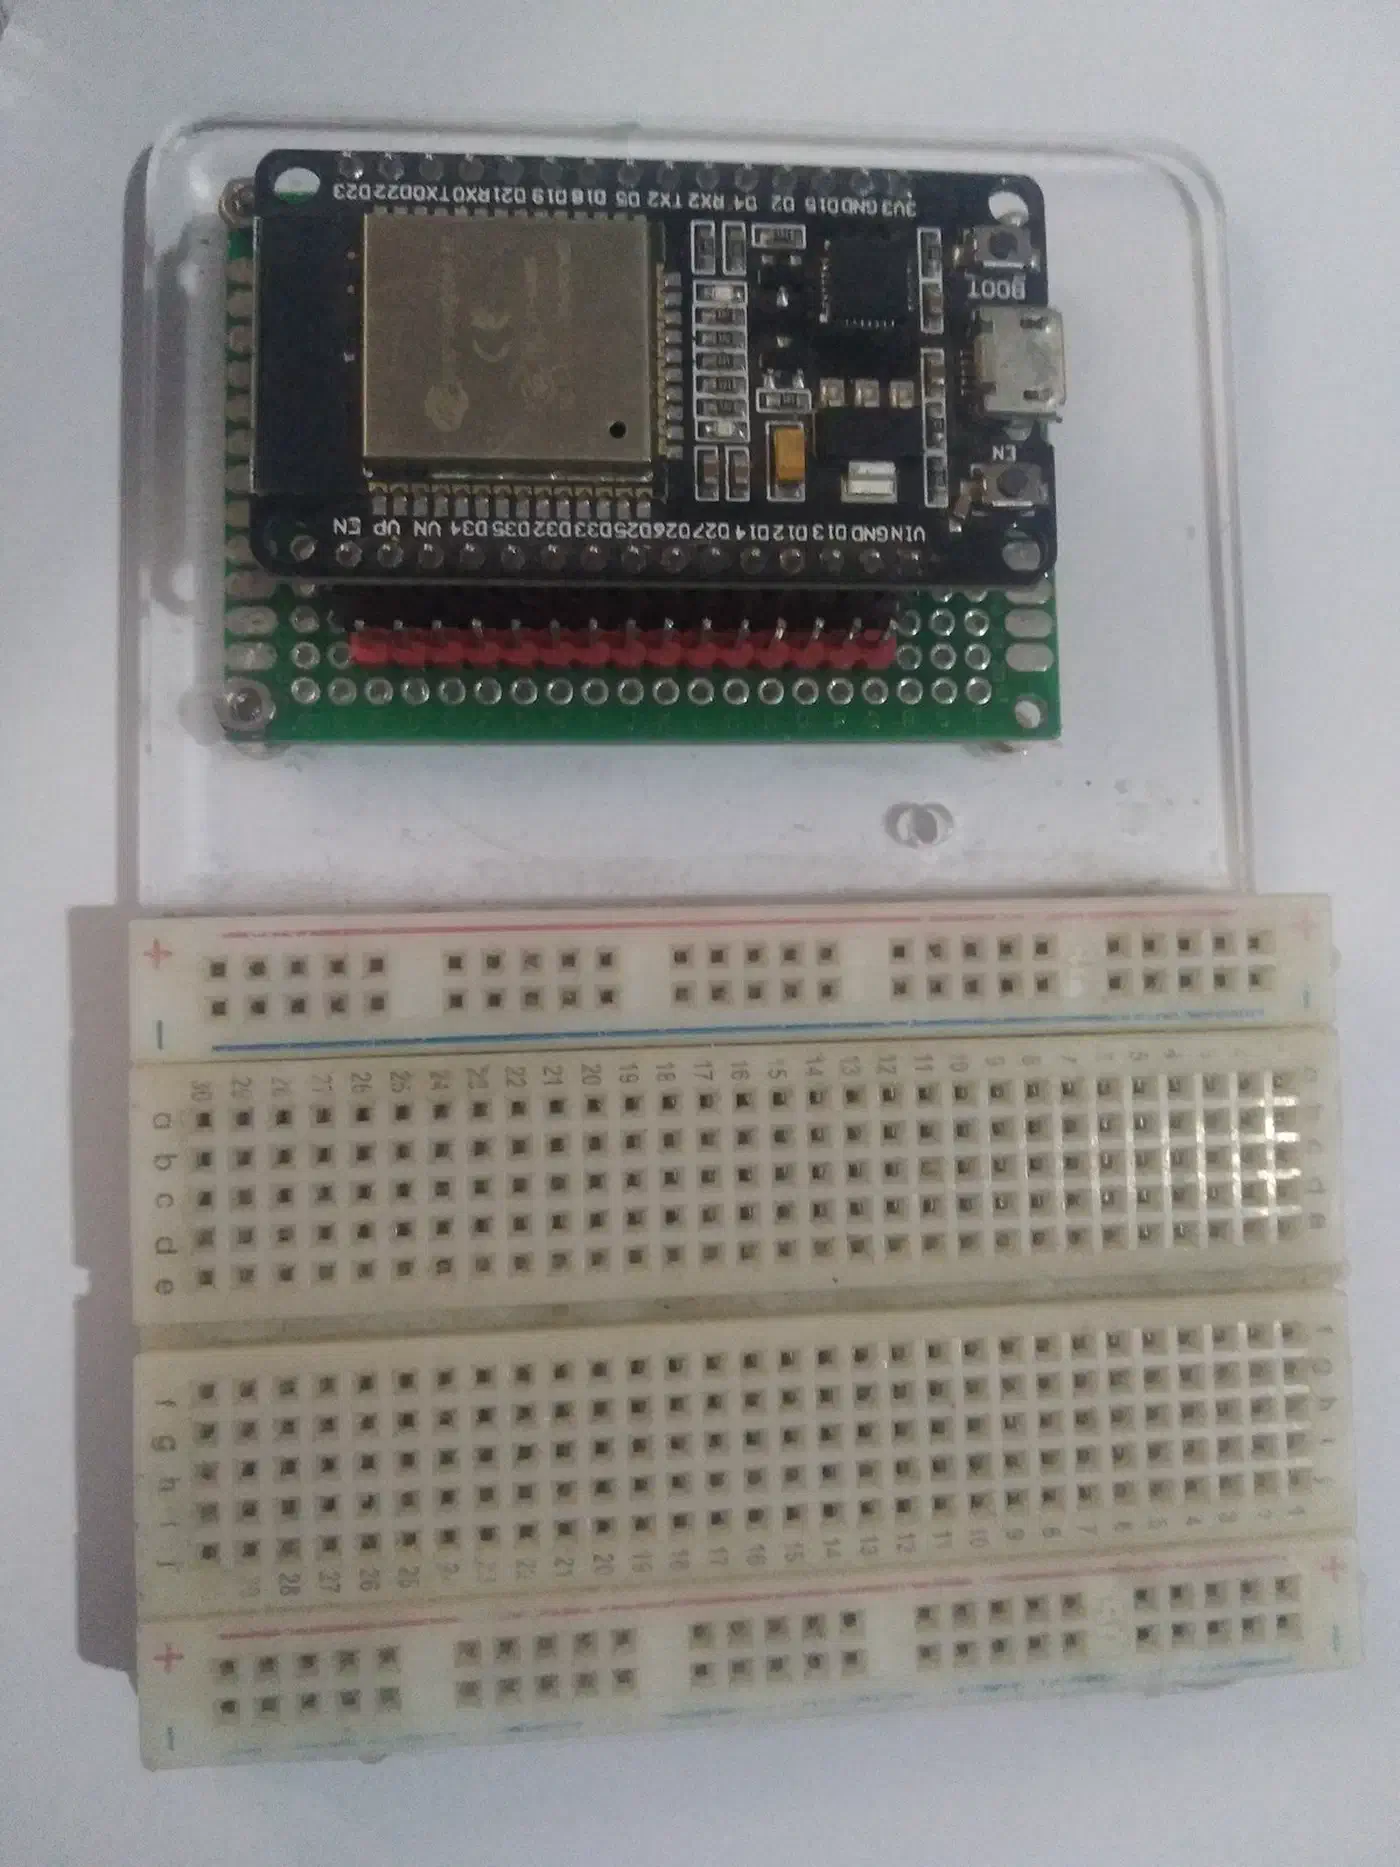
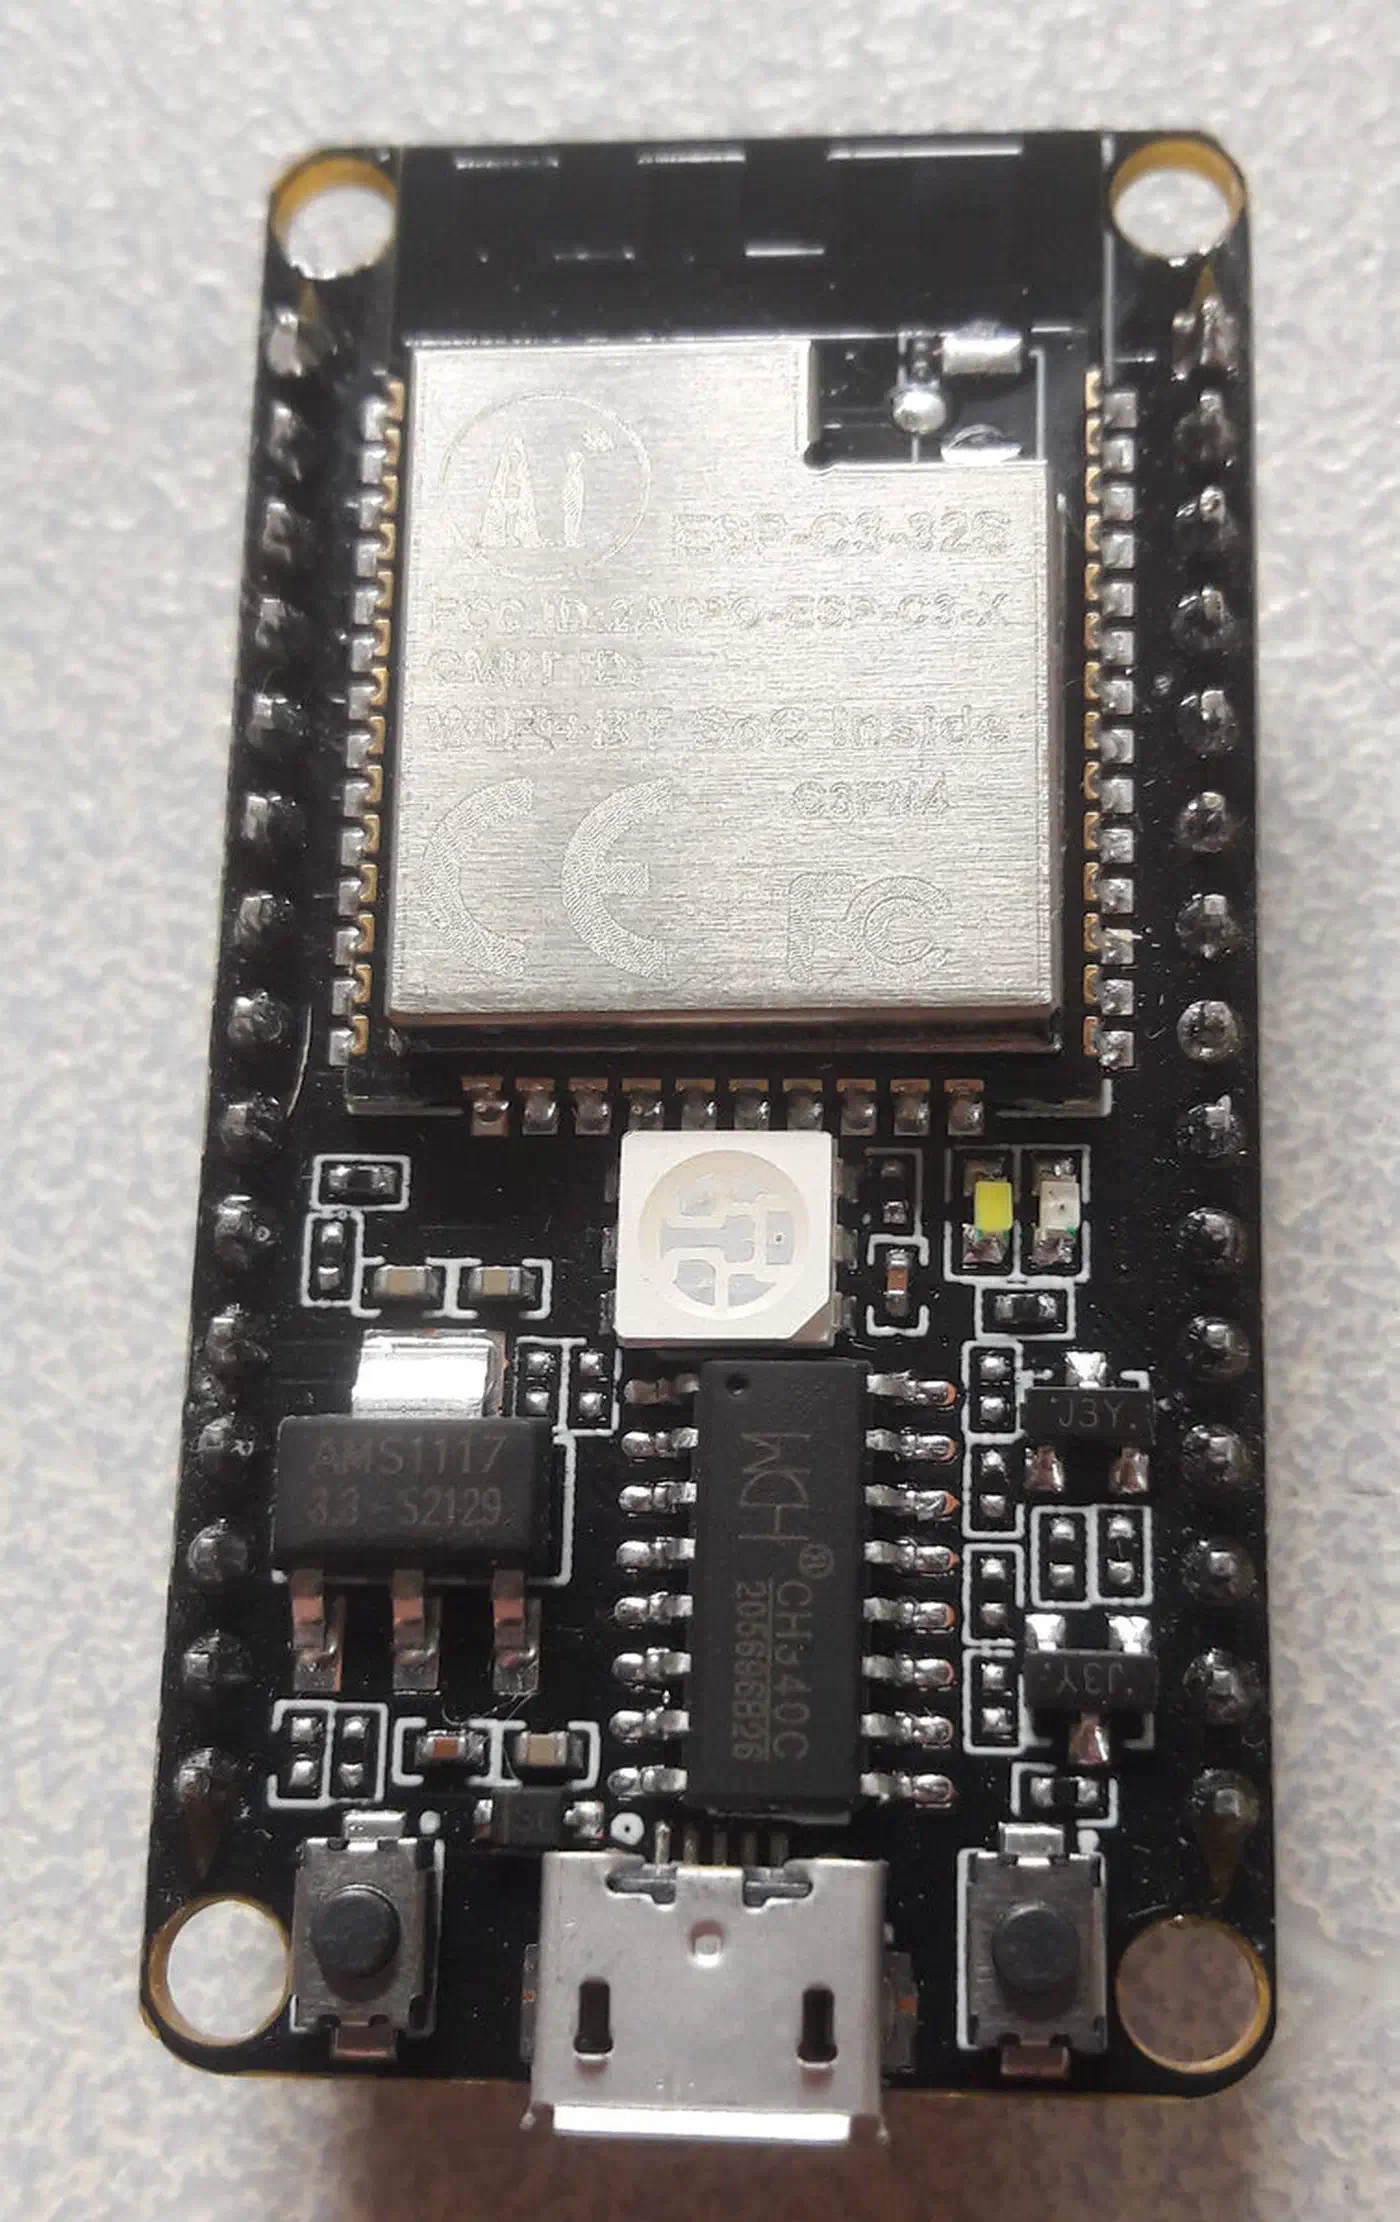
The smaller boards have their own quirks. On an ESP32-C3, GPIO2 is a strapping pin, so a probe holding a voltage there can stop the board booting at all. GPIO5 looks like a valid ADC pin in the datasheet, but ESPHome’s ADC platform does not support it and the config refuses to compile. Check your own board’s pin table before you solder; the ADC pins differ on every ESP32 variant.
Power the board over USB and keep the electronics out of the pot. Only the probe belongs in the soil, and only up to its marked line.
ESPHome configuration for a soil moisture sensor
This is the whole config for one probe. Change the WiFi details, the pin, and the two calibration voltages.
esphome:
  name: soil-sensor
  friendly_name: Soil Sensor

esp32:
  board: esp32dev

wifi:
  ssid: !secret wifi_ssid
  password: !secret wifi_password

api:
  encryption:
    key: !secret api_key

ota:
  - platform: esphome
    password: !secret ota_password

logger:

sensor:
  - platform: adc
    pin: GPIO32
    name: "Plant 1 Moisture"
    id: plant_1_moisture
    attenuation: 12db
    update_interval: 300s
    unit_of_measurement: "%"
    accuracy_decimals: 0
    filters:
      - median:
          window_size: 7
          send_every: 4
          send_first_at: 1
      - calibrate_linear:
          - 2.85 -> 0
          - 1.15 -> 100
      - clamp:
          min_value: 0
          max_value: 100
Skipping any of the three filters shows up on the dashboard.
The median filter smooths the reading. Without it the entity flickers by a few percent every update, which looks like a plant drying out and refilling every five minutes. A window of 7 sending every 4 is calm without being slow.
Volts become a percentage in calibrate_linear, and those two numbers have to come from your own probe.
Clamping keeps the output between 0 and 100, so noise never puts -3% or 107% on a card.
Add a second probe by copying the sensor block, changing the pin, the name and the id.
Calibrating your soil moisture sensor
Every probe needs its own two numbers. Here is the same nominal hardware measured three times:
| source | dry (0%) | wet (100%) |
|---|---|---|
| my units | 2.85V | 1.15V |
| a v1.2 board on GPIO32 | 2.70V | 1.20V |
| a third published build | 2.30V | 1.05V |
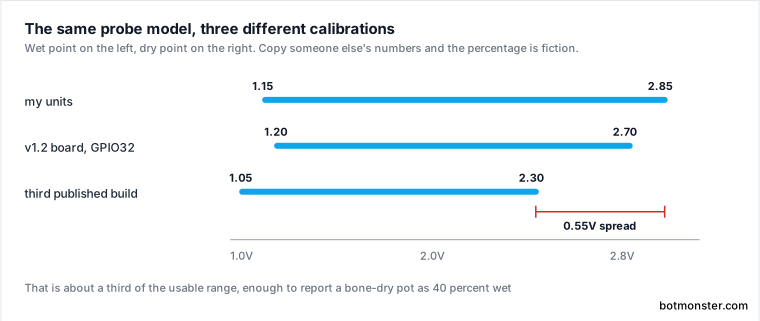
That is a 0.55V spread on the dry point alone, about a third of the usable range. Flash someone else’s numbers and a bone-dry plant can read 40% wet.
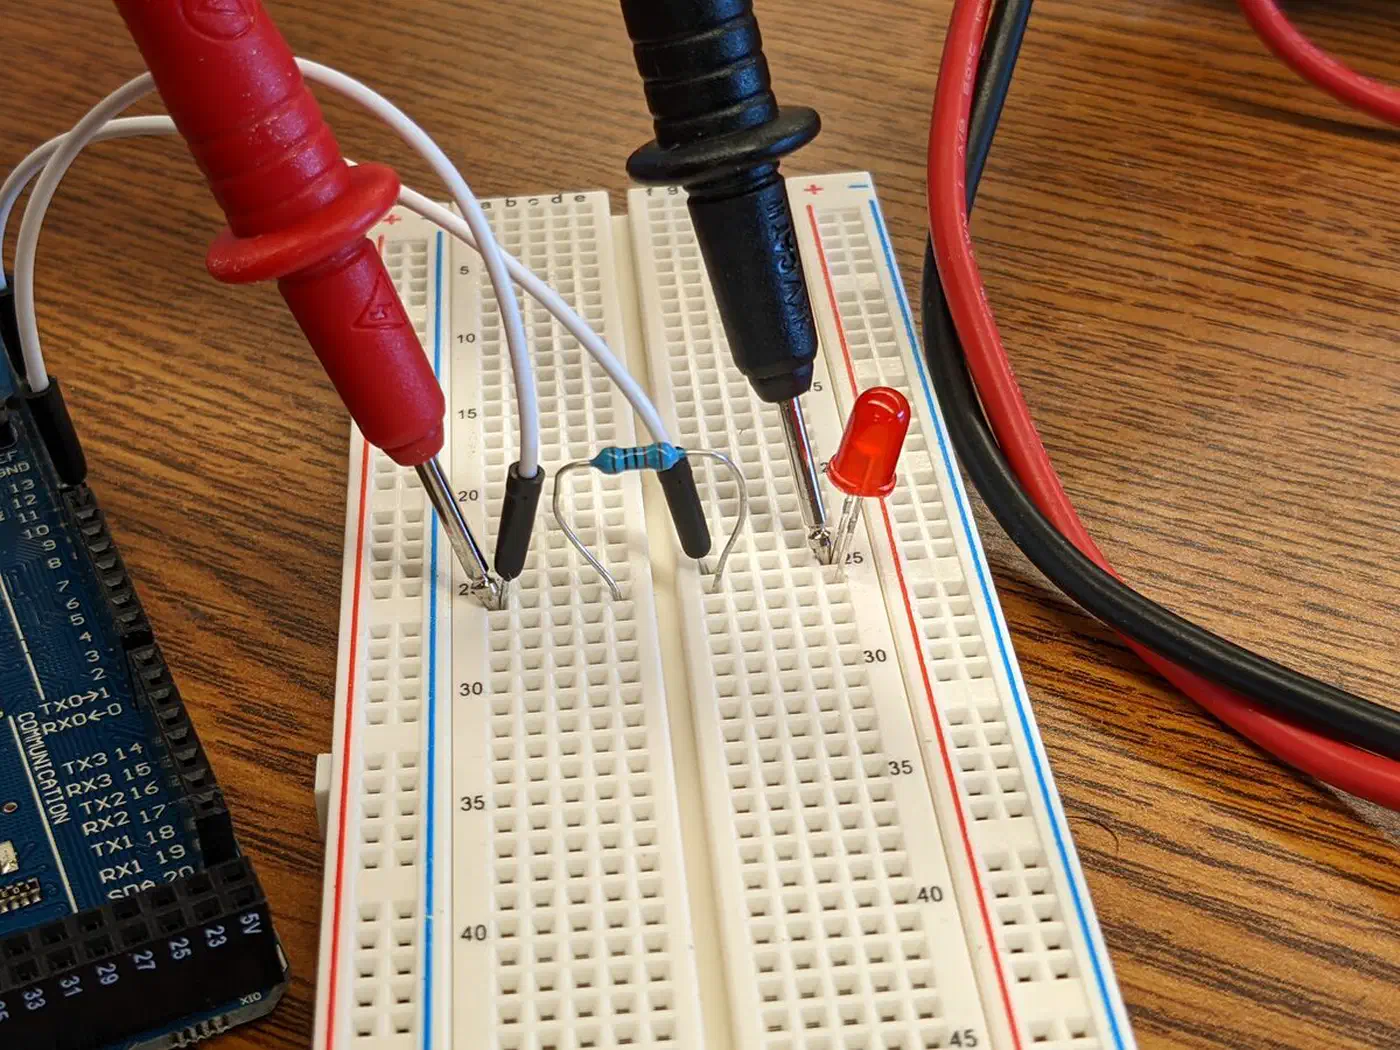
Getting your own numbers takes two minutes per probe:
- Flash the config with the generic values above.
- Hold the probe in open air, watch the ESPHome logs, and write down the voltage. That is your 0% point.
- Put the probe in a glass of water, up to its line and no further. Write down that voltage. That is your 100% point.
- Put both numbers into
calibrate_linearfor that probe.
So a probe reading 2.72V in air and 1.22V in water becomes:
- calibrate_linear:
    - 2.72 -> 0
    - 1.22 -> 100
Do not chase a clean 100%. Two points draw a straight line, but the probe’s real response is a curve, so a submerged probe usually settles at 98 or 99%. The missing percent or two is expected, and no houseplant will notice it.
Probes also drift as the coating ages. The tell is a watering peak that creeps a few percent lower each month. Pull the probe, wipe it, hold it in air, and compare against the dry voltage you wrote down. More than 0.1V of movement means it is time to redo the two points.
The same two-point calibration carries over to any analog water sensor, like a pool ORP sensor feeding readings to Home Assistant.
Testing the sensor before you trust it
Calibration gives you numbers, and a five-minute test tells you whether they mean anything.
In open air, the reading should sit at or near zero. Anything reporting 30% there means the dry calibration point is wrong.
Then submerge the probe in water, up to its line. The reading should climb into the high nineties within a few seconds, and a slow crawl indicates a dirty probe or a failing coating.
The pot test is the one to trust, because soil behaves nothing like a glass of water. Push the probe into a dry pot and note the number. Water the plant thoroughly and watch the next few updates. You want a sharp rise, then a slow decline over days.
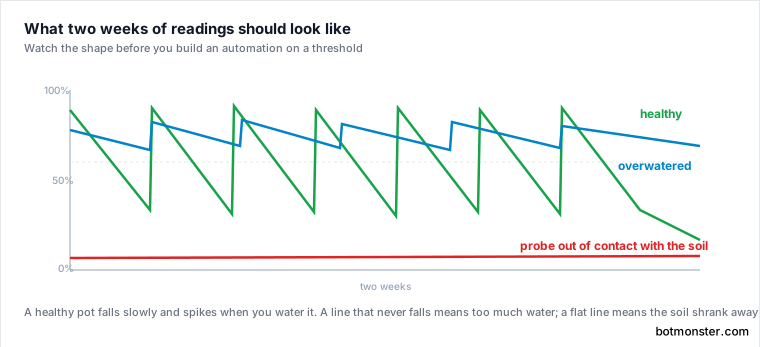
That decline is your real signal. A healthy pattern is a slow fall broken by sharp spikes when you water. A line that never drops below 60% means you are overwatering. A line that flatlines near zero between waterings means the probe is out of contact with the soil, which happens when the pot dries and shrinks away from it.
Watch one plant for a week before you build automations on top. A threshold picked from one afternoon’s readings will fire at the wrong time for months.
When the reading is stuck at 1.07V
This is the single most common failure, and it looks exactly like dead hardware.
You flash the config, open the logs, and the sensor reads about 1.07V. Lift it into the air: 1.07V. Drop it in water: 1.07V. Nothing moves it.
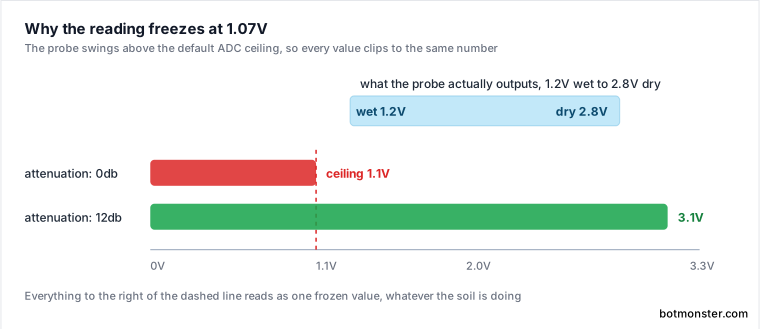
The probe is almost certainly fine. ESPHome’s ADC defaults to attenuation: 0db, which caps the measurable input at roughly 1.1V. Your probe swings between 1.2V and 2.8V, so the entire signal sits above the ceiling and gets clipped to the same value every time. One line fixes it:
attenuation: 12dbThat opens the range to about 3.1V and the readings start moving immediately. Older configs you find online may say 11db, which is the previous name for the same setting.
If 12db does not unstick it, you have either a dead probe or a damaged pin, and it is worth knowing which. Move the sensor to an ADC2 channel and turn WiFi off in the config for one test boot. ADC2 is useless with WiFi running, but for a single boot it works. If the reading moves there, the probe is fine and the original pin is damaged. If it stays frozen, replace the probe.
Watering alerts in Home Assistant
Once the sensor reports a percentage, one automation turns it into something useful:
automation:
  - alias: "Plant 1 needs water"
    trigger:
      - platform: numeric_state
        entity_id: sensor.plant_1_moisture
        below: input_number.plant_1_min_moisture
        for:
          hours: 2
    action:
      - service: notify.mobile_app_your_phone
        data:
          title: "Plant 1 needs water"
          message: >
            Moisture is at {{ states('sensor.plant_1_moisture') }}%.
The for: hours: 2 clause is what stops the nagging. Momentary noise never triggers it; only two full hours below the threshold will.
Use an input_number helper for the threshold rather than a fixed value. Then you tune each plant from the Home Assistant UI without touching YAML, and a succulent can fire at 10% while a fern fires at 35%.
Home Assistant’s built-in Plant Status card will not accept sensor.plant_1_moisture. It only takes an entity in the plant domain, and an ESPHome device produces plain sensors. Point the card at a raw sensor and you get an error.
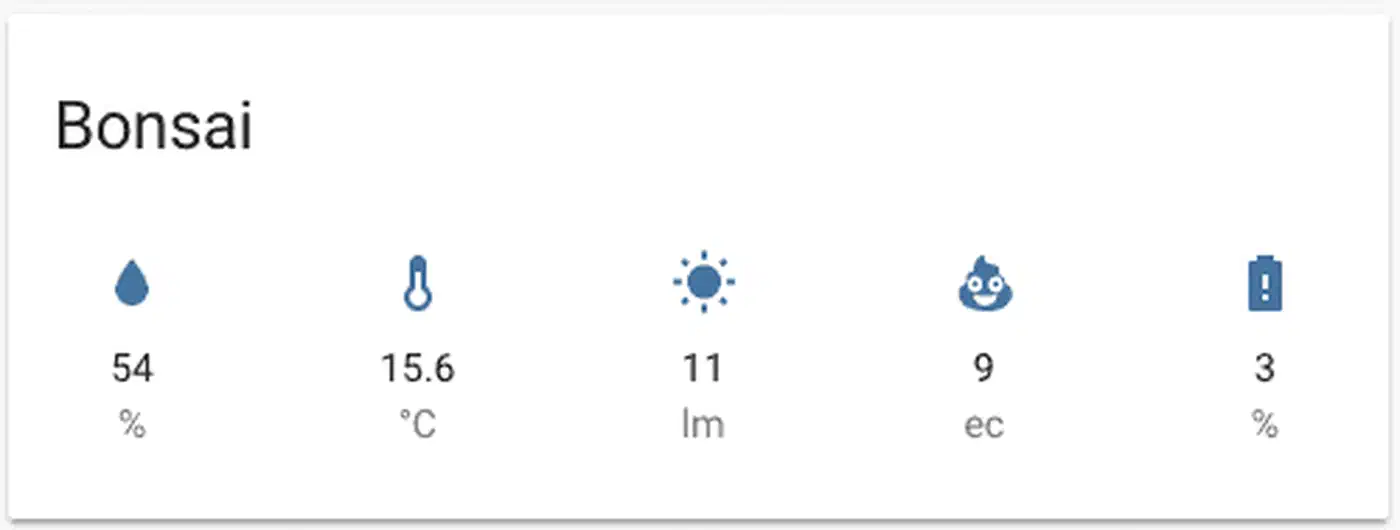
The stack that does work is Olen’s plant integration
from HACS, which creates real plant.* devices, plus OpenPlantbook
for per-species thresholds from a free account. Map your ESPHome sensor in as the plant’s moisture source and the thresholds arrive already filled in.
Running the sensor on batteries
A mains-powered board is the easy version. Put one in a plant pot across the room from a socket and the calculation changes, because the WiFi radio is what drains the battery while the probe barely registers.
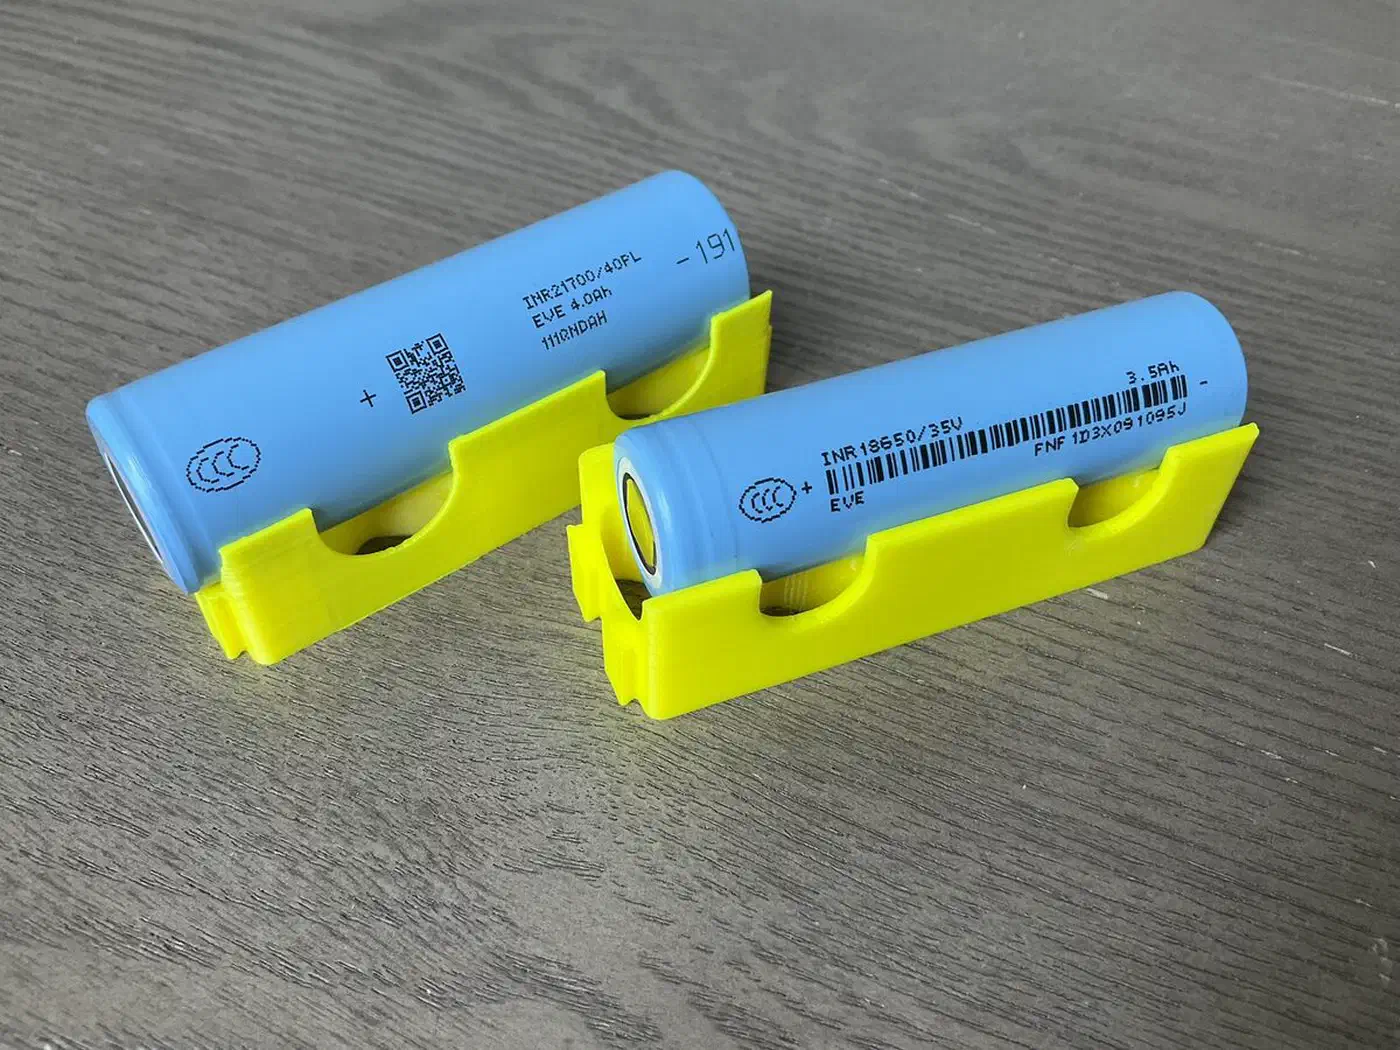
Deep sleep is the answer. The board wakes, connects, publishes one reading, and shuts down again:
deep_sleep:
  run_duration: 15s
  sleep_duration: 3h
Soil moisture moves over days, so a reading every three hours loses nothing. Flashing a sleeping board is awkward though, because it is unreachable most of the time. Add an ota safe window or keep a jumper to disable sleep while you work on it.
Two refinements are worth the extra parts. Powering the probe from a GPIO pin through a small N-channel MOSFET, rather than straight from 3.3V, means it is only energised during the fifteen-second window. That saves current and slows the corrosion that eventually kills every probe. And a dedicated fuel gauge such as the MAX17048 reports a real state of charge, where the usual voltage divider gives you a number that sags under load and reads wrong.
On an ESP32-C3 or C6 the attenuation setting is named 11db rather than 12db, so check the compile output rather than assuming the config carried over.
Ready-made ESPHome soil sensors
If you would rather not solder, two boards ship with ESPHome already on them.
The Seeed XIAO Soil Moisture Sensor is about $9.90. It pairs a XIAO ESP32-C6 with a resin-coated probe and a single AA cell, and it reports on a schedule that follows the soil: every eight hours when moisture is fine, hourly as it gets close, every fifteen minutes once dry. Seeed’s battery claims are optimistic. An independent review measured a few months rather than a year, and found the printed case is not weatherproof, so keep it indoors.
The Apollo PLT-1 is around $30 and does more: an LTR390 for light and UV, an AHT20 for air temperature and humidity, a pre-calibrated coated probe, a DS18B20 soil temperature probe, and an 18650 battery. It also acts as a Bluetooth proxy, so it earns its place in a room twice over.
Both cost more per plant than the DIY build, and both save you the calibration afternoon. Buy one if you are monitoring a single plant; wire your own if you are monitoring eight.