 Botmonster Tech
Build a Zigbee end device with ESPHome and the Nordic nRF52
As of ESPHome
2026.1.0, you can flash a Nordic nRF52840 board from a plain ESPHome YAML file and have it join Zigbee2MQTT
or Home Assistant ZHA
as a native Zigbee end device, with no custom C firmware, no Nordic Connect SDK project, and no coordinator reflashing involved. Pick a Seeed XIAO nRF52840, a Nordic nRF52840-DK, or an Adafruit Feather nRF52840 Sense, drop an nrf52: block and a zigbee: component into your config, add a binary sensor, sensor, or switch, and run esphome run sensor.yaml. The device pairs like any other battery-powered Zigbee sensor, sleeps between reports, and receives firmware updates over Zigbee itself through the new OTA path. ESPHome 2026.2 adds time sync and a number entity type on top, so end devices can timestamp their own readings and expose adjustable thresholds.
The relevant docs are the 2026.1.0 changelog , the Zigbee component page , and the nrf52 platform page .
Why Nordic nRF52 for Zigbee Instead of ESP32-H2 or ESP32-C6
ESPHome has supported Zigbee on the ESP32-H2 and ESP32-C6 for a while, so the fair question is why bother with Nordic silicon. Four things: radio pedigree, sleep current, link budget, and the specific peripherals that matter for battery-powered sensors.
Nordic’s nRF52840
has been the de-facto reference 802.15.4 radio for nearly a decade. Zigbee2MQTT dongles, Home Assistant Yellow, SkyConnect, and most OTBR hardware that hubs ship with
use Nordic silicon. The MAC and PHY behavior is well-characterized, which matters when you are debugging association failures at 2 AM with esphome logs.
The sleep current gap is where the nRF52840 pulls ahead hard. At 3.0 V in System OFF mode with RAM retention it draws around 0.4 uA, while ESP32-H2 deep sleep hovers near 7 to 10 uA. For a CR2032 or 2xAAA sensor that is the difference between six months and three years of runtime. Actual Zigbee sensor builds on the nRF52840 have measured around 16 uA average after the stack settles into a steady state, and around 410 uA average for a typical polling profile, which translates to roughly 200 to 300 days on a CR2032 or multiple years on an 18650.
On receive sensitivity, the nRF52840 delivers around -103 dBm at 250 kbps O-QPSK, versus about -96 dBm on the ESP32-H2. That 7 dB headroom translates into fewer dropped reports through interior walls or across a detached garage. If you have ever had a door sensor that works fine on the bench and then falls off the mesh after you install it behind drywall, link budget is usually the reason.
The peripheral set also leans toward the Nordic part for battery sensors. The nRF52 has a true low-power comparator (LPCOMP), a built-in SAADC with straightforward offset calibration, and QSPI for external flash, which is useful for OTA staging without burning internal flash cycles. The ESP32-H2 has no LPCOMP and no QSPI at all.
Where the Espressif parts still win: Wi-Fi coexistence on the C6, cheaper dev boards, familiarity for existing ESPHome users, and the ability to run Matter-over-Wi-Fi alongside Zigbee on the same chip. For a mains-powered smart switch where current draw does not matter, the ESP32-C6 is still the right call. For anything running off a coin cell or AAA pair, the nRF52 now wins on paper and in the lab.
Hardware Selection and Flashing Setup
ESPHome 2026.1 validates three nRF52840 boards, and two of the three flash with no external hardware at all.
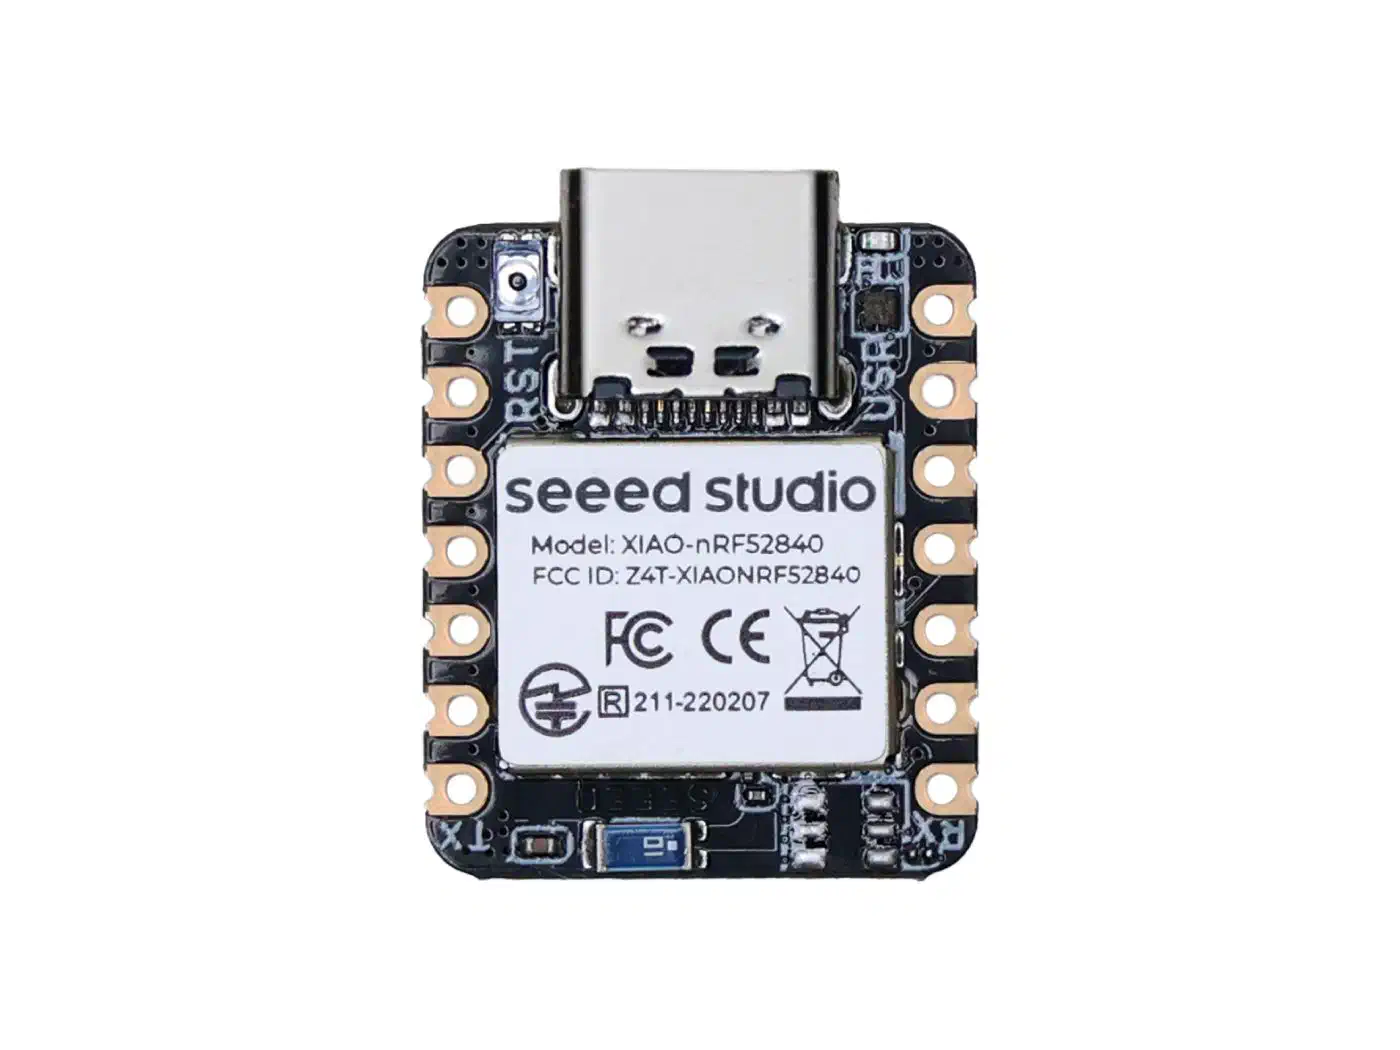
The Seeed XIAO nRF52840
is the smallest of the three at roughly 10 dollars. It ships with the Adafruit nRF52 UF2 bootloader, so flashing is a double-tap of the reset button followed by a drag-and-drop of the .uf2 file that esphome compile produces. It is the right starting point for button sensors, wearables, and door sensors. The Sense variant adds an LSM6DS3TR-C IMU, a PDM microphone, and an LIS3MDL magnetometer, all of which already have existing ESPHome component support that now works under the nRF52 platform.
The Nordic nRF52840-DK (board ID PCA10056) runs around 50 dollars and is the Nordic reference board. It has an onboard SEGGER J-Link OB, four buttons, four LEDs, and Arduino headers. Pick this one if you want in-circuit debugging with probe-rs or nrfjprog, the ability to read RAM during sleep cycles with RTT, or if you just want a proper debugger attached while porting a tricky sensor driver.
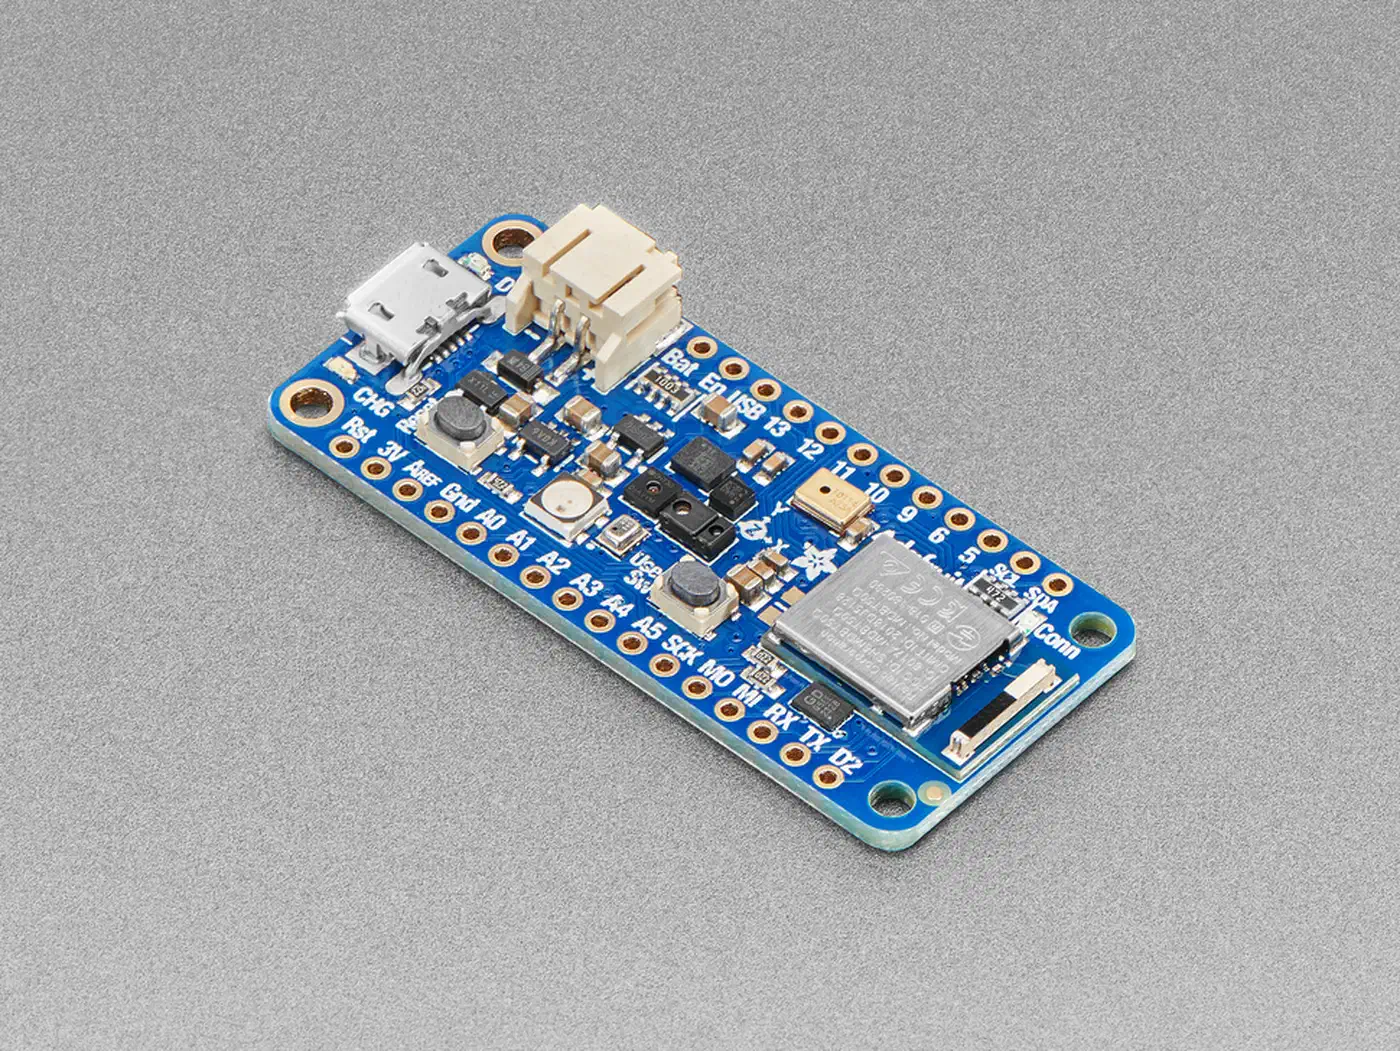
The Adafruit Feather nRF52840 Sense sits between the two. It includes a LiPo charging circuit, a built-in BME280-class environmental sensor package, and a STEMMA QT connector. It is the fastest path to a battery-powered Zigbee sensor that looks finished with no soldering.
ESPHome 2026.1 documents two upload protocols: pyocd for any board with an SWD connection (including the DK or any bare module paired with a cheap ST-Link V2), and usb via the Adafruit bootloader’s USB CDC DFU mode. The XIAO and the Feather both fall into the second group. Supported bootloader values on the nrf52: block include mcuboot, adafruit, and several Adafruit variants tied to specific SoftDevice versions.
The bootloader catch: if you buy a bare nRF52840 module from AliExpress or a cheap breakout without a bootloader, you will have to flash the Adafruit or Nordic bootloader yourself using a J-Link or an ST-Link with blackmagic or openocd. ESPHome cannot bootstrap this step for you. For a first build, spend the extra few dollars on a board that ships with the bootloader preinstalled.
A XIAO nRF52840 plus a cheap CR2032 breakout is the fastest route from “package arrived” to “sensor in Home Assistant” and costs under 15 dollars total.
ESPHome YAML for a Zigbee End Device
The new nrf52: platform block replaces esp32: or esp8266: and takes board:, framework:, bootloader:, and a few optional keys. The framework block selects the nRF-SDK version: 2.6.1-7 is the stable default, 2.9.2-0 is experimental, and 3.2.0-0 is experimental without Zigbee support, so for this work you want the default or 2.9.2.
The zigbee: component takes a role, a manufacturer string, a model string, and optional keys for the OUI and power source. Those two strings are what shows up in the Zigbee2MQTT device list, so pick something descriptive. The maximum number of endpoints is eight, which covers most realistic multi-function sensors.
On day one of 2026.1, four entity types are exposed to Zigbee:
| ESPHome entity | Zigbee cluster | Notes |
|---|---|---|
binary_sensor | On/Off | Maps GPIO states directly |
sensor | Analog Input | Automatic unit mapping |
switch | On/Off (server) | Writable, can be controlled from HA |
number | Analog Output | Available from 2026.1, min/max/step honored |
Any component without a name is treated as internal and is not exposed, which is the escape hatch for staying under the eight-endpoint limit when your config has a lot of helper entities.
Here is a minimal temperature-puck config that compiles, flashes, and pairs:
nrf52:
  board: xiao_ble
  framework:
    version: 2.6.1-7
  bootloader: adafruit

zigbee:
  role: end_device
  manufacturer: "Botmonster"
  model: "XIAO-TempPuck-1"
  power_source: BATTERY

sensor:
  - platform: adc
    name: "Battery Voltage"
    pin: P0.04
    update_interval: 15min
    attenuation: 1/6
A reed-switch door sensor is almost as short:
binary_sensor:
  - platform: gpio
    name: "Front Door"
    device_class: door
    pin:
      number: P0.11
      mode:
        input: true
        pullup: true
Wake-on-pin-change is automatic for GPIO binary sensors when the pin is configured for input with a pull resistor, so the reed switch can wake the MCU out of System OFF the moment the door opens.
Building and flashing is one command: esphome run sensor.yaml. ESPHome compiles a .uf2, detects a UF2 bootloader mass-storage device when it appears (the XIAO volume is labelled XIAO-BOOT), and copies the firmware across. If you prefer the two-step workflow, esphome compile sensor.yaml produces the .uf2 under .esphome/build/<name>/zephyr/ and you can drag it to the bootloader volume yourself.
ESPHome 2026.1 does not expose the Zigbee Green Power proxy or the Touchlink commissioning cluster, so these are Home-Assistant-style commissioning devices only. That is fine for 99 percent of DIY sensors.
Pairing With Zigbee2MQTT or Home Assistant ZHA
Once the device is flashed, the next job is getting it to show up correctly in your coordinator. Both major stacks handle this cleanly, with a few known quirks per stack.
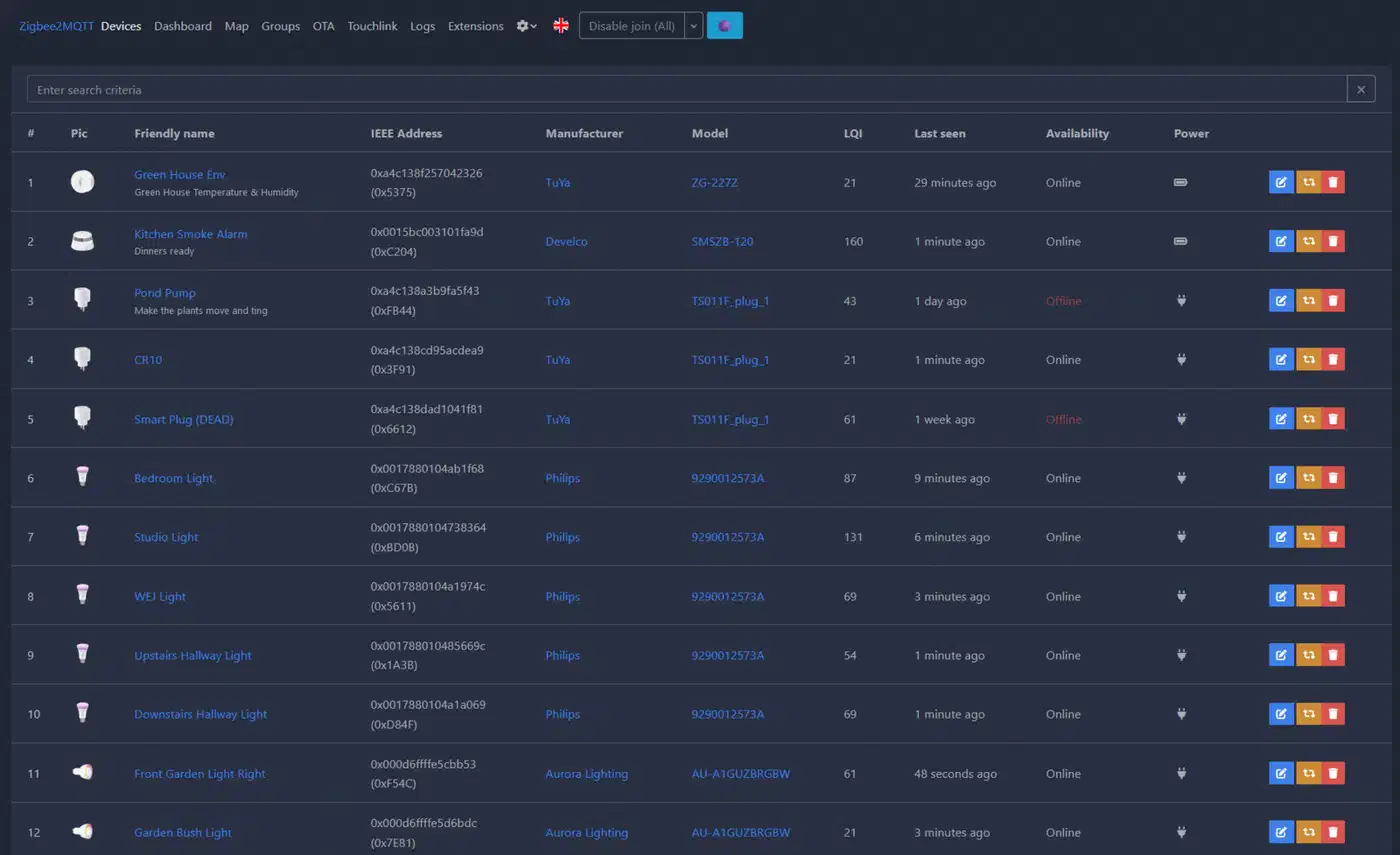
Zigbee2MQTT 2.x accepts unknown devices by default. A freshly-paired ESPHome nRF52 device shows up immediately with the manufacturer and model strings you set, and the exposed clusters are visible on the device page. You do not strictly need a converter to read values, but if you want tidy entities in Home Assistant, write an external converter.
Drop a file at data/external_converters/botmonster-temppuck.js:
const {temperature, battery} = require('zigbee-herdsman-converters/lib/modernExtend');

module.exports = {
  zigbeeModel: ['XIAO-TempPuck-1'],
  model: 'XIAO-TempPuck-1',
  vendor: 'Botmonster',
  description: 'DIY XIAO nRF52840 temperature puck',
  extend: [temperature(), battery()],
};
Restart Z2M and the device will re-enumerate with the cleaner layout.
The ZHA path relies on the zigpy
quirks system. ZHA recognizes the Analog Input and On/Off clusters automatically, but for a clean device name and icon you want a zha-device-handlers quirk with a signature block matching the endpoint IDs ESPHome emits. For single-endpoint devices, ZHA 2024.1 and later handles this with no quirk at all, so the temperature puck above just appears as a sensor.
On install codes versus open-network pairing: ESPHome generates a random install code at first boot and prints it over USB CDC. Copy-paste it into the Z2M “Permit join (with code)” dialog or the ZHA “Add via install code” flow for secure commissioning. On a trusted home network, open-network pairing is faster, and zigbee: { permit_join: true } on the coordinator side is usually all you need.
Debugging pairing failures got much easier in 2026.1. esphome logs sensor.yaml streams Zephyr zb_nrf logs over USB CDC, so you can see exactly which step of the association handshake is failing: beacon request, association request, TC link key exchange, or the final device announce. Long association times with no useful log output almost always mean Wi-Fi contention on Zigbee channel 11. Channels 15, 20, and 25 remain the usual Wi-Fi-quiet choices in 2026. If you are weighing the case for staying on Zigbee long-term
, our 2026 breakdown walks through it.
If you are migrating from an existing Sonoff or Aqara sensor, delete the old entity from the coordinator first. Both Z2M and ZHA will happily reuse the old entity ID for your new DIY sensor, which is rarely what you want, and the resulting state history ends up a mess.
Battery Life, Sleep Modes, and OTA Updates
Battery-powered Zigbee end devices succeed or fail based on sleep strategy. The difference between a first build that lasts three weeks and one that lasts three years is almost entirely in the sleep config.
The end-device polling model works like this: the device wakes, polls its parent router for buffered downstream messages, reports any changed attributes, and goes back to sleep. The default poll interval in ESPHome 2026.1 is 7.5 seconds, which matches the Zigbee spec default. Bumping it to 60 seconds roughly quadruples battery life at the cost of command latency. For a temperature sensor reporting every 15 minutes, 60 seconds of poll latency is fine. For a door sensor where you want the hall light to turn on immediately, leave it at the default.
The three keys that matter on the zigbee: block are sleepy: true, poll_interval: 60s, and keep_alive: 2h. Together they drop the device from router-class power draw to coin-cell-for-years territory. On the nrf52: platform block, sleep_mode: system_off_ram_retention drops the chip to roughly 0.4 uA between polls. The RTC and retained RAM keep the Zigbee network state across sleeps, so no re-association is needed on wake, which is what makes the low duty cycle actually work.
For a rough runtime estimate, a XIAO nRF52840 with a 1200 mAh LiPo reporting temperature every 15 minutes should land near 2.5 years. On a CR2032 with its typical 220 mAh capacity, the same config comes in closer to 8 to 12 months. Treat these as ballpark: actual runtime depends heavily on parent link quality, since a device with a weak link retransmits more often, and retransmissions burn a lot of charge.
OTA over Zigbee is the other big 2026.1 addition. An ota: block with platform: zigbee uses the standard Zigbee OTA cluster. Updates are pushed from the Z2M “OTA update” button or the ZHA zha.issue_zigbee_cluster_command service, stream into the nRF52’s QSPI staging area, and get swapped in on the next reboot. The wipe_on_boot: once option on the zigbee: block is critical here. It wipes network settings on first boot but preserves them across OTA updates, so your device stays joined to the mesh across firmware changes.
The 2026.2 release adds two things to watch for. Time sync via the Zigbee Time cluster lets end devices timestamp their own readings without polling Home Assistant. The number entity mapping to the Zigbee Analog Output cluster gives you adjustable thresholds and setpoints that survive reboots.
Always enable hardware_watchdog: 60s on the nrf52: block. A stuck Zephyr thread will then reboot the device instead of silently draining the battery in a busy loop. Several early adopters of the 2026.1 beta reported exactly this failure mode, and the watchdog catches it with no further code.
Between the native ESPHome YAML, Nordic’s sleep current, the mature 802.15.4 stack on the nRF52, and OTA over the Zigbee mesh itself, DIY Zigbee sensors no longer require the Nordic Connect SDK or months of Zephyr tuning. If you already run Home Assistant with a Zigbee coordinator, a temperature puck or door sensor is now a one-file project with multi-year battery life as the default result.