 Botmonster Tech
Turn a cheap wall-mounted tablet into your smart home command center

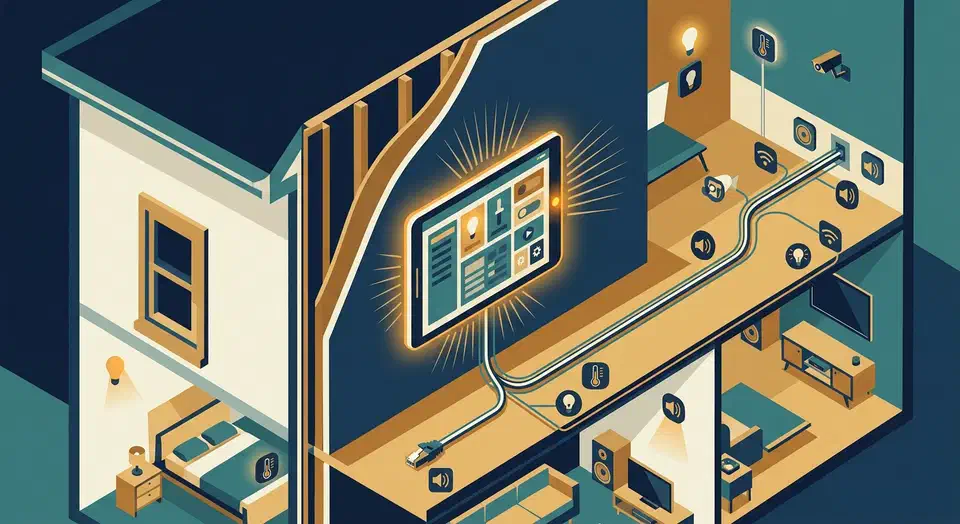
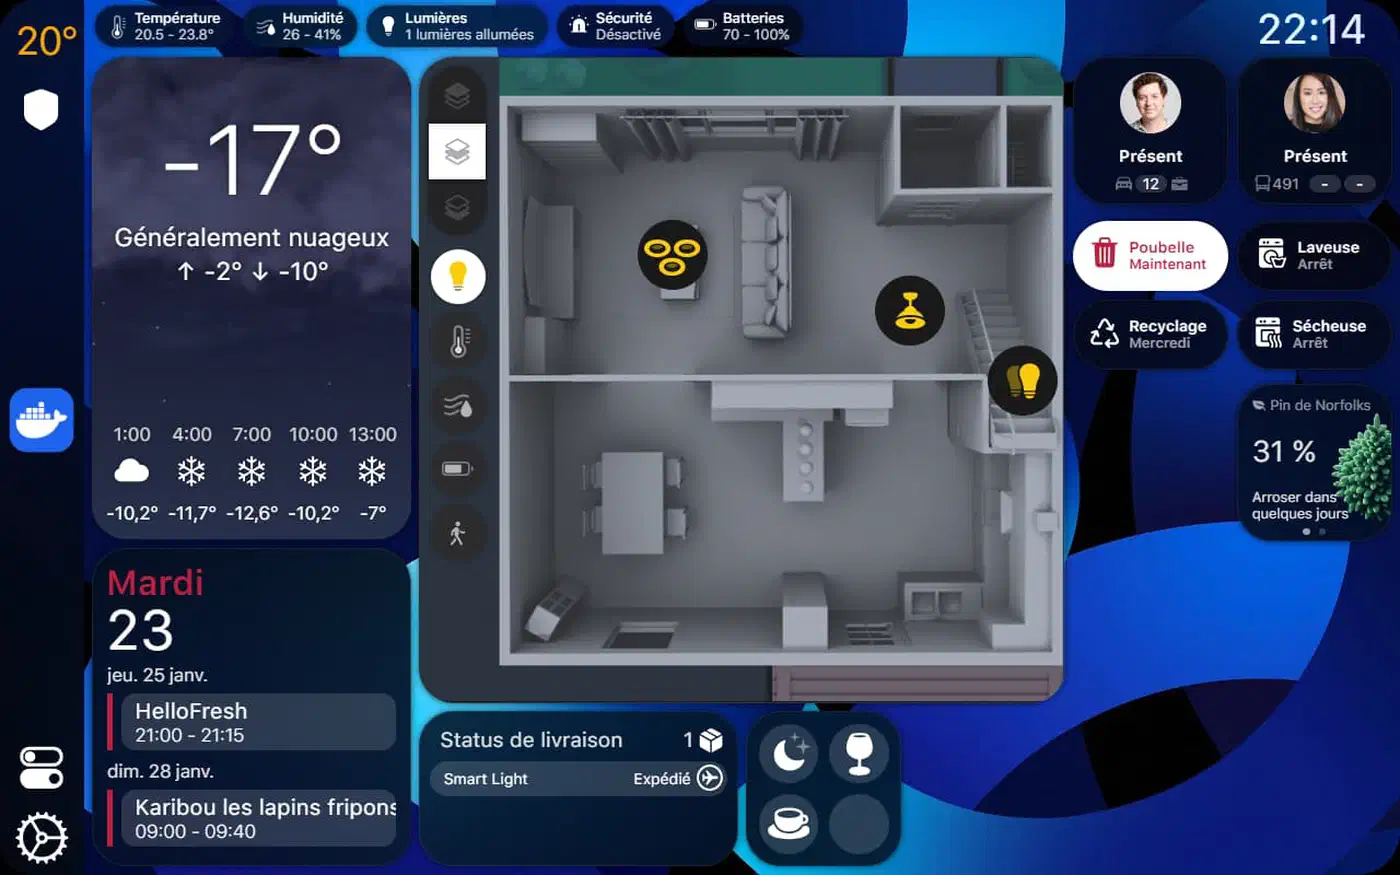
A wall-mounted tablet running Home Assistant on top of Fully Kiosk Browser gives you an always-on, touch-controlled smart home panel in every room for under $150 per location, with no proprietary hardware or subscription involved. Pick a 10-inch Android tablet, power it through Power over Ethernet (PoE) or a concealed USB-C cable, lock it to your Lovelace dashboard, and you end up with the same class of control panel Control4 sells for over a thousand dollars per room, built from off-the-shelf parts and a weekend of work.
This guide covers the four things that matter for a good wall panel: which tablet to buy, how to mount and power it cleanly, how to configure the kiosk software, and how to design a dashboard that actually works at arm’s length on a wall. If you want the same data to blend into the room instead, a DIY smart mirror hides the screen behind two-way glass.
Choosing the Right Tablet
Not every tablet makes a good wall panel. The device will be on for years, displaying mostly the same content, often charging continuously. You want a matte IPS panel (not AMOLED, which burns in), enough RAM to keep a complex dashboard snappy, a good ambient light sensor for auto-dimming, and - ideally - USB-C so you can use cheap off-the-shelf cables.
Here are the picks worth considering in 2026:
| Tablet | Display | RAM | Approx. price | Notes |
|---|---|---|---|---|
| Amazon Fire HD 10 (2025) | 10.1" 1080p IPS | 3 GB | $100 | MediaTek MT8186A, sideload Fully Kiosk APK, remove ads |
| Lenovo Tab M11 | 11" 1920x1200 IPS 90Hz | 4 or 8 GB | $130-180 | Stock Android 13, ambient light sensor, good long-term choice |
| Samsung Galaxy Tab A9+ | 11" 1920x1200 LCD | 4 or 8 GB | ~$200 | Samsung Knox for lockdown, solid build, LCD (not AMOLED) |
| Geekland 10-inch PoE | 10" IPS | 2-4 GB | ~$300 | Purpose-built PoE tablet, in-wall flush mount, single Ethernet cable |
The Amazon Fire HD 10 is the price-to-performance champion for this job. The 2025 model bumped RAM to 3 GB and moved to an octa-core MT8186A chipset, which is enough to run a Mushroom-heavy dashboard without stutters. The catch is Fire OS: you cannot install Fully Kiosk from the Amazon Appstore, so you will have to sideload the APK from the developer’s site. Remove the lock-screen ads once during first setup and the tablet behaves like any cheap Android slate. If you have an older Android phone rather than a tablet, it can serve the same purpose — our guide on repurposing old Android phones as dashboards covers the setup with Fully Kiosk in detail.
The Lenovo Tab M11 is what I recommend for anyone willing to spend a bit more. It runs stock Android 13, has a proper 90 Hz IPS panel at 1920x1200, and ships with an ambient light sensor that Fully Kiosk can read. At sale prices it often drops to around $130, which puts it in the same bracket as the Fire HD 10 but with none of the sideloading friction.
If you want the cleanest possible install, Geekland makes purpose-built PoE tablets with built-in Ethernet and 802.3af power. The original 5-inch GK-Q5-POE was discontinued in early 2025, but their 6-inch, 7-inch, 10-inch, and 14-inch models are still in production. They cost more than a consumer tablet, but a single Cat6 cable handles data, power, and mounting alignment at once. For new construction or serious renovations, this is the right choice.
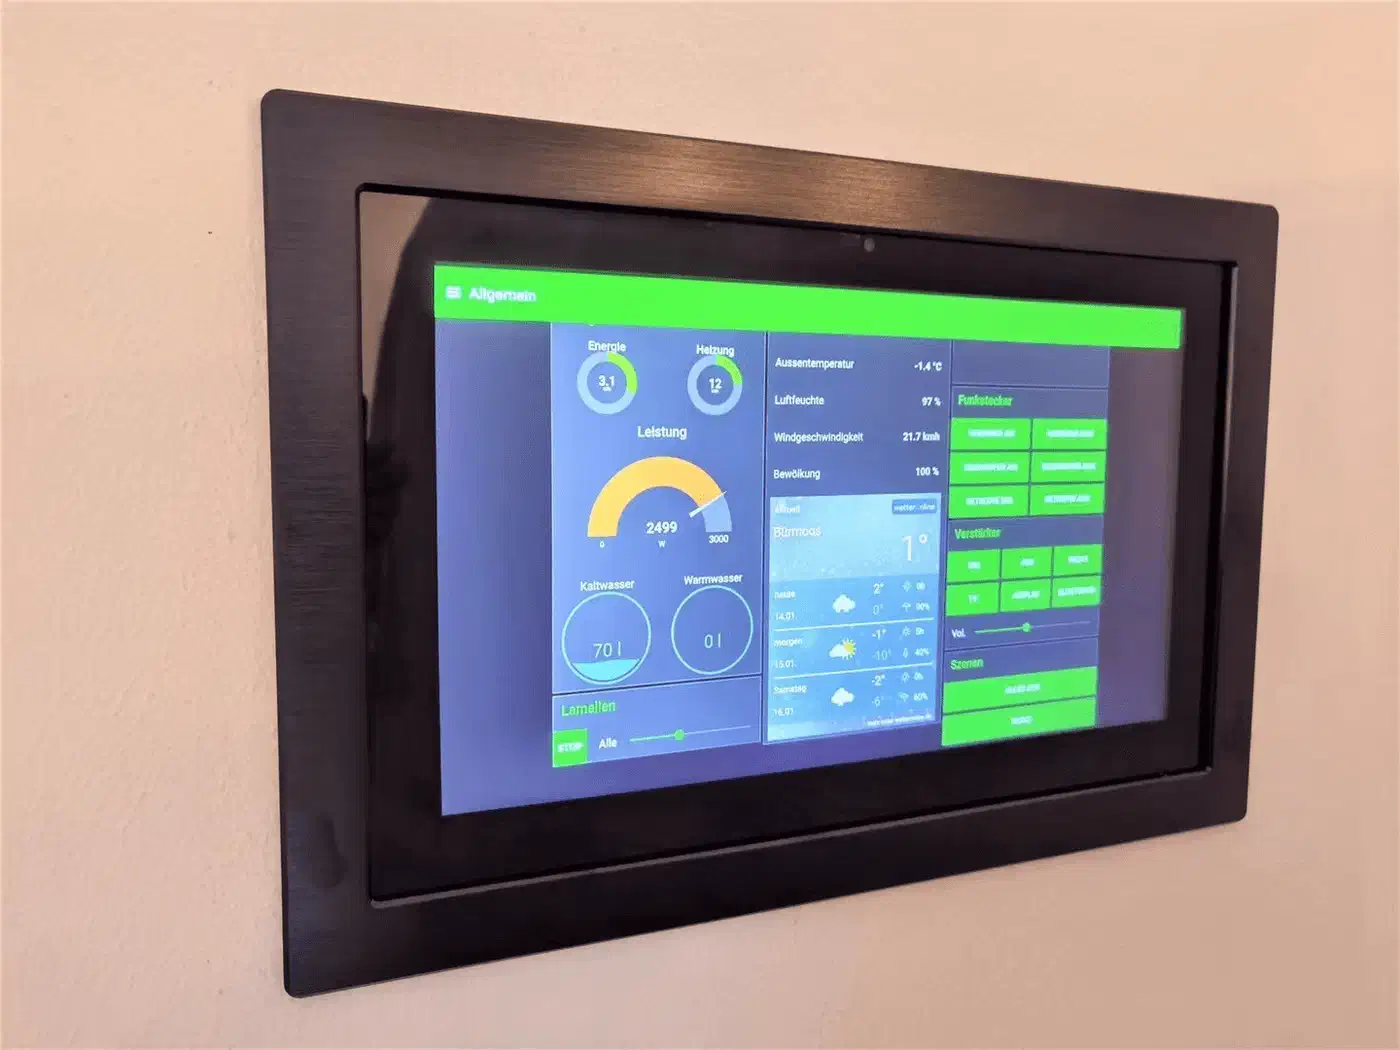
A word on displays: avoid OLED and AMOLED for 24/7 panels. Burn-in is real when the same dashboard is on screen for months at a time. IPS LCDs with a matte finish look great and will still be usable in five years. Also avoid anything with less than 3 GB of RAM. A dashboard with live camera thumbnails, graphs, and weather animations will grind to a halt on a 2 GB tablet within days of uptime.
Mounting and Power Solutions
The install is where a wall panel goes from hobbyist to polished. Three approaches cover most situations.
The easiest retrofit is a concealed USB-C cable. Buy a flat USB-C cable, fish it through the drywall from the mounting location down to an outlet behind the baseboard or inside a nearby cabinet, and mount the tablet with a 3M VHB or screw-on holder. Brands like VidaMount and Viveroo make purpose-built brackets for popular tablet models for $20 to $50. Take this route if you already have the tablet and just want it on the wall by Sunday.
Power over Ethernet is cleaner. If you already have a PoE switch, or can add a $15 PoE injector, run a single Cat6 cable to the mount location. A PoE splitter like the UCTRONICS USB-C PoE Splitter (about $20) takes the 48 V PoE input and outputs 5 V at 2.4 A over USB-C plus gigabit Ethernet on a separate RJ45. The splitter is small enough to hide inside a low-voltage old-work wall box. One cable, no visible wiring, and the tablet stays on whatever VLAN your smart home devices already live on, which is handy for network segmentation.
The premium install uses a purpose-built PoE tablet. A Geekland unit eliminates the splitter entirely: you terminate an Ethernet cable inside a gang box and the tablet snaps into a flush mount. These fit into standard US or EU electrical boxes and look indistinguishable from a commercial wall panel.
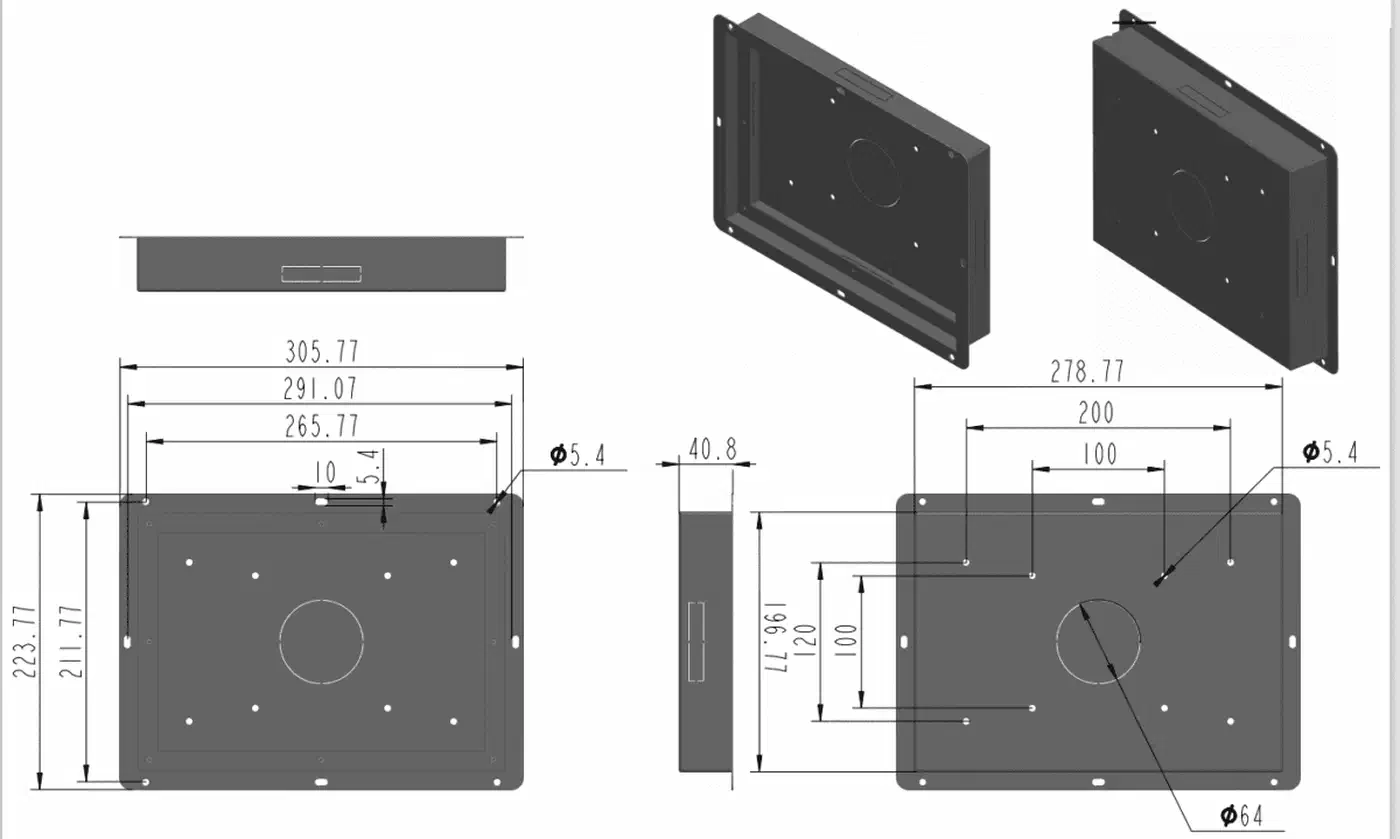
For mounting height, put the center of the screen at 48 to 54 inches off the floor for standing use. Drop it to 36 to 42 inches if the location is meant for seated or wheelchair access. Always install a low-voltage old-work box behind the mount so cables and splitters stay hidden. A blank wall plate can trim the exposed gap around the tablet frame.
One more thing that trips people up: configure the tablet to keep the screen on while charging (Android developer option) before anything else. If the screen sleeps the normal way, every power cycle leaves you staring at a lock screen. Fully Kiosk will also take over wake behavior, but the Android-level setting is a belt-and-suspenders guarantee.
Configuring Fully Kiosk Browser
Fully Kiosk Browser is a paid app that turns any Android device into a dedicated dashboard kiosk. The PLUS license costs around 6.90 EUR (roughly $8) per device as a one-time purchase - not a subscription - and unlocks the features that matter for Home Assistant: motion detection, brightness control, the REST API, and MQTT. You can try it free to confirm it works on your hardware; the unlicensed version just displays a watermark.
Install it from the Play Store on devices with Google services, or sideload the APK from the Fully Kiosk site on Fire tablets. Point the start URL at your Home Assistant dashboard, for example http://homeassistant.local:8123/lovelace-wallpanel/0 if you make a dedicated dashboard named wallpanel.
The settings worth changing on first launch:
- Kiosk mode: disable the navigation bar, the status bar, the volume buttons, and app switching. Set an unlock PIN so guests cannot accidentally drop out of the dashboard.
- Screen management: enable auto-brightness using the ambient light sensor, set screen-off timeout to 2-5 minutes, and configure the dim-to-10% screensaver for overnight.
- Motion detection: turn on the front camera for motion-based wake. Walk past the tablet and the screen lights up; stand still for a minute or two and it fades to the screensaver.
- Remote administration: enable Fully Remote Admin on port 2323 with a password. This unlocks the REST API that Home Assistant’s official integration uses.
- MQTT: in the MQTT section, point it at your broker. The tablet publishes battery, screen state, charging, and motion events as MQTT topics that Home Assistant picks up automatically.
Once Remote Admin is on, add the Fully Kiosk Browser integration
in Home Assistant. It exposes the screen as a light entity (so you can set brightness the same way you set a lamp), plus switches for the screensaver and kiosk lockdown, and sensors for battery, charging, and WiFi. From that point on the tablet is just another Home Assistant device you can automate.
If you want to try the free route first, WallPanel is an open-source alternative with fewer features but no license. It lacks some of the polish - notably the brightness API and MQTT state reporting are more limited - but it is a fair starting point to prove your hardware works before paying for Fully Kiosk.
Designing the Dashboard for Wall Use
A wall dashboard is not a phone dashboard. You are looking at it from 3 to 6 feet away, often glancing for half a second, and tapping with a whole finger rather than a precise touch. The design rules change.
Start with a dedicated Lovelace dashboard for the tablet, not a shared one. In Home Assistant, go to Settings > Dashboards > Add Dashboard and name it something like Wall Panel. Mark it as admin-only if you want, and set the start URL in Fully Kiosk to point directly at it. This keeps the layout from being disturbed by whatever you did on your phone last night.
The card library of choice is Mushroom . Its cards are deliberately large, high-contrast, and glanceable, with clean icons and short labels. Combine them with Bubble Card for popup controls - tapping a room opens a sheet with light brightness, climate, and media controls without navigating away from the main screen.
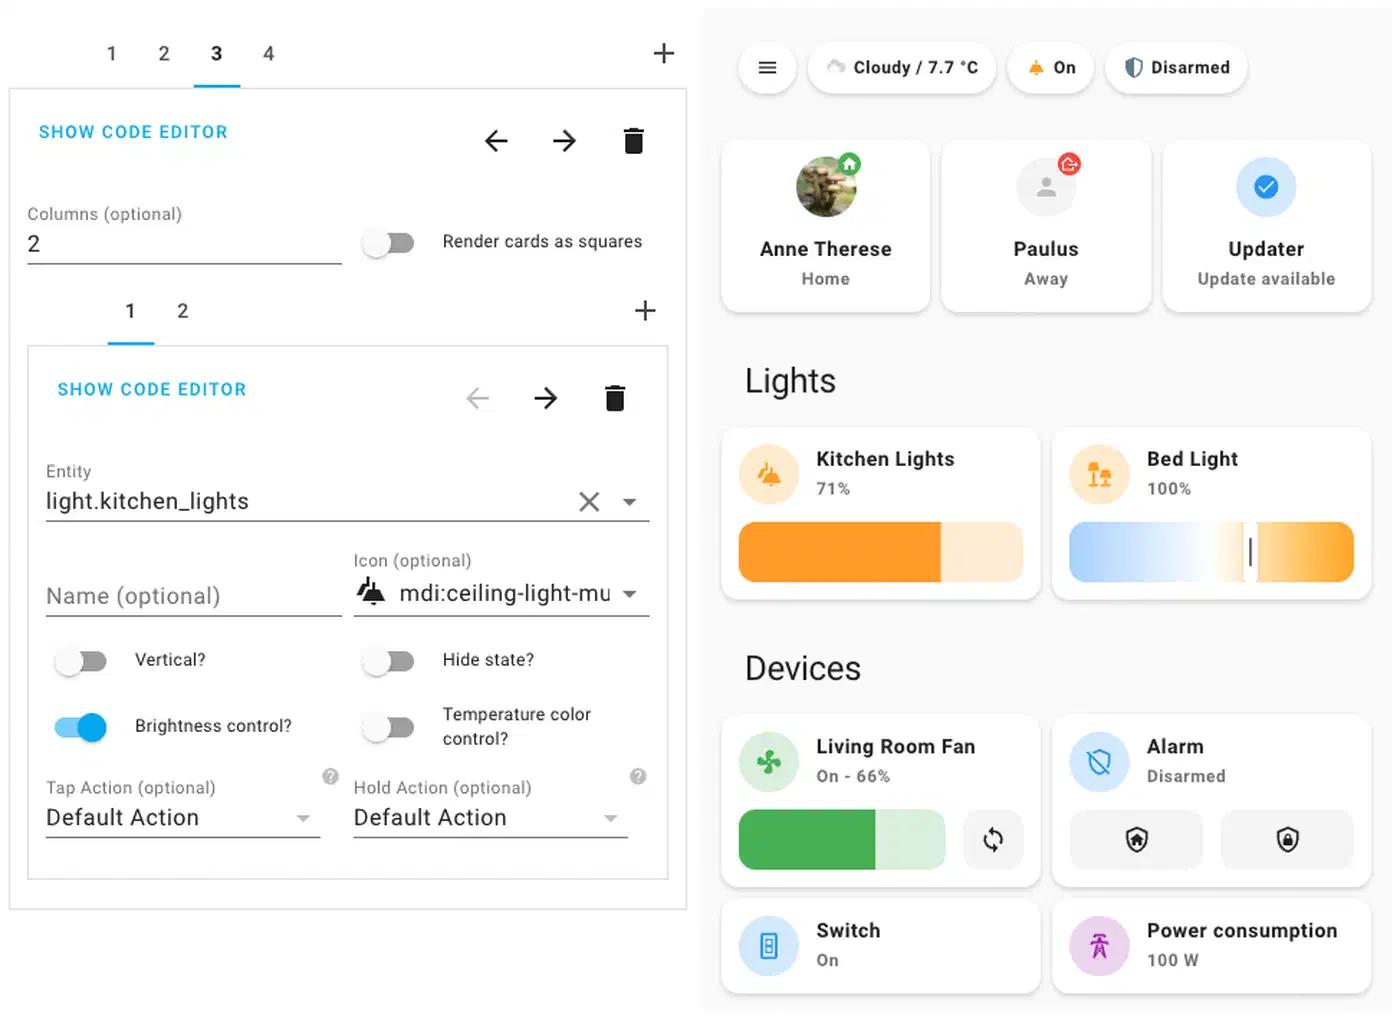
Layout rules I have settled on after a few iterations:
- Fit each room on a single screen with no scrolling. Scrolling on a wall panel feels wrong and reveals how cheap the touch digitizer really is.
- Keep tap targets at 48x48 pixels or larger. Finger taps are imprecise. If something is smaller than a thumb tip, double it.
- Use a dark theme. Easier on the eyes at night, lower power draw on the LCD backlight, and it hides fingerprints.
- Plan the glance zones: put time, weather and who-is-home along the top; room controls in the middle; navigation to other rooms along the bottom.
- Lean on context-aware dashboards aggressively. Only show the garage door card when it is open; only show laundry status when a cycle is running. A dashboard full of “everything is fine” is noisy and trains people to ignore it.
- Bump fonts up well past what looks right on a desktop. Use card-mod
to set
--card-primary-font-sizeto 18-20 px and--card-secondary-font-sizeto 14-16 px. What looks fine on a monitor is tiny from across a room.
For a deeper dive into styling Lovelace with CSS Grid and advanced card layouts, see our guide on designing a professional Home Assistant dashboard .
Give each wall tablet a “room context” so the dashboard shows that room’s controls first. You can do this by passing a query string to Fully Kiosk’s start URL (like ?room=kitchen) and reading it in a template card, or by keeping a separate dashboard per tablet. The latter is simpler and easier to debug.
Automations for the Tablet Itself
The tablet is also a Home Assistant device, which means it belongs in your automation graph. A few automations pay for themselves the day you set them up.
Wake the screen on room motion. If you have an mmWave presence sensor in the room (the Apollo MSR-2
and Everything Presence One
are both excellent), use its binary_sensor to trigger a screen-on call to the Fully Kiosk integration. Walk into the room, the panel is already showing the current state before you reach it. Fully Kiosk’s own camera motion detection works too, but a room-wide mmWave sensor gives you a few more seconds of lead time.
Sleep the screen at night. An automation that calls light.turn_off on the tablet’s Fully Kiosk light entity at 11 PM and back on at 6 AM keeps the bedroom dark and cuts power draw. Pair it with an input_boolean.guest_mode to keep the living room tablet running late when you have company.
Adjust brightness from room light. Ambient light sensors on cheap tablets are noisy, so it is better to read a dedicated room light sensor (anything from an Aqara motion sensor to an ESPHome BH1750 node) and map it to the Fully Kiosk brightness entity through a numeric_state trigger. Linear mapping works fine: 0 lux gives 10%, 500 lux gives 100%.
Swap dashboards by time of day. During the day, show controls. After 10 PM, show a clean clock-and-weather screen. Fully Kiosk exposes a loadURL REST endpoint you can call from a Home Assistant script.
Announce events through the tablet. The Fully Kiosk integration exposes a media_player entity, so any TTS engine (Piper, Google Cloud, or the Home Assistant Cloud voices) can push doorbell alerts, timer announcements, or weather warnings to the room. Combined with the screen wake automation, this turns the panel into a passable intercom. The same dashboard also makes a clean control surface for whole-home audio powered by Snapcast
, with per-room volume sliders one tap away.
Watchdog the tablet itself. Create a template binary sensor that goes off if the tablet has not reported to MQTT for 5 minutes, and send yourself an alert if it trips. Usually the cause is a crashed browser or a tripped PoE port. For USB-powered tablets, monitor battery level and alert below 20%, which almost always means the charge cable has come loose or the Android power-saver kicked in.
Once those automations are in place, a wall tablet stops being a pretty browser and starts behaving like a real piece of the smart home. Because everything runs through standard Home Assistant entities, the whole setup is testable, version-controllable, and backed up along with the rest of your config.
Put all of this together and the total cost per room lands around $130 for a Fire HD 10 with a basic mount and a Fully Kiosk license, or closer to $220 for a cleaner PoE install with a Lenovo M11. For what a single commercial control panel costs, you can cover an entire house.