 Botmonster Tech
Old Android phones as MQTT sensors, cameras, and dashboards

That old Android phone in your drawer is a full sensor platform. It packs a camera, microphone, light sensor, barometer, accelerometer, proximity sensor, and a touchscreen, all on your WiFi. So don’t recycle it. You can turn it into a motion-detecting security camera, a room sensor that posts data over MQTT, or a wall-mounted Home Assistant dashboard. That dashboard rivals commercial smart displays costing $150 or more. The whole setup runs on free software, keeps your data local, and takes about an hour.
This guide covers three practical uses for old phones in a smart home: security cameras with IP Webcam, sensors with Sensor Logger, and kiosk dashboards with Fully Kiosk Browser. Each project plugs straight into Home Assistant. All three can even run on one phone at once if you have the RAM to spare.
Which Old Phones Work and How to Prepare Them
Not every old phone is a good fit. You need Android 8.0 (Oreo) or later, at least 2 GB of RAM, and working WiFi. You also need a working camera if you plan to use it as a security camera. Phones like the Pixel 3a, Samsung Galaxy S8, or Moto G7 hit the sweet spot. They are cheap, often free from friends and family, have decent cameras, and run Android 8 or 9 out of the box.
Start with a factory reset. Set the phone up with a throwaway Google account, or skip the account if you plan to sideload apps. Disable every system app you don’t need, turn off automatic updates, and kill background sync. You want to strip the OS down to a single-purpose appliance. Install F-Droid as your main app store to skip the Google Play Services overhead. Most sensor and kiosk apps are there, or you can sideload them via APK.
Battery Management for 24/7 Operation
Battery care is the most important prep step, and skipping it can be dangerous. Lithium-ion batteries are built to cycle between charge and discharge. Leaving a phone plugged in 24/7 holds the battery at 100% forever. That speeds up chemical wear and can make the battery swell. A swollen battery pushes against the screen and back panel. In bad cases it can rupture, leak electrolyte, or catch fire.
You have a few ways to handle this. AccuBattery is free and sounds an alarm when the battery hits your target percentage. Set it to 80% so it reminds you to unplug, though it won’t stop the charge on its own. For phones with root access, Battery Charge Limit can cut charging at a threshold you set. You can also plug the charger into a Zigbee or WiFi smart plug. A Home Assistant automation then cycles charging between 20% and 80%, since the HA Companion App reports battery level as a sensor it can read. If the phone boots without a battery, and many old models do, skip all of this and power it over USB.
Watch for warning signs. The back panel lifts away from the frame, the screen develops a slight bulge, or the phone rocks on a flat surface when it used to sit flush. If you spot any of these, power down at once, don’t charge the device, and take the battery to an e-waste site. Don’t put a swollen battery in household trash.
For AMOLED screens running as always-on dashboards, use a screen dimmer app or a black screensaver between refreshes to prevent burn-in. LCD panels are less prone to this but still gain from lower brightness when idle.
Turn a Phone into a Motion-Detecting Security Camera
IP Webcam by Pavel Khlebovich is the go-to app for this. It’s free, light, and turns your phone’s camera into a network video stream. Home Assistant can read that stream directly.
Once installed, tap “Start Server” and the app begins streaming. It exposes several endpoints on the phone’s local IP:
| Endpoint | URL | Use |
|---|---|---|
| MJPEG stream | http://<phone-ip>:8080/video | Live view in HA dashboard |
| Snapshot | http://<phone-ip>:8080/shot.jpg | Periodic image capture |
| RTSP stream | rtsp://<phone-ip>:8080/h264_opus.sdp | Frigate NVR input |
| Sensor data | http://<phone-ip>:8080/sensors.json | Light, battery, motion |
Home Assistant has a built-in Android IP Webcam integration. It auto-discovers the camera and exposes binary sensors, camera entities, and switches. Enable “Data logging” in the app’s settings to get sensor states in HA too.
Motion Detection and Recording
IP Webcam has built-in motion detection. Set the sensitivity to 60-80% and have it fire a webhook or MQTT message when motion crosses the threshold. In Home Assistant, build an automation that listens for this trigger. It can then record a 30-second clip or push a snapshot notification to your phone.
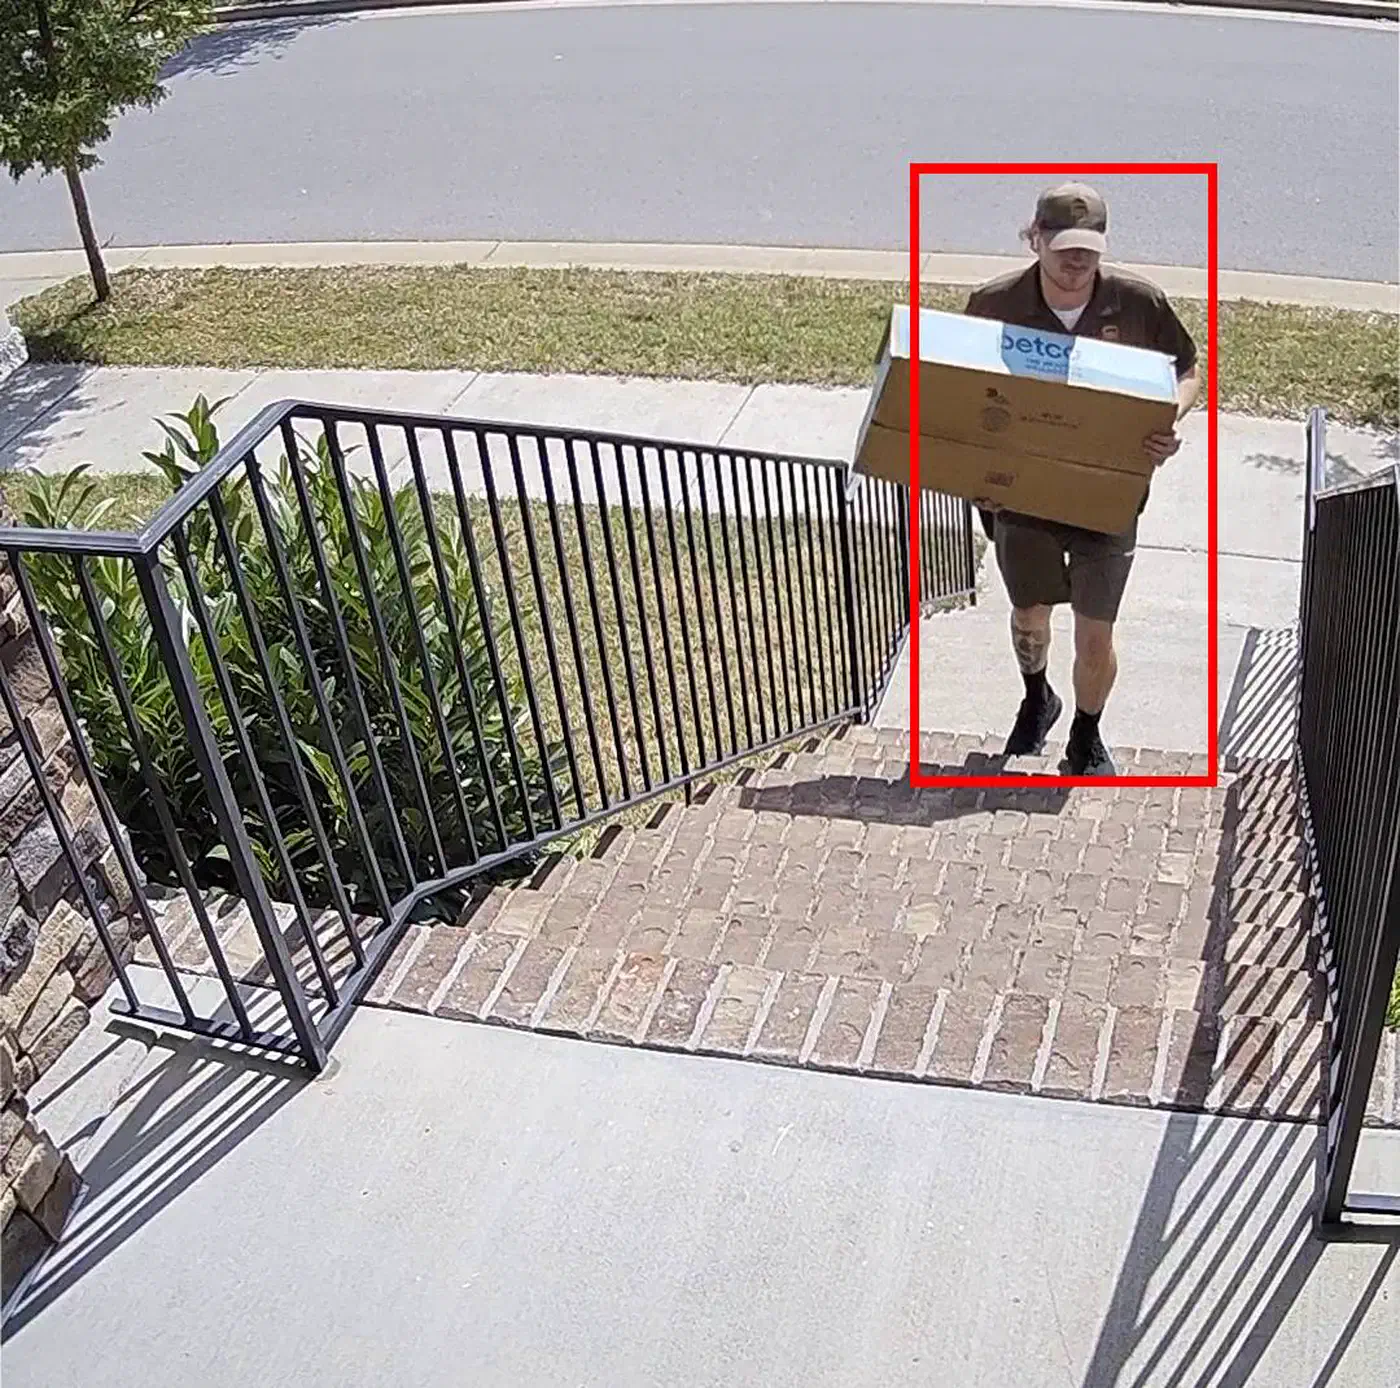
For smarter object detection that tells people from pets from cars, feed the RTSP stream into Frigate NVR (version 0.17.1). Frigate runs on a separate machine. It uses a Google Coral TPU or your GPU to run real-time object detection. The phone supplies the camera stream, and Frigate supplies the brains. Together they give you person, vehicle, and animal detection that rivals commercial cameras costing $50 or more.
Mounting and Autostart
Mount the phone with a magnetic car mount ($5) or a 3D-printed wall bracket. Angle it 15-20 degrees down for the best motion coverage of doorways and hallways.
For headless use, set IP Webcam to start on boot. You can do this with Tasker or the app’s own autostart option. In Developer Options, turn on “Stay awake while charging” if you want the camera preview visible. Leave it off for background-only use. The front camera picks up some near-infrared light, so turn on “Night Vision” mode in IP Webcam. That boosts gain and switches to grayscale for usable low-light footage.
Publish Sensor Data to Home Assistant via MQTT
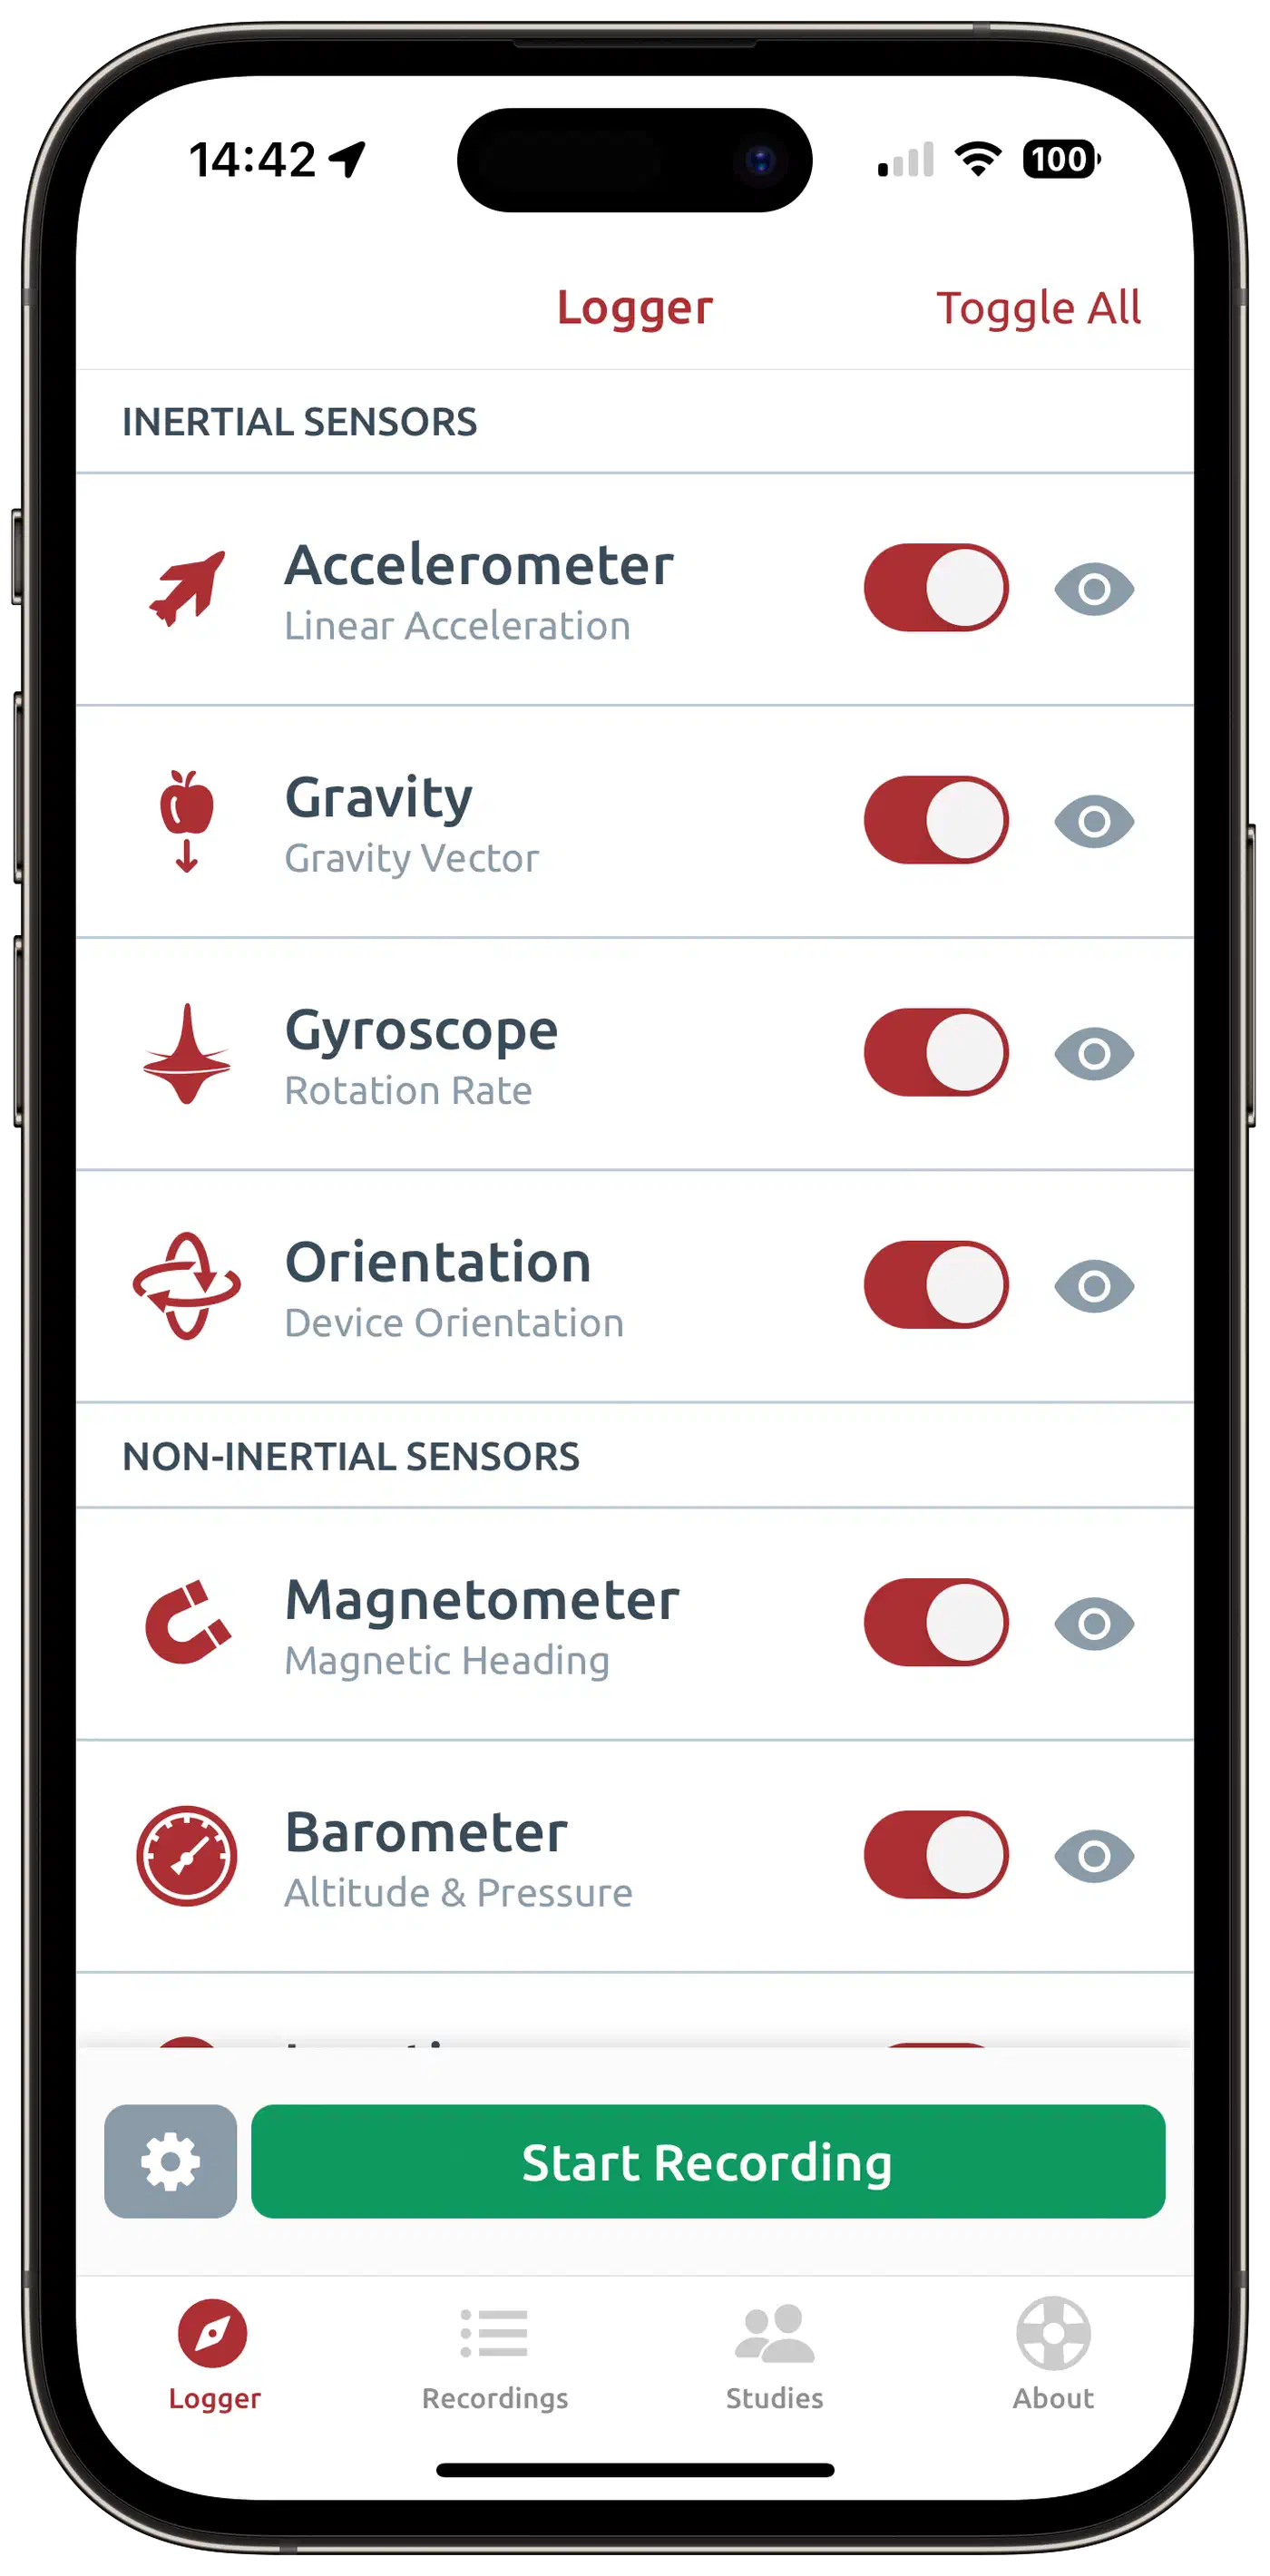
Every Android phone ships with sensors most people never think about: ambient light in lux, barometric pressure, accelerometer, gyroscope, proximity, and a microphone. With the right app, these turn into real home automation sensors. They post live data to your MQTT broker.
Sensor App Comparison
Three apps compete in this space:
| Feature | Sensor Logger | phyphox | HA Companion App |
|---|---|---|---|
| MQTT publishing | Yes (built-in) | No (export only) | No (uses HA API) |
| HTTP push | Yes | Yes (via remote) | No |
| Update frequency | Configurable (1s+) | Real-time | 1-15 minutes |
| Background recording | Yes | Limited | Yes |
| Sensors supported | 30+ (incl. camera) | 20+ (physics focus) | 15+ (device state) |
| Primary audience | IoT / logging | Physics education | HA users |
| Price | Free | Free | Free |
For MQTT-based home automation, Sensor Logger by Kelvin Choi is the best pick. It posts straight to a broker like Mosquitto and covers over 30 sensor types. That now includes streaming camera images over MQTT. You can also set the publish interval down to one second.
phyphox from RWTH Aachen University is great for physics experiments and one-off measurements. Still, it lacks native MQTT support and isn’t built for nonstop background use. The Home Assistant Companion App reports device sensors straight to HA without MQTT. Its update rate tops out at one minute in “Fast Always” mode, too slow for live tasks like vibration detection.
Configuring MQTT in Sensor Logger
Set your Mosquitto broker IP, such as 192.168.1.100:1883. Define a topic prefix like homeassistant/sensor/phone_kitchen/ and set the publish interval to 10-30 seconds. This balances response speed against battery drain and network chatter.
For Home Assistant auto-discovery, publish to the HA MQTT discovery topic format. Use homeassistant/sensor/<device>/config with a JSON payload that sets name, state_topic, unit_of_measurement, and device_class. Once you publish it, HA picks up the sensor entities on its own. No manual YAML needed.
Practical Sensor Uses
Phone sensors are more useful than they first appear:
- Ambient light (lux): drive adaptive lighting. Turn on under-cabinet lights when the kitchen phone reads below 200 lux at 4 PM.
- Barometric pressure: track weather trends. A barometer dropping over 2 hours can fire a “storm approaching” notification.
- Accelerometer vibration: stick a phone on your washing machine. Detect when the fast spin cycle ends and send a “laundry done” notification.
- Microphone dB level: watch noise in a baby’s room or workshop. Trigger an alert when steady sound goes past a set level.
- Proximity sensor: the IR-based sensor has a 0-5 cm range. It detects when someone is near a nightstand or counter, handy for bedside scenes.
Most phones lack a built-in temperature or humidity sensor. The Galaxy S4 and Note 3 had them, but those are ancient by now. For environment data, pair a Bluetooth Xiaomi LYWSD03MMC thermometer ($4). Relay its data through the phone via the HA Companion App or a BLE-MQTT gateway.
Wall-Mounted Dashboard with Fully Kiosk Browser
Fully Kiosk Browser turns an old phone into a dedicated, always-on smart home control panel. It locks the device into single-app kiosk mode. The phone then shows your Home Assistant dashboard and nothing else. The license costs $7 per device, or it’s free with a watermark.
Install Fully Kiosk and point it at your Home Assistant dashboard URL, something like http://homeassistant.local:8123/lovelace/dashboard-wall. The app locks out the navigation bar, status bar, and all other apps. The result is a purpose-built control panel.
Proximity Wake and Screen Management
Fully Kiosk wakes the screen when someone approaches. It uses the phone’s proximity sensor or camera-based motion detection. You set an idle timeout, and 30-60 seconds works well. After that, the screen dims to minimum brightness or turns off. Walk up to it and the screen snaps back on at once. This keeps power use low and prevents screen burn-in during idle hours.
Designing an Effective Dashboard
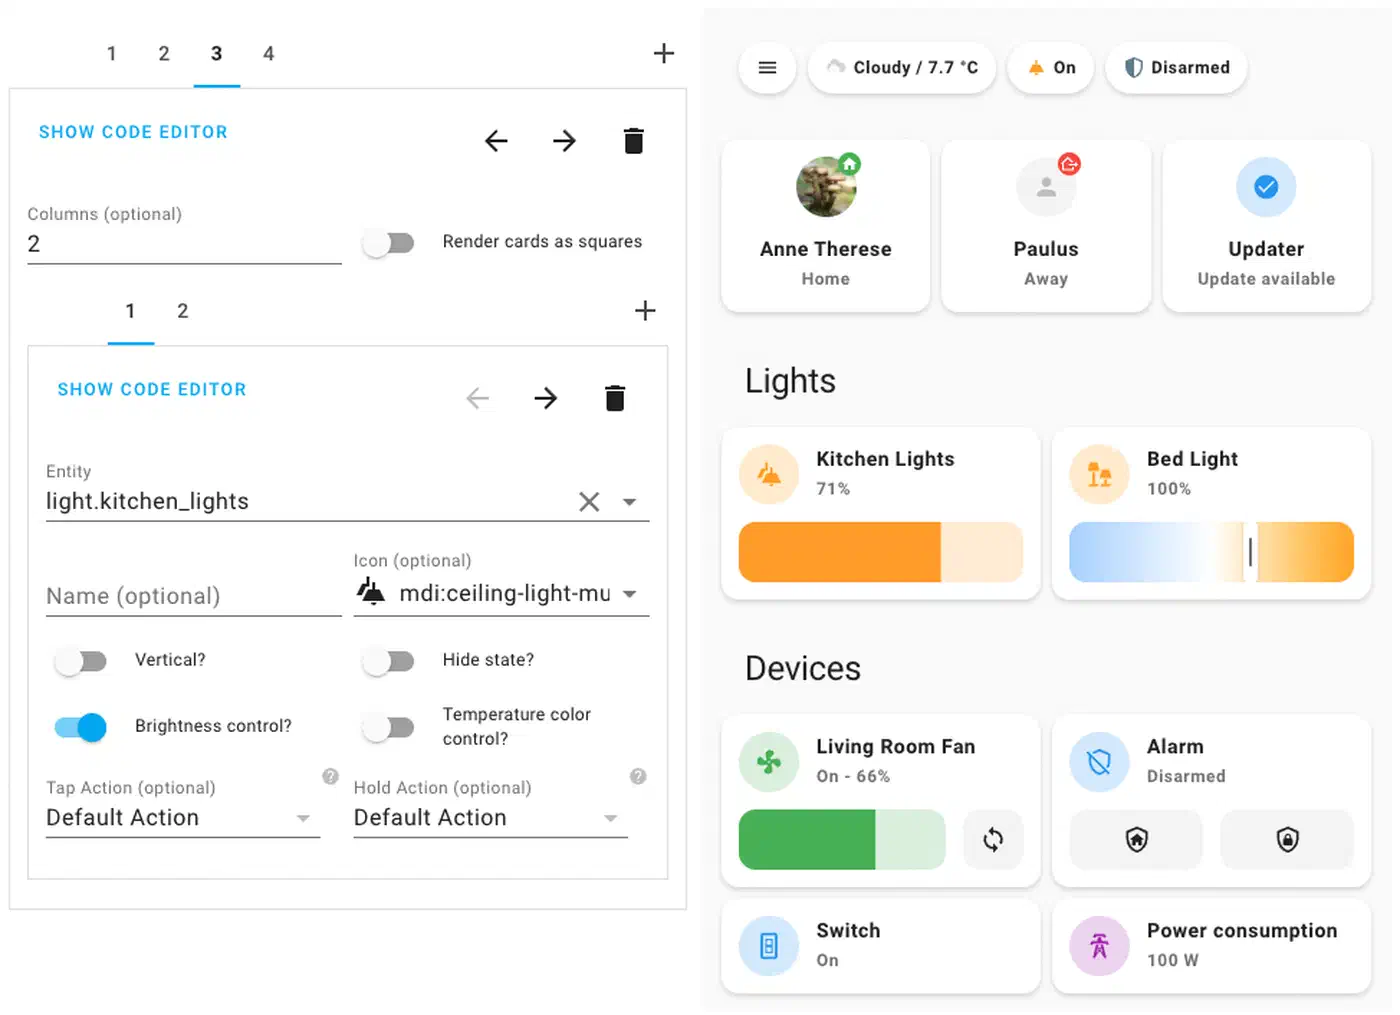
Build a dedicated HA dashboard view for wall use. The Mushroom cards collection installs through HACS and gives you clean, touch-friendly cards with large targets. A few design points help in practice. Use 48px touch targets at minimum for reliable finger taps. Use large fonts, 16px minimum for body text. Add quick-access buttons for lights, thermostat, music, and camera feeds. Pick a dark theme to cut power use on AMOLED screens and reduce light at night. To keep the wall view tidy, lean on hiding controls until they become relevant.
Home Assistant Integration
Home Assistant has a built-in Fully Kiosk integration, a core integration with no HACS needed. It exposes battery level, screen brightness, TTS playback, and the device camera as entities in HA. You can build automations that dim the dashboard at bedtime, play TTS through the phone’s speaker, or use the camera as an extra motion sensor.
The integration needs Fully Remote Admin turned on in the app settings, plus the Remote Admin password to log in. Home Assistant can then auto-discover Fully Kiosk devices on the network.
Mounting Options
For wall mounting, options range from dead simple to a weekend project. A flush-mount charging bracket ($10-20) holds the phone flat against the wall and charges it over USB. Search Amazon for “wall mount phone charger bracket” to find one. A 3D-printed frame takes more effort. It lets you cover the phone edges cleanly and route the USB-C cable through the wall to a recessed outlet. Thingiverse has dozens of designs for popular models. The most involved option is a PoE splitter ($12, an 802.3af to USB-C adapter). It carries both network and power over one Ethernet cable run through the wall. You need no nearby outlet, and you get a wired link instead of WiFi. You will need a PoE switch or injector on the other end. For a more finished look than a bracketed phone, a smart mirror behind glass hides the screen entirely until the widgets light up.
Network Security for Repurposed Phones
Old phones running outdated Android are a real security concern. A Galaxy S8 stuck on Android 9 has known, unpatched CVEs that Samsung will never fix. Putting these devices on your main network next to computers and personal devices is a bad idea. Network isolation belongs in the setup checklist, not as an afterthought.
VLAN Isolation
Create a dedicated IoT VLAN, say VLAN 30, on your router. OpenWrt, pfSense, and UniFi gear all support this. Assign a separate WiFi SSID, something like HomeIoT, with client isolation on. That way the repurposed phones can’t talk to each other or to devices on your main network.
Set firewall rules that let the IoT VLAN reach only the Home Assistant IP on the ports it needs:
| Port | Protocol | Purpose |
|---|---|---|
| 8123 | TCP | Home Assistant web UI |
| 1883 | TCP | MQTT (Mosquitto) |
| 8080 | TCP | Nginx proxy / IP Webcam |
| 123 | UDP | NTP (time sync) |
Block everything else. If an app needs the internet for updates, whitelist specific domains through DNS-based firewall rules. Don’t open broad internet access.
Device Hardening
Disable every radio you don’t need. You can turn off Bluetooth and cellular through settings or through ADB:
adb shell settings put global bluetooth_on 0Turn on airplane mode and then re-enable WiFi only. This shrinks the attack surface and saves power.
Watch outbound traffic from these devices with Pi-hole or AdGuard Home DNS logs. Any odd connections to unknown domains could mean a compromised device.
Consider a Custom ROM
For phones with expired vendor support, LineageOS is worth a look. The project supports over 190 devices with active builds. That covers LineageOS 22.1, based on Android 15, and LineageOS 21, based on Android 14. Check the official device list to see if your phone is supported. A current LineageOS build gives you recent security patches on hardware the maker abandoned years ago. It cuts the risk of running these devices on your network.
Putting It All Together
A single old phone can run IP Webcam, Sensor Logger, and a dashboard at once. You will want at least 3 GB of RAM for that mix. A more practical setup gives each phone one role. Put one in the hallway as a security camera. Put one on the kitchen counter for light and temperature data. Put one on the living room wall as a dashboard. An old phone can also serve as a synced playback client in a Snapcast install.
The total cost for three repurposed phones is small. You pay $7 for the Fully Kiosk license, $5-10 for magnetic mounts, and $4 for a Xiaomi thermometer if you want temperature data. That’s under $25 for a setup that would cost $250 or more in commercial gear. As a bonus, every byte of data stays on your local network.