 Botmonster Tech
Coolify gives you Vercel on servers you already own


Coolify is a self-hosted PaaS that gives you the Vercel workflow on hardware you already pay for. It deploys apps, databases, and about 280 one-click services to any machine you can reach over SSH. Every config lands on the target server, so deleting Coolify tomorrow leaves your containers running and takes only the automation with it.
Key Takeaways
- Coolify deploys apps to any server you can reach over SSH, even a Raspberry Pi.
- It writes config to the target server, so your apps survive removing Coolify.
- Around 280 services install with one click, including databases and dashboards.
- The recommended layout is one server for Coolify and one for your apps.
- Self-hosting is free, and a paid cloud version starts at $5 a month.
What a self-hosted PaaS replaces
A platform layer does a short list of jobs on your behalf. It builds your code from a repository, runs the container, routes traffic to it, terminates TLS, holds your environment variables, and redeploys when you push.
Without one, you build that list by hand. Most people end up with a pile of Docker Compose files, a reverse proxy config, a cron job that renews certificates, and a deploy script only one person understands.
Managed clouds bill you for those six jobs, and the price grows with your seats and your traffic. The compute underneath is cheap by comparison.
Self-hosting the platform layer keeps the workflow and drops the markup. Coolify runs on a rented server, on bare metal, or on a Raspberry Pi. The only hard requirement is an SSH connection. You save the money and you take on the upkeep.
The no-lock-in claim, examined
Portability is a standard promise, and Coolify’s version of it can be checked. All the config for your apps and databases is saved to your own server. Stop using Coolify and you can still manage what it deployed, and the project README states it in those words.
The way to verify it is to read the uninstall guide
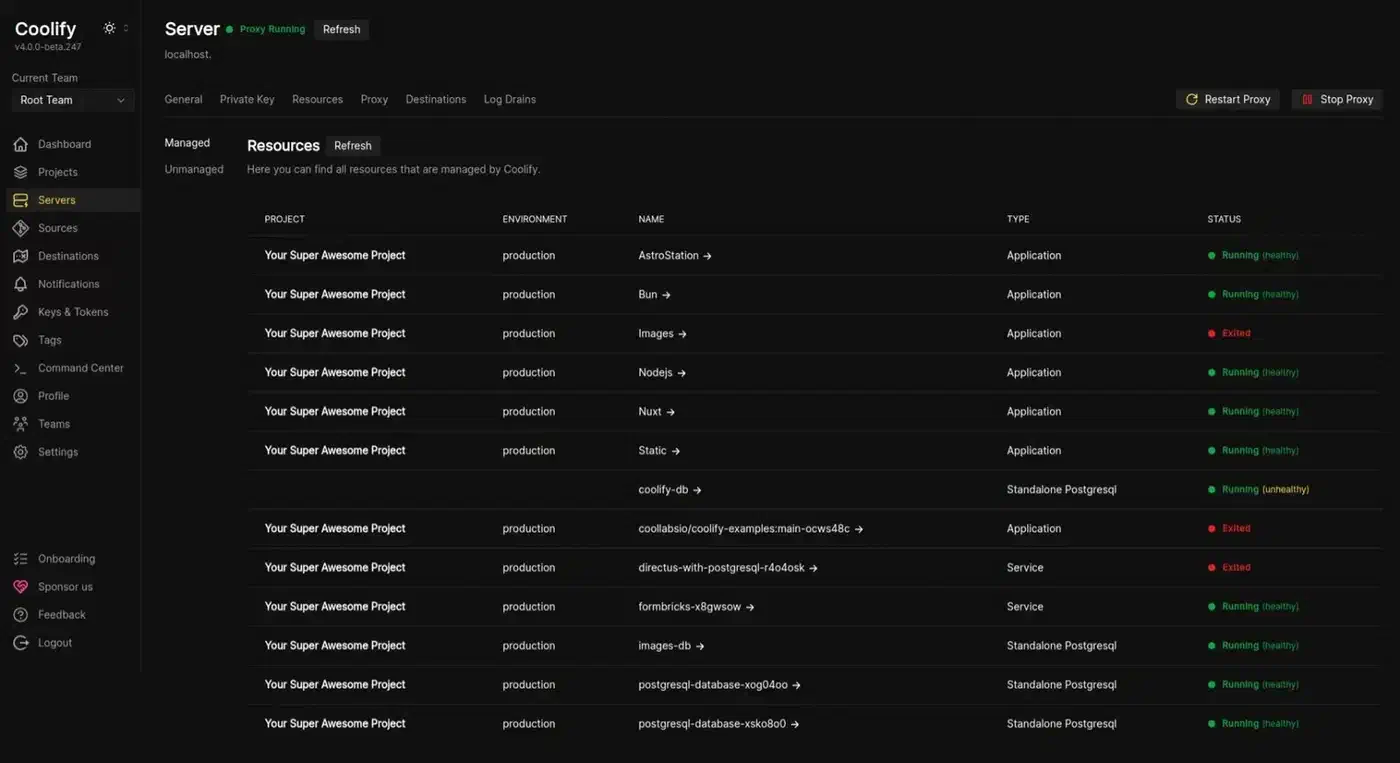
, which lists everything Coolify owns. Removing it means stopping six containers: coolify, coolify-realtime, coolify-db, coolify-redis, coolify-proxy, and coolify-sentinel. Then you drop two Docker volumes, one Docker network, and the /data/coolify directory.
Your own containers and volumes appear nowhere on that list. They are ordinary Docker resources on the target machine, and they keep running after the control plane is gone.
One entry on that list deserves a warning. coolify-proxy is the Traefik
or Caddy
reverse proxy that routes traffic and renews certificates for everything you deployed. Delete it and your apps stay up, but no domain name reaches them until you put a proxy back.
So the claim holds with an asterisk. You keep the workloads and the data, and you lose the dashboard, the deploy-on-push wiring, the backup scheduling, and the routing layer. Rebuilding a reverse proxy config costs you a bad afternoon.
Services, databases, and the one-click catalogue
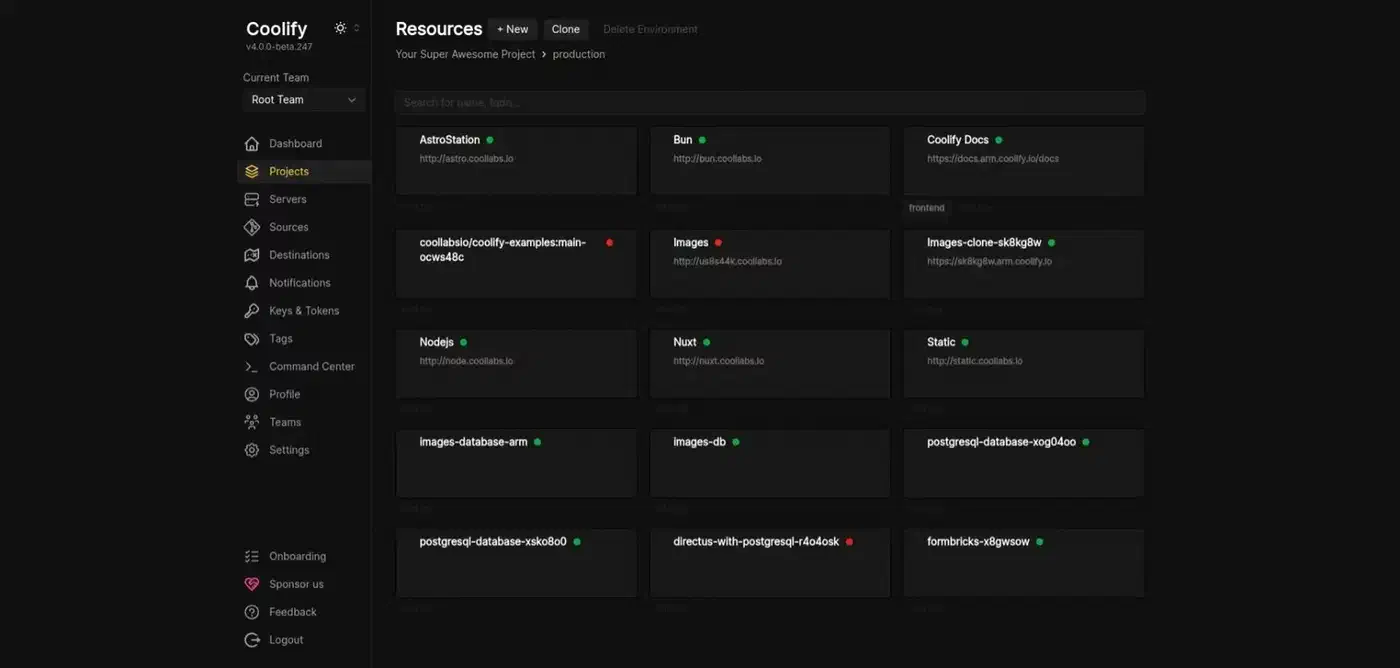
The one-click catalogue covers most of what a small team would otherwise wire up by hand. Databases are a resource type of their own: Postgres, MySQL, MariaDB, MongoDB, Redis and others, each with backups you configure through the interface. The catalogue reaches well past developer tooling, so a home media server like Jellyfin goes up the same way.
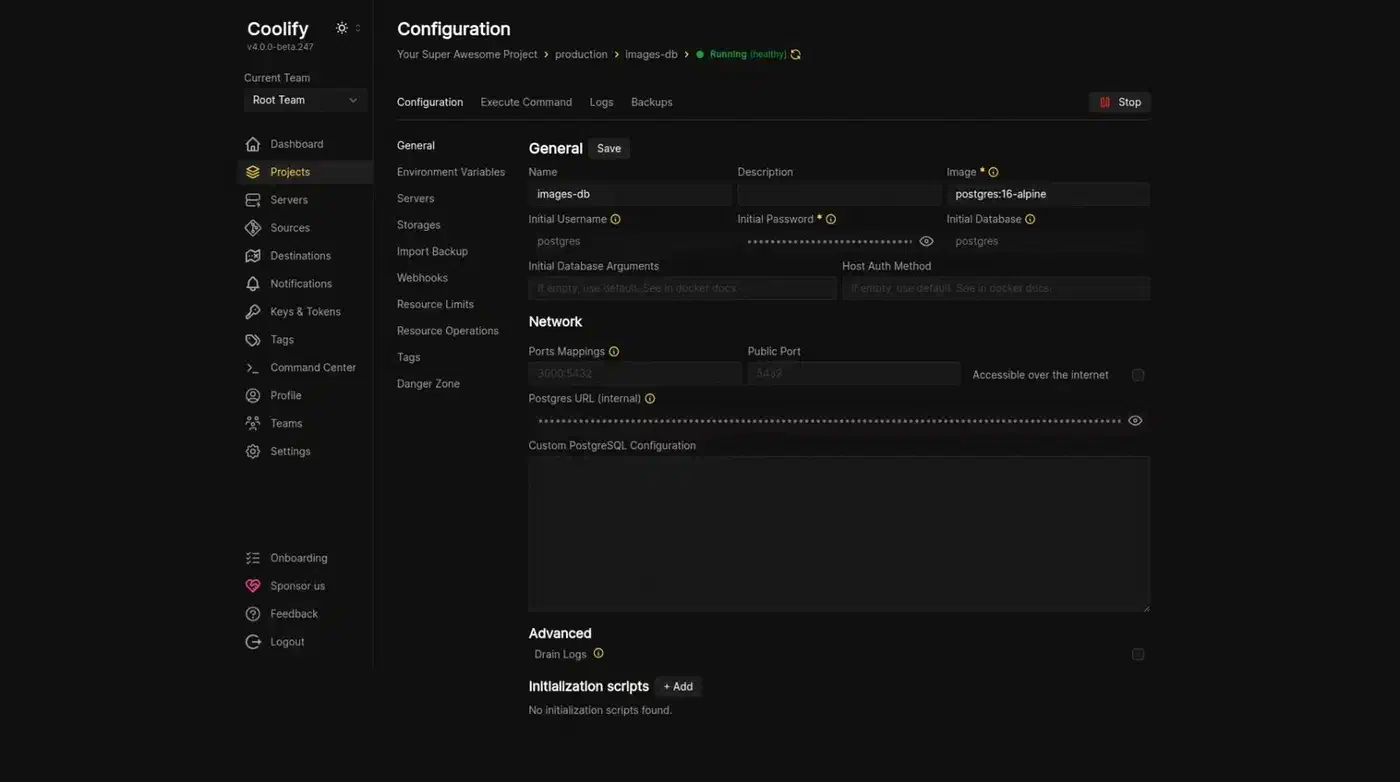
Static sites and full-stack apps are both native resource types. That is the part standing in for Netlify and Vercel specifically. It is also why the v4 release line gets called a self-hosted Vercel more often than a self-hosted Heroku .
| Platform | Where it runs | Pricing shape | What you leave behind |
|---|---|---|---|
| Coolify | your servers, over SSH | free, you pay the server bill | nothing, config stays on the box |
| Vercel | Vercel’s edge network | per seat plus usage | edge functions and image pipeline |
| Heroku | Heroku dynos | per dyno per month | buildpacks and the add-on marketplace |
| Netlify | Netlify’s CDN | per seat plus usage | redirects, functions, form handling |
One dashboard manages several servers, so growing past one box doesn’t mean a second control plane. The catalogue still doesn’t remove the need to understand what you deployed. A one-click database gives you a backup toggle, and the restore is something you have to practise yourself.
Deploy your first app with Coolify
Budget an hour to get from a bare server to a live app with a certificate, and less than ten minutes for every deploy after it.
Get two servers if you can
The installation docs put the floor at 2 CPU cores, 2 GB of RAM, and 30 GB of free disk. Both boxes can cost a few dollars a month.
Install Coolify on the control server
Follow the official installation guide instead of pasting an installer you found in a blog post. The installer pulls in Docker Engine, writes its files under /data/coolify, and generates the SSH keys it will use to reach other machines. Log in as root first, because non-root installs aren’t fully supported yet.
Open the dashboard and create an account
The installer prints a URL on port 8000 when it finishes. The first account to register claims the entire instance, so register immediately. Leave that page open to the internet and a stranger can take your server.
Add your target server
Coolify reaches the target over SSH, so add the key, give the server a name, and wait for the health check to pass. Don’t move on until it goes green, because every later failure traces back to this step.
Connect a Git source
Link GitHub, GitLab, or a plain repository URL. That connection is what turns a git push into a deployment. If you host your own forge, the Gitea versus Forgejo comparison covers which one to point Coolify at.
Deploy an application
Pick the repository, choose the build pack, set your environment variables, and deploy. Watch the build log the first time, because failed builds on a small server usually come down to memory pressure.
Add a database from the service catalogue
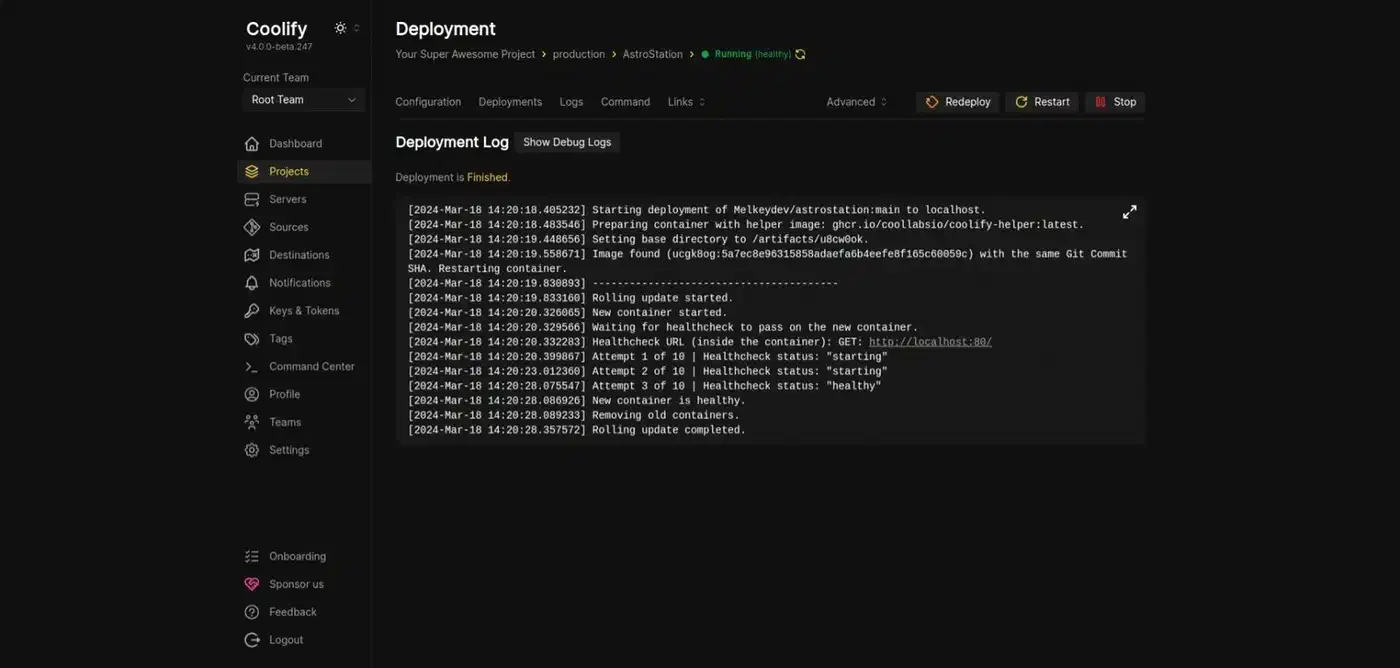
Databases are resources in their own right, with backup schedules and connection strings you can reference. Add one from the catalogue, then paste its connection string into your application’s environment variables.
Set up a domain and TLS
Point DNS at the target server, then type the domain with https:// into Coolify. The built-in proxy asks Let’s Encrypt
for a certificate and renews it on its own. Most first deploys stall right here, so check that DNS has updated before you look at the proxy.
Where Coolify fits, and what it costs you
The software is Apache-2.0, and no feature sits behind a paywall. Instead the project sells hosting for its own control plane at app.coolify.io from $5 a month. Paying buys high availability, working email alerts, direct support, and one less machine to patch. That’s a different deal from Portainer 3.0 , which ships with no free Community Edition at all.
The project’s own maintainer lists his production box for scale. It has 8 GB of RAM averaging 3.5 GB used, 4 cores averaging 20 to 30 percent, and 150 GB of disk with 40 GB used. That one server carries three Node apps, four static sites, Plausible, Ghost, Uptime Kuma, Fider, three Redis instances, and two Postgres databases.
Self-hosting saves money the same way cooking at home saves money. It’s true, it requires your time, and the break-even depends entirely on how much your time costs.
Self-hosting suits anyone running a handful of apps who wants the workflow without per-seat pricing. Pay for the cloud version if you’d rather someone else ran the control plane. Skip both for a single static site, where a free managed host is less work.
Coolify doesn’t manage your server’s security or its updates, and the concepts guide says so directly. The teams feature carries a warning that it isn’t ready for production yet. That is a real limit once more than a couple of admins share the dashboard.
You now run the platform that runs your apps, and patching it is your job. That is the real cost, and the config staying on your own server is what keeps the decision reversible.