 Botmonster Tech
A $60 ESPHome build shuts your water off in seconds


The short answer
Wire a few cheap resistive water probes to an ESP32 running ESPHome , then add a 3-wire motorized brass ball valve. You get local smart leak detection that shuts your main water supply within seconds of a puddle, with no cloud account, no $5/month fee, and no vendor lock-in. Parts cost under $60, against $500-$800 for products like Moen Flo or Phyn Plus . It plugs into Home Assistant with no extra work. The same ESP32-plus-servo recipe also drives a $20 pet feeder if you want a gentler first build.
Why DIY beats commercial smart shutoff systems
The commercial market for whole-home shutoff has settled into a rough spot. Moen Flo valves start at $500 for the 3/4-inch model. The 1-1/4-inch version runs $800. The full alert suite sits behind a $5/month “FloProtect” paywall. Phyn Plus drops the fee but asks $700-$850 up front. Farmers Insurance now makes some customers fit a Moen Flo before it will renew a policy. So homeowners get pushed toward hardware they don’t control.
A DIY ESPHome build does the same thing for under $60 in parts:
| Component | Example | Approximate Cost |
|---|---|---|
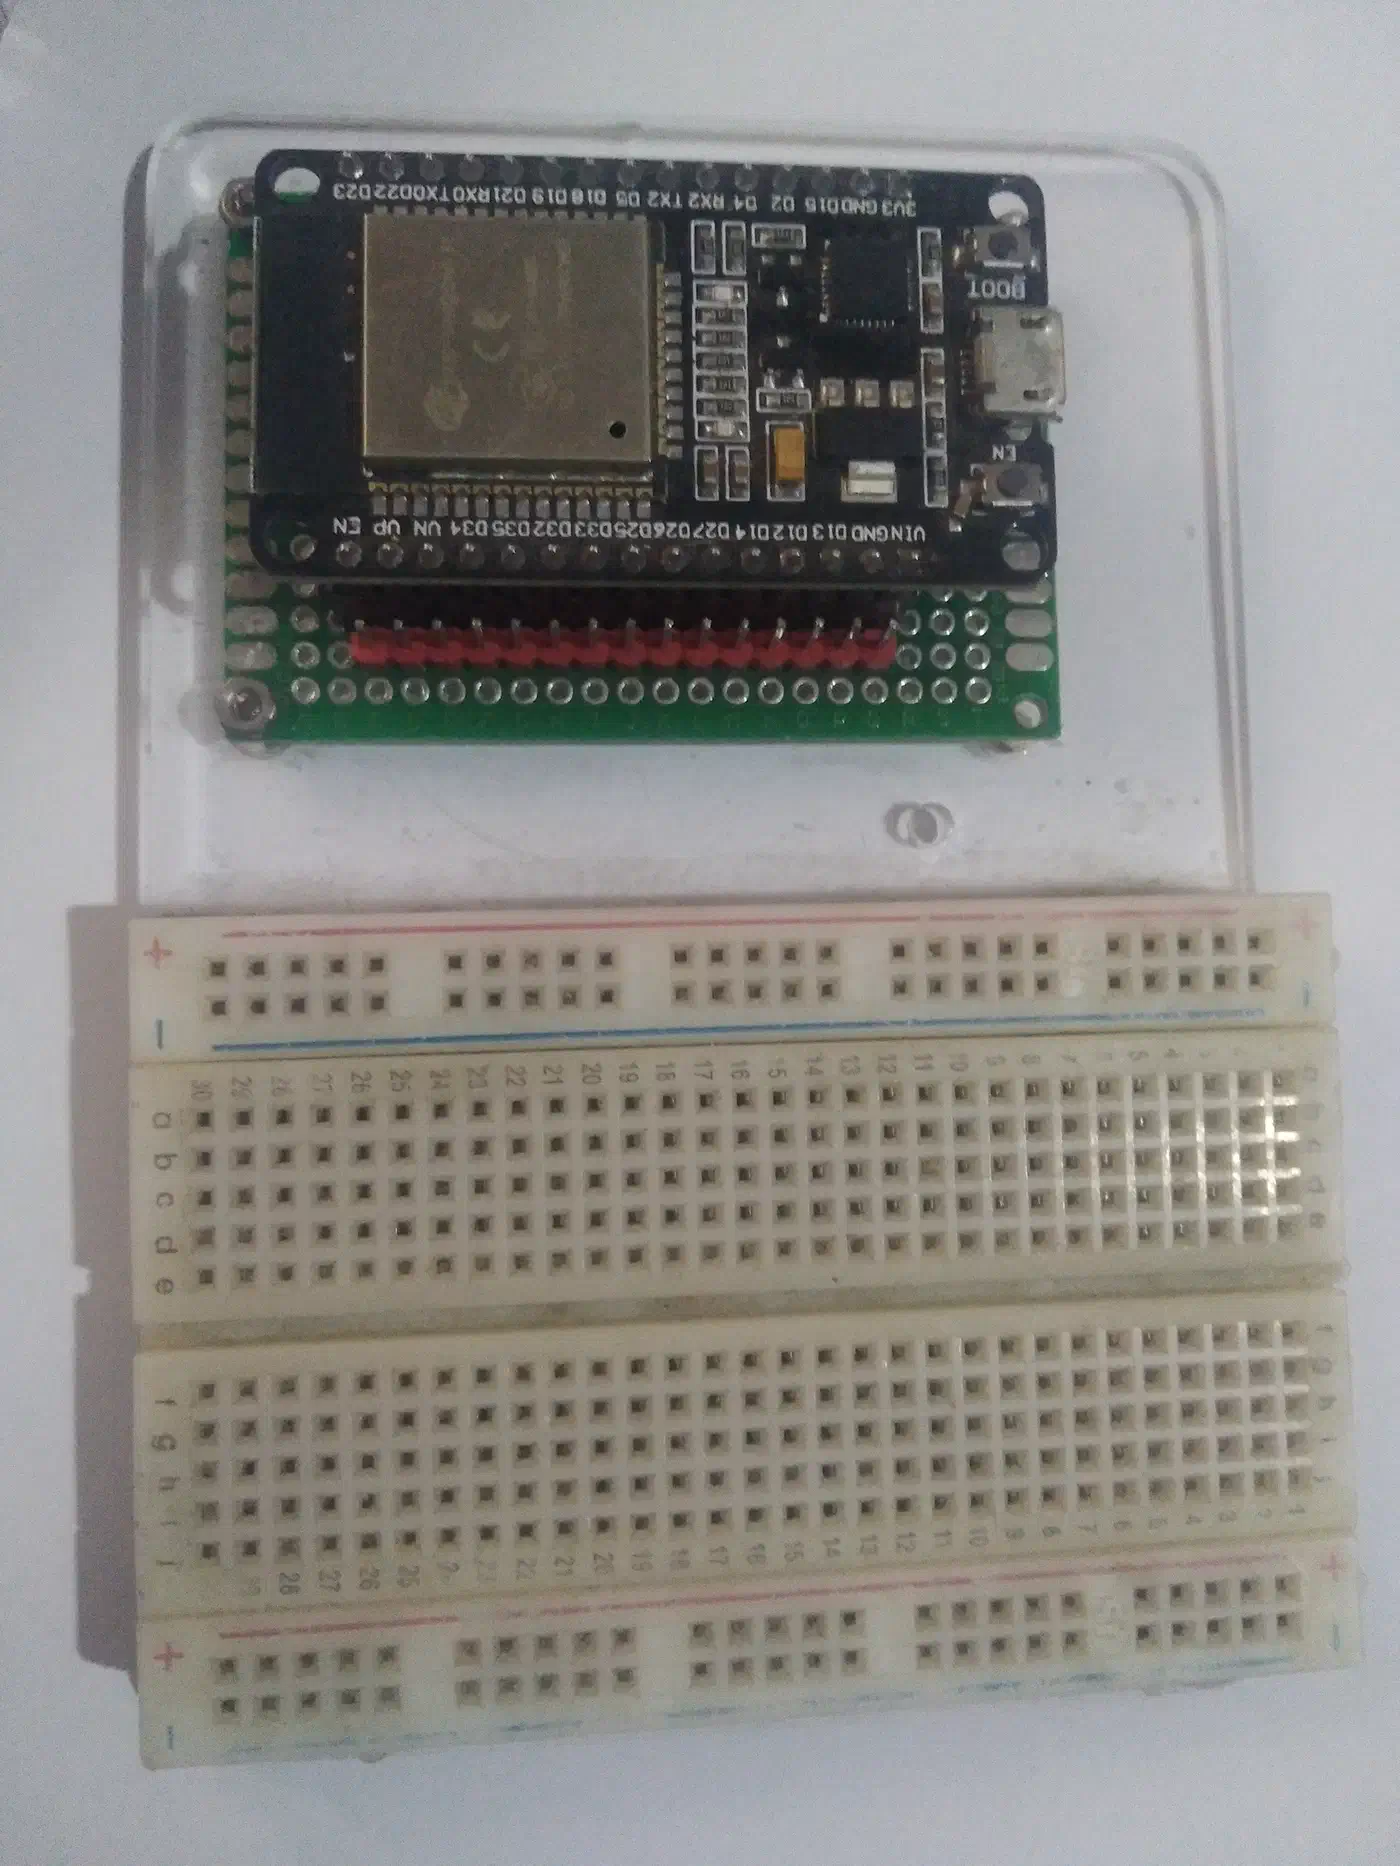
| ESP32 DevKitC board | Any WiFi-enabled ESP32 | $5 |
| Resistive leak probes | Bare stainless electrodes | $3 each (5 = $15) |
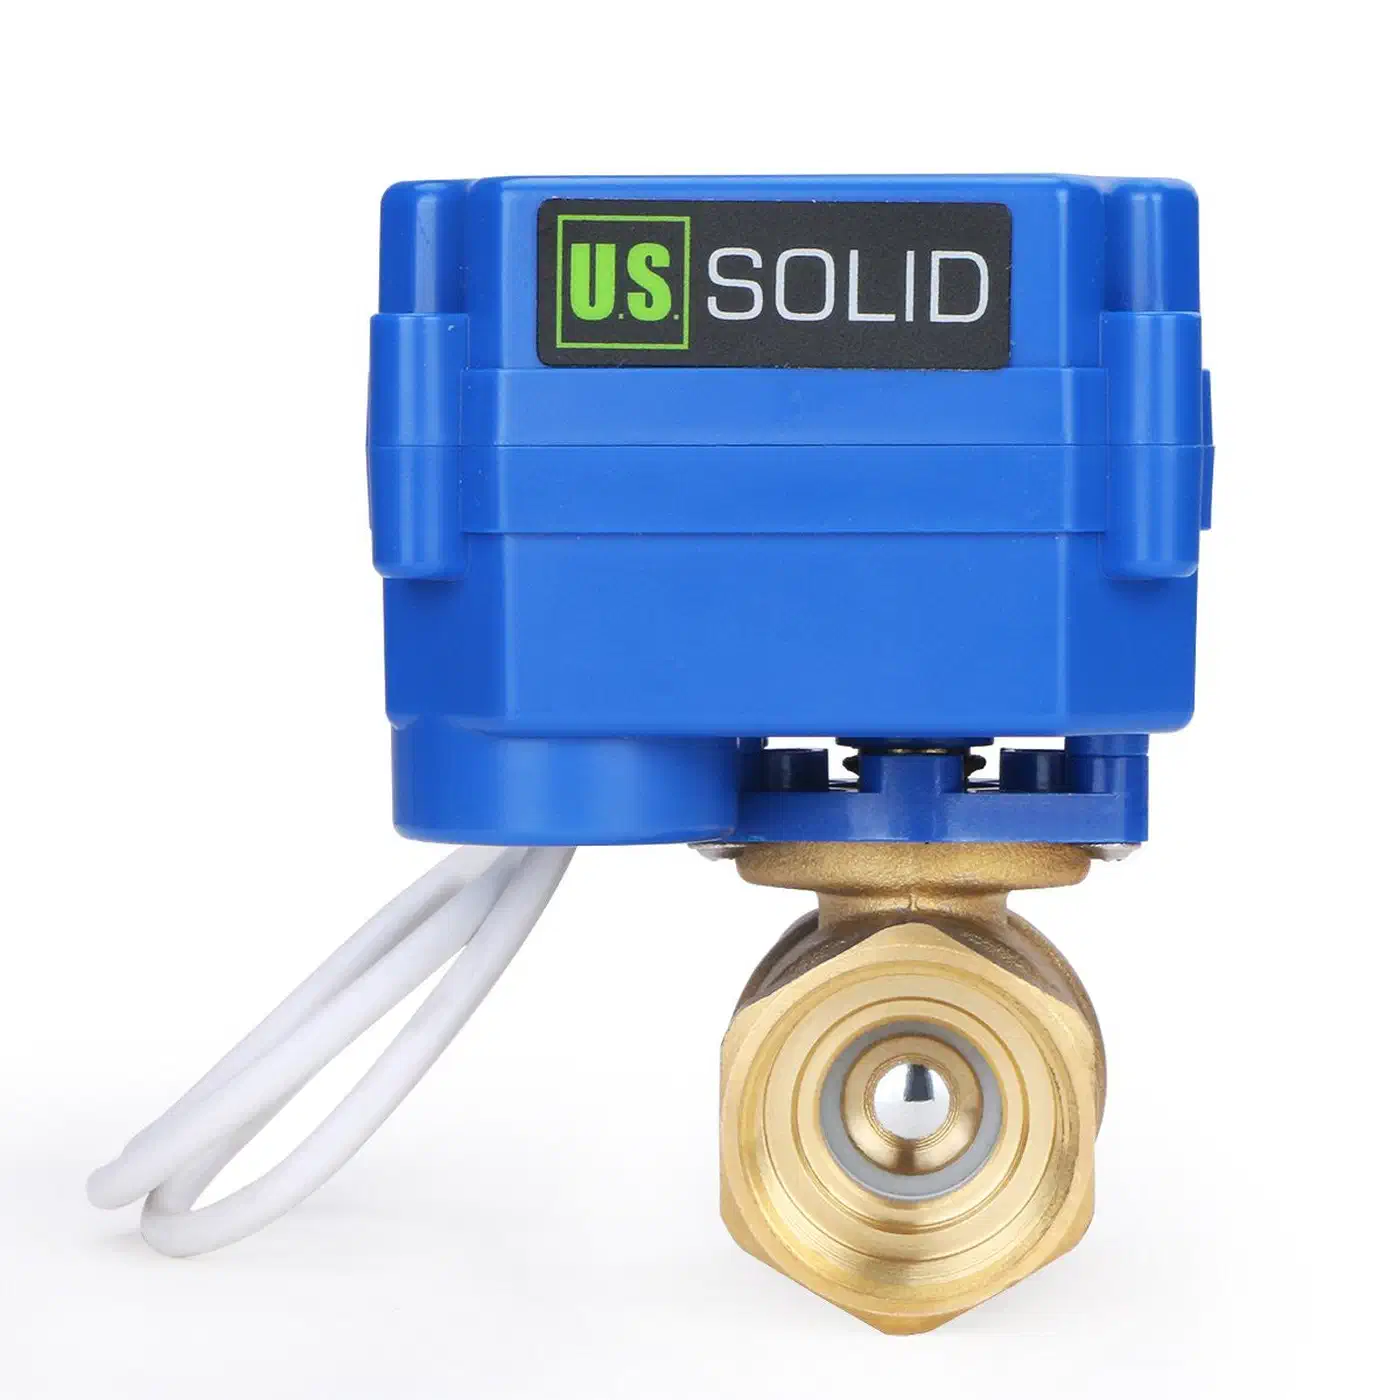
| 3-wire motorized ball valve | U.S. Solid 3/4" brass, 9-24V DC | $30-50 |
| 2-channel relay module | 5V, opto-isolated | $4 |
| 12V DC power supply | 1A brick | $6 |
| Jumpers, project box, pull-up resistor | From your parts drawer | $5 |
Insurance discounts are one reason people buy the store-bought kit. Mercury, Nationwide, Amica, and State Farm all offer 3-15% off for monitored leak detection. Nationwide’s Phyn deal goes as high as 15%. A home-built ESPHome rig sits on no insurer’s approved list, so you likely won’t qualify on paper. Some agents will still take a written write-up of the setup plus a photo of the fitted valve. Call and ask before you assume either way.
Control is the other reason to build your own. The ESP32 does the critical work on the spot, so your valve still shuts when water hits a probe even if your internet drops, Home Assistant reboots, or the vendor behind a store-bought valve kills its cloud next Tuesday. A cloud service can’t promise that.
Hardware selection: probes, valves, and relays
Choosing sensors: resistive vs capacitive
Cheap resistive probes use two bare electrodes. Water bridges them, conductivity drops, and the ESP32 sees a voltage change on its ADC or digital input. They cost pennies and need no calibration. They work well for most house puddles, which hold plenty of dissolved minerals to carry current.
Capacitive sensors read the dielectric shift when water is near. They handle pure water, which barely conducts and fools resistive probes. No metal touches the liquid, so they don’t corrode. They cost more, $8-15 against $3, and need occasional calibration against room humidity.
Under a water heater or behind a washing machine, resistive probes win on price and ease. Swap in capacitive ones for deionized-water spots like aquariums and reverse osmosis drains. Do the same if probes in a damp basement rust out too fast. In humid spots, plan on 6-12 months of life per probe. Buy a few spares at $3 each.
The valve: 3-wire motorized ball valve
Solenoid valves pull current the whole time they stay open. They run hot enough to cook themselves over time. A motorized ball valve draws power only during the 3-5 second open or close, then sits at zero. On an always-open main line, that gap shows up in lifespan. A solenoid might give you a couple of years. A good motorized ball valve should last a decade.
The sweet spot is a U.S. Solid or HSH-Flo 3-wire brass ball valve rated for 9-24V DC. Size it to match your main supply, which is 3/4" in most single-family homes. The three wires are common, open, and close. Send power to open or close it. Cut the power and the valve stays put. A 2-channel relay board does the switching from the ESP32’s 3.3V GPIOs to the valve’s 12V feed.
Budget alternative: buy a Tuya smart water valve on Amazon or AliExpress for about $25 and reflash the onboard Beken chip. Nils Schimmelmann documented a working path . Flash OpenBeken over UART first, then move to ESPHome over the air with LibreTiny. It works, but most Tuya valves have no real position sensor. The firmware has to guess the valve state from the last command it sent. Set up restore-on-boot with care, or a power blip can open a valve that should stay shut.
Sensor placement
Water goes where gravity takes it. High-value probe locations, in rough order of how often they catch real leaks:
- Under the water heater (tank failures and pressure relief valve drips)
- Behind the washing machine (a burst supply hose is the #1 home flood cause)
- Under the kitchen sink (garbage disposal and trap leaks)
- Behind toilets (wax ring failures, supply line weeps)
- Near the sump pump pit (pump failure and high-water warning)
- Under dishwashers and ice-maker supply lines
Five probes cover a typical 3-bedroom home. Wire them in parallel to one GPIO for a cheap “any leak anywhere” setup. Run each to its own pin if you want per-zone alerts in Home Assistant.
The ESPHome configuration
Here is the core YAML for a 3-zone setup with a motorized valve. The debounce filters earn their keep. Without them, a brief splash while you wash dishes would shut the valve and leave you wondering why the faucet is dry.
esphome:
  name: water-guardian
  friendly_name: Water Guardian

esp32:
  board: esp32dev
  framework:
    type: arduino

wifi:
  ssid: !secret wifi_ssid
  password: !secret wifi_password

api:
  encryption:
    key: !secret api_key

logger:
ota:
  - platform: esphome

binary_sensor:
  - platform: gpio
    name: "Water Heater Leak"
    pin:
      number: GPIO32
      mode:
        input: true
        pullup: true
      inverted: true
    device_class: moisture
    filters:
      - delayed_on: 300ms
      - delayed_off: 10s
    on_press:
      then:
        - switch.turn_on: valve_close

  - platform: gpio
    name: "Washing Machine Leak"
    pin:
      number: GPIO33
      mode:
        input: true
        pullup: true
      inverted: true
    device_class: moisture
    filters:
      - delayed_on: 300ms
      - delayed_off: 10s
    on_press:
      then:
        - switch.turn_on: valve_close

  - platform: gpio
    name: "Kitchen Sink Leak"
    pin:
      number: GPIO25
      mode:
        input: true
        pullup: true
      inverted: true
    device_class: moisture
    filters:
      - delayed_on: 300ms
      - delayed_off: 10s
    on_press:
      then:
        - switch.turn_on: valve_close

switch:
  - platform: gpio
    id: valve_open
    name: "Valve Open"
    pin: GPIO26
    interlock: [valve_close]
    on_turn_on:
      - delay: 6s
      - switch.turn_off: valve_open

  - platform: gpio
    id: valve_close
    name: "Valve Close"
    pin: GPIO27
    interlock: [valve_open]
    on_turn_on:
      - delay: 6s
      - switch.turn_off: valve_close

status_led:
  pin:
    number: GPIO2
    inverted: false
A few parts of that config need a note. The interlock block on the switches is a must. It stops both relays from firing at once, which on a 3-wire valve would stall the motor or blow a fuse. The 6-second auto-off delay matches the valve’s travel time. Once the motion ends, the relay drops and the valve holds its spot with no current draw. The 300ms delayed_on filter shrugs off brief electrical noise. The 10-second delayed_off makes the probes stay dry that long before the alarm clears. Sensor wiring uses the ESP32’s own pull-up, with inverted: true so a wet probe reads as “on”.
The failsafe is the on_press action inside each binary sensor. It fires the close action on the ESP32 itself, with the Home Assistant API out of the loop, so the valve shuts within 6 seconds of water hitting the probe even with your network down, your router rebooting, or HA mid-update. The rest of the setup is dashboards and alerts.
One version note: run a recent ESPHome. The 2026.3 series brought big speed gains, and 2026.3.3 is the stable build. One gain is a 99x faster main loop on socket polling, which keeps tight sensor debounce reliable. The same platform fits other room sensors too. See how to measure room air pollution on a budget with the same ESP32 and YAML approach.
Home Assistant integration and automations
Flash the ESP32 and put it on your network. ESPHome auto-discovery then adds every entity to Home Assistant on its own. You get three binary sensors with device_class: moisture, which is what makes them show up right in the built-in leak dashboards. You also get two switches for the valve.
Dashboard
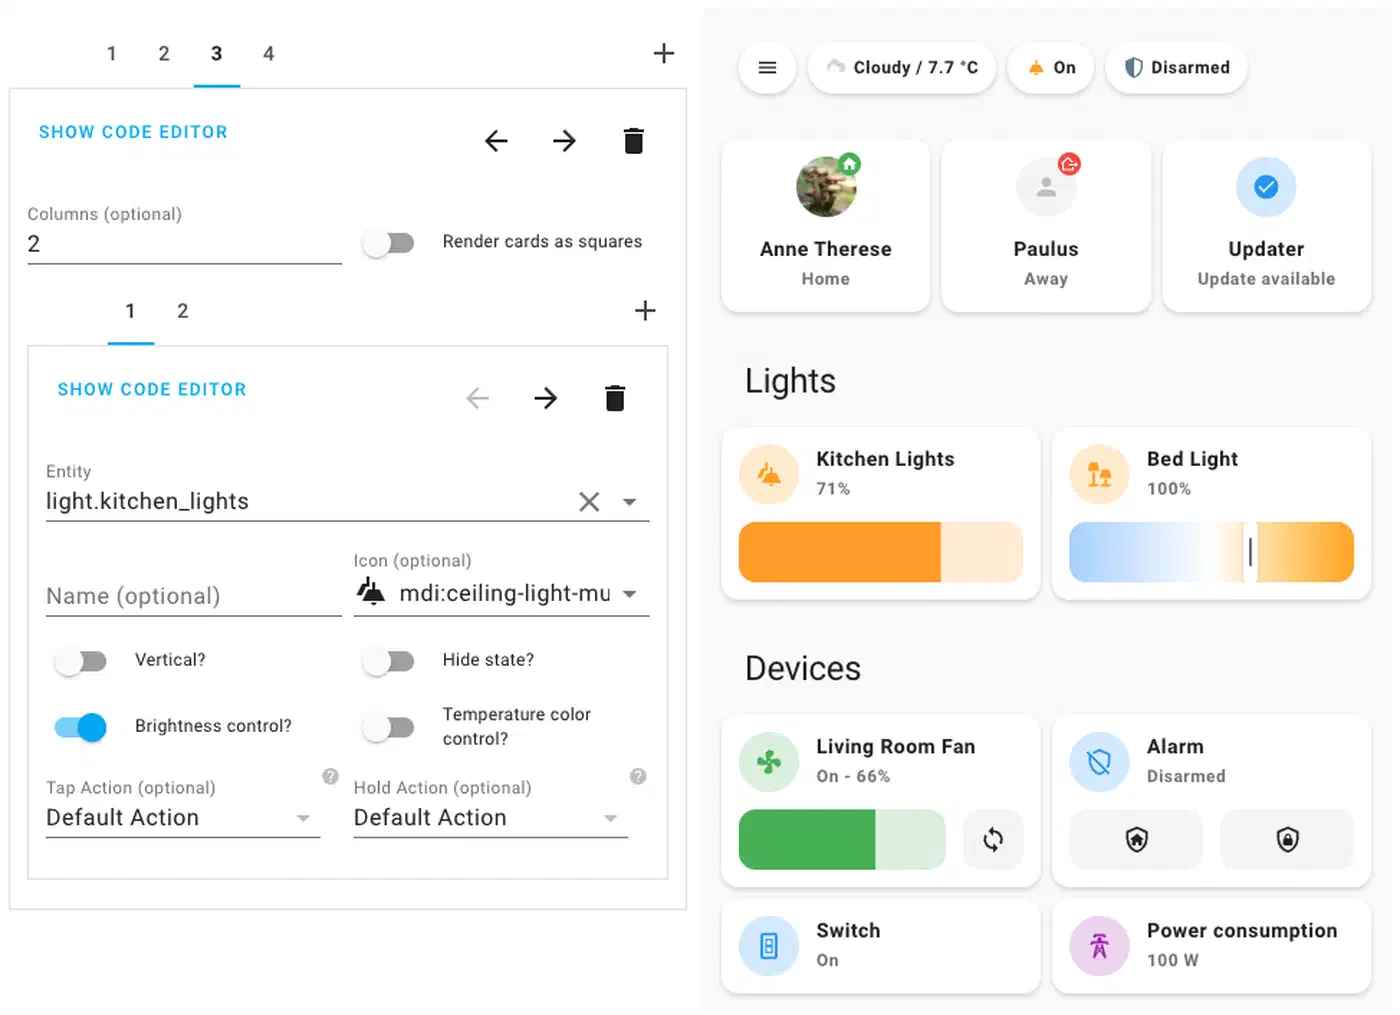
Build a simple dashboard card with:
- A state chip for each sensor (green = dry, red = wet)
- A valve status indicator (open/closed, derived from whichever switch was last activated)
- A “last triggered” timestamp for each sensor
- A manual close/open button pair for maintenance
The Mushroom card collection works well here and keeps the card compact. Wrap the manual valve buttons in conditional card logic to hide them until a leak fires.
Notifications
A basic automation sends a push alert the moment any probe trips:
alias: Water Leak Alert
trigger:
  - platform: state
    entity_id:
      - binary_sensor.water_guardian_water_heater_leak
      - binary_sensor.water_guardian_washing_machine_leak
      - binary_sensor.water_guardian_kitchen_sink_leak
    to: "on"
action:
  - service: notify.mobile_app_pixel
    data:
      title: "WATER LEAK DETECTED"
      message: "{{ trigger.to_state.name }} - valve closed"
      data:
        priority: high
        ttl: 0
  - service: notify.telegram_family
    data:
      message: "Water leak at {{ trigger.to_state.name }}"
The priority: high and ttl: 0 flags push past Android’s battery optimization. The alert lands even if the phone sits in Doze mode. Send to more than one channel: push, SMS via Twilio, Telegram, email. One missed alert during a 3 AM flood can cost you a floor.
Auto-reopen on splash
A sensor that trips and clears within 60 seconds probably caught a splash, not a leak. An automation can reopen the valve and tag the event as a false alarm:
alias: Auto-reopen on splash
trigger:
  - platform: state
    entity_id: binary_sensor.water_guardian_kitchen_sink_leak
    from: "on"
    to: "off"
    for: "00:01:00"
action:
  - service: switch.turn_on
    entity_id: switch.water_guardian_valve_open
  - service: notify.mobile_app_pixel
    data:
      title: "All clear"
      message: "Brief splash detected, valve reopened"
Play it safe with auto-reopen logic. If you are not sure it was a splash, leave the valve shut until a person checks. A wasted trip to the basement is cheap next to an auto-reopened valve sitting beside a burst pipe. For rules you want to reuse, packaging the logic as a shareable template lets you apply one across every sensor zone without copying YAML.
Testing, calibration, and maintenance
A leak system is useless if it fails in silence. Build these checks into your routine.
First test: pour a tablespoon of tap water on each probe. Check that the valve shuts within 5 seconds. Dry the probe, wait 10 seconds for the debounce, reopen the valve by hand, and repeat. Do this before you trust the system.
Monthly valve exercise: a ball valve can seize if it sits in one spot for months. Hard water makes it worse, as minerals build up on the ball. Set a Home Assistant automation to cycle the valve shut and open at 3 AM on the first of each month. Log each cycle. Send an alert if the state change fails to land within 10 seconds. That is your early warning that the valve is stuck.
Quarterly probe check: inspect the electrodes every three months. Look for green oxidation, mineral crust, or insect debris bridging the contacts. Wipe them clean or swap out the bad ones. In a damp crawlspace, expect 6-12 months per probe.
Monthly notification test: fire a dummy alert on the first Sunday of each month. Check that it lands on every channel. If one never shows up, the usual culprits are a killed process, a dead app token, or a mis-routed webhook.
Power backup: put the ESP32 on a small USB power bank or UPS. A $20 bank with passthrough charging keeps the board alive through a 6-12 hour outage. The valve holds its spot with no current, so its 12V supply can die and the valve stays where the last command left it. To make the valve shut on power loss, wire the 12V feed through a normally-open relay. A second ESP32 input watches mains voltage and drives it.
Freeze protection: for probes in unheated spaces, add a DS18B20 temperature sensor to the ESP32. Fire an alert below 2°C (35°F). Frozen pipes are the second biggest cause of home water damage, behind washing machine hose failures. The early warning gives you time to drip a faucet before a pipe bursts.
A note on water flow sensors for slow-leak detection
Resistive probes catch sudden, visible leaks. They miss a pinhole in a wall that drips a few drops a minute into insulation until the drywall goes soft. For that, you need a flow sensor on the main supply line.
The YF-S201 Hall-effect flow sensor is the cheap pick at about $5. It hooks into ESPHome through the pulse_counter platform. Accuracy is the weak spot: readings swing by more than 10% with pressure, mounting angle, and flow rate. Users also report units that stop sending pulses after 3-4 weeks. For water metering and rough leak checks, like “water has run for 45 minutes with nobody home”, it is good enough. A flow sensor also lets you track water as a resource alongside electricity and gas
in Home Assistant. For billing-grade numbers, pay more for a paddle-wheel or turbine sensor.
One ESPHome rule works well: if water has run for more than 30 minutes and phone presence detection says nobody is home, assume a leak and shut the valve. Pair it with a learning period. Tag normal events as allowed, such as a scheduled morning irrigation run , long showers, and pool fills. The same sensor-and-valve pattern fits other water systems. See the guide on automating a pool or hot tub for more on flow tracking and pump timing.
Putting it all together
The build takes an afternoon if you have the parts on hand. Wire the sensors, flash ESPHome, test the valve on the bench, then fit it on the main supply line. Most of the time goes into the plumbing: shut off the main, cut the pipe, solder or clamp the valve in place, then bring the pressure back. If copper work is not your thing, a plumber will fit the valve for $150-250. You still keep the wiring side DIY.
The finished rig costs about $60 in hardware and shuts your main in 5 seconds when a probe gets wet. No cloud sits in the loop, and nothing stops you from changing it later. More insurers now demand a branded smart valve to renew a policy. A DIY build is a cheap way to keep your own plumbing out of someone else’s subscription business.